| This article is about Bonus Evidence locations in the Maze. For locations on the surface of Redacre, see Bonus Evidence/Surface Locations. |
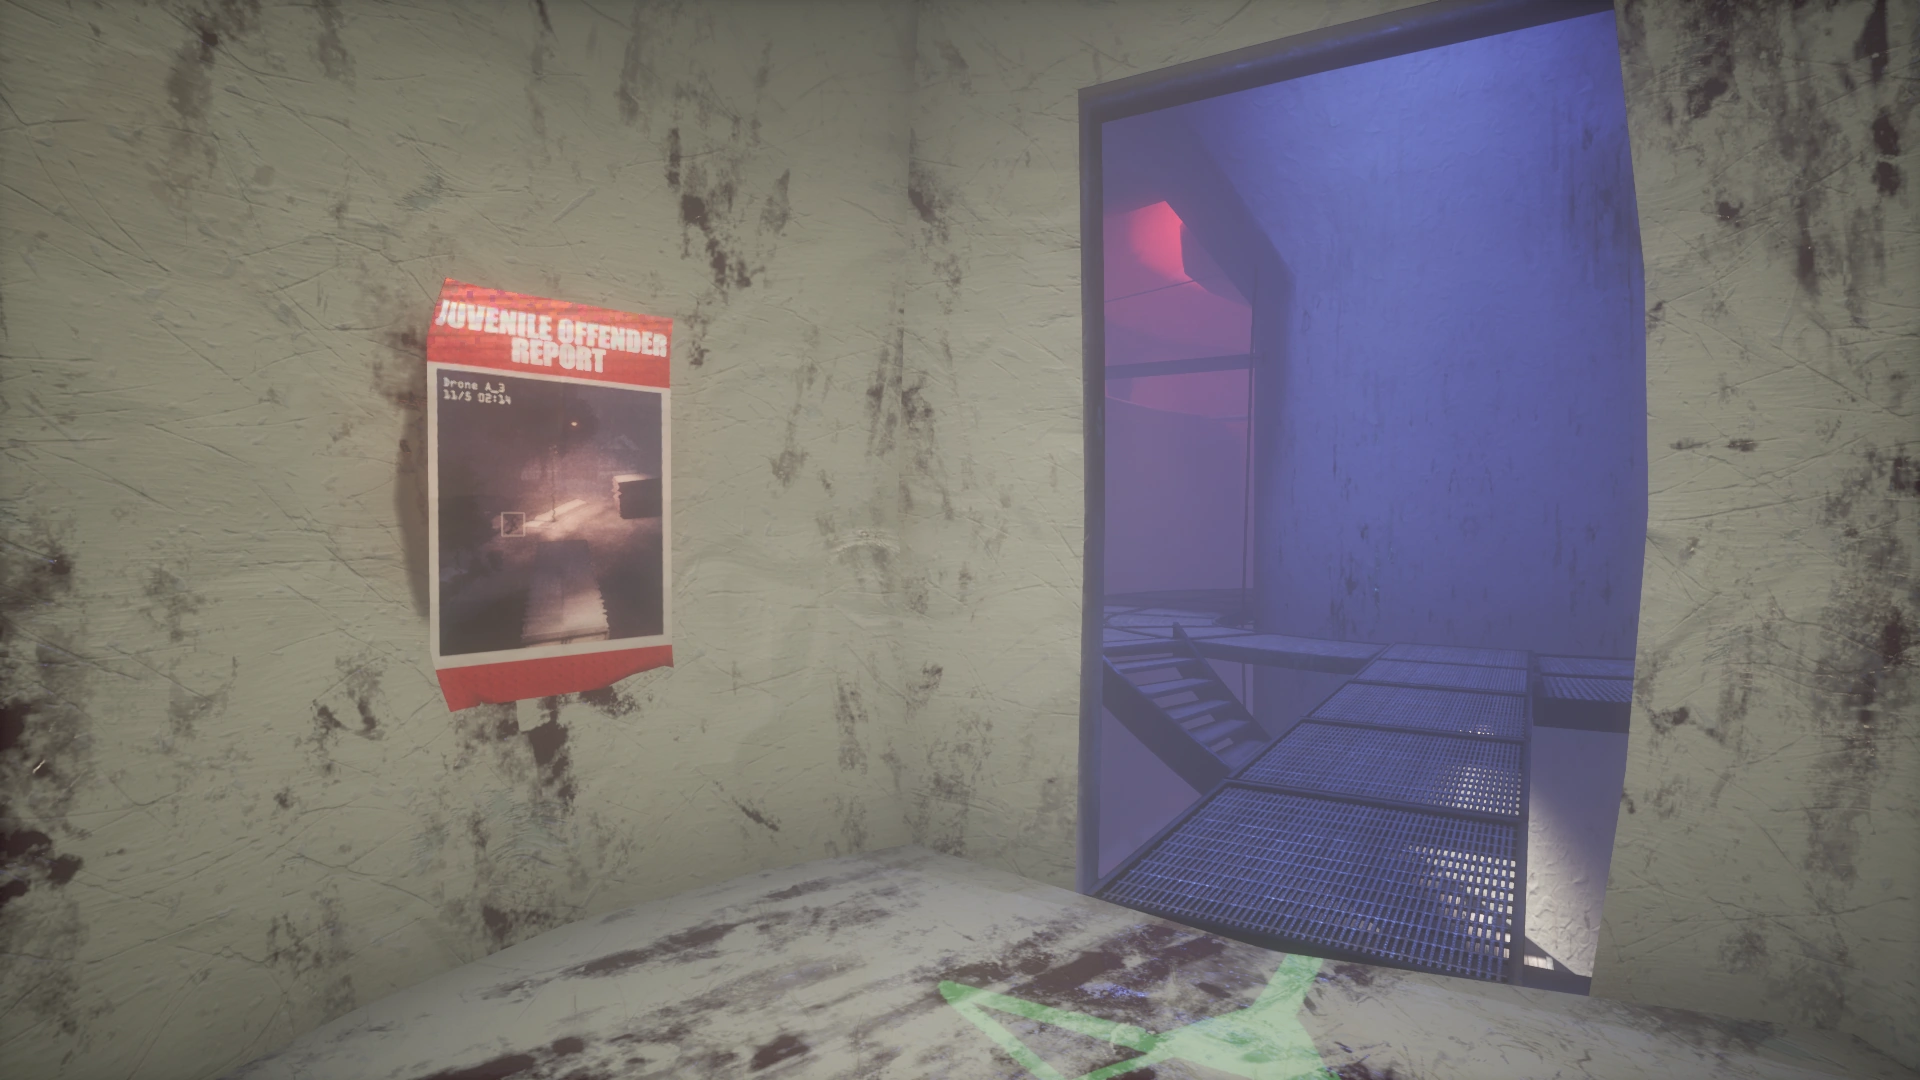
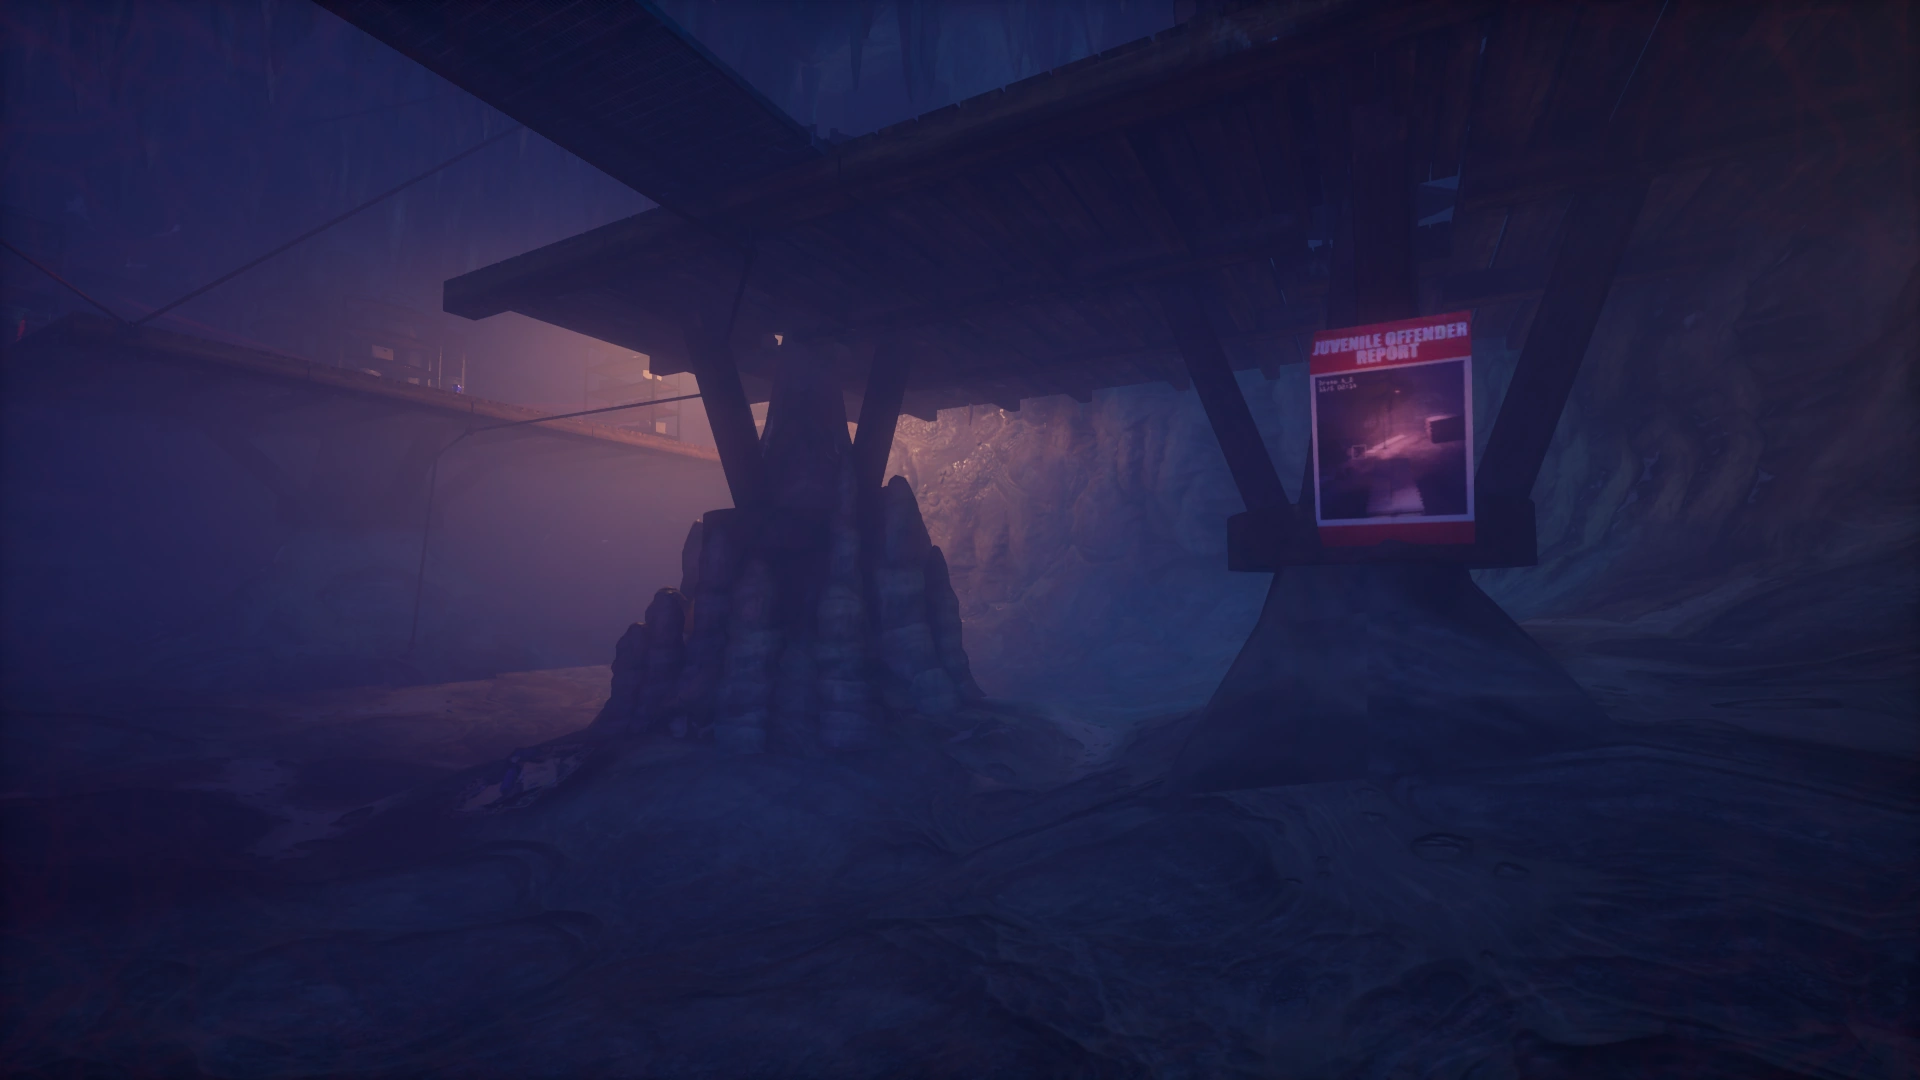
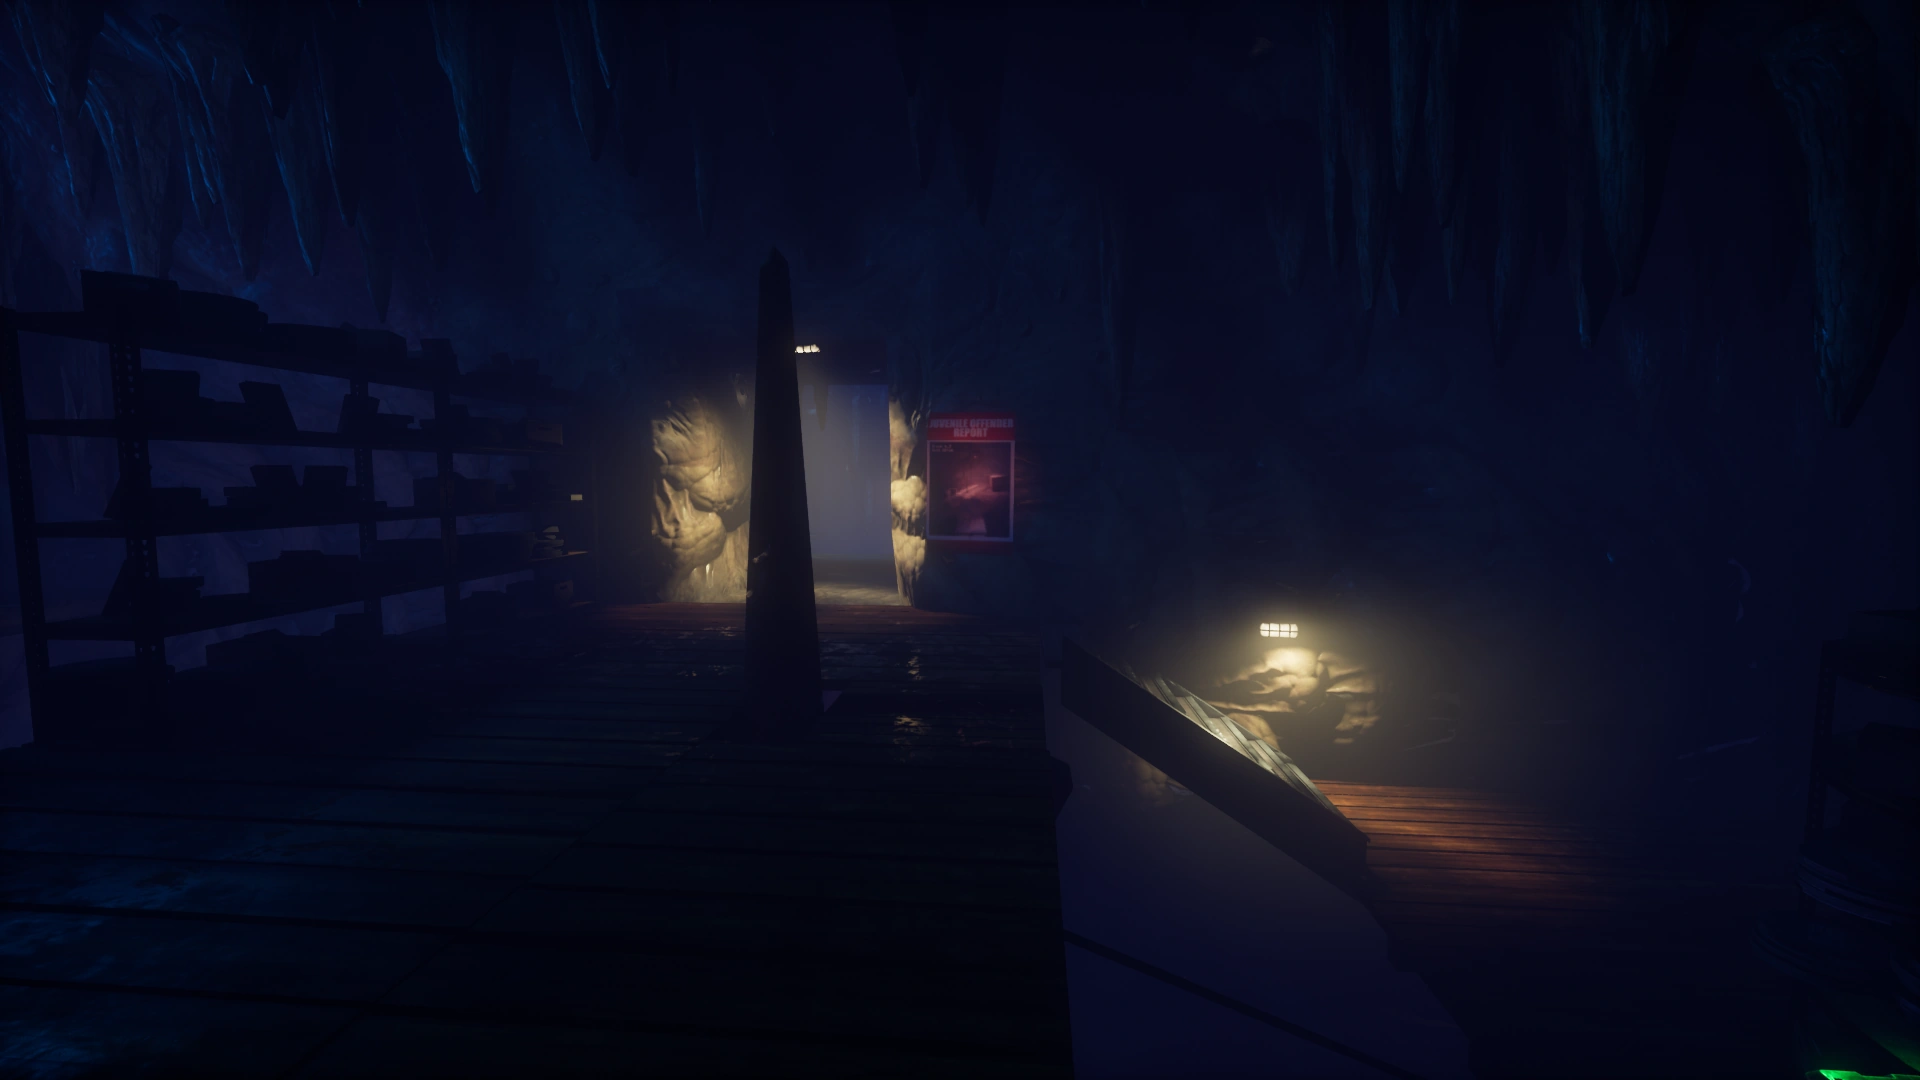
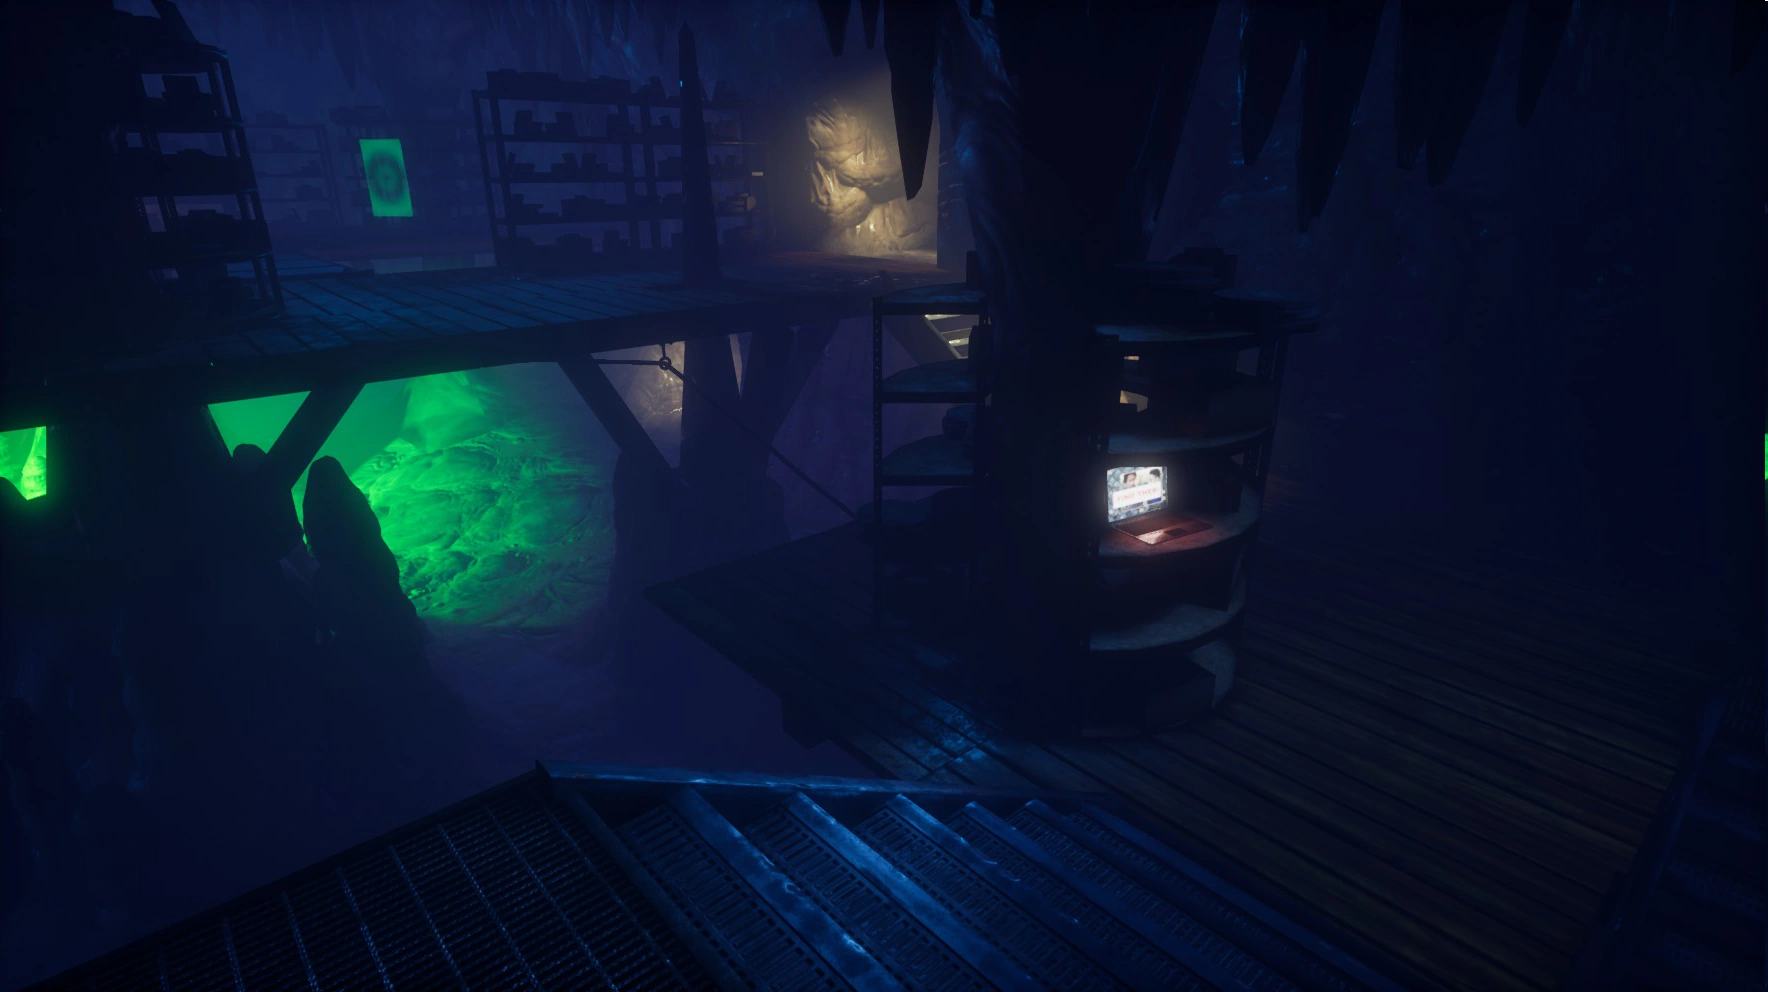
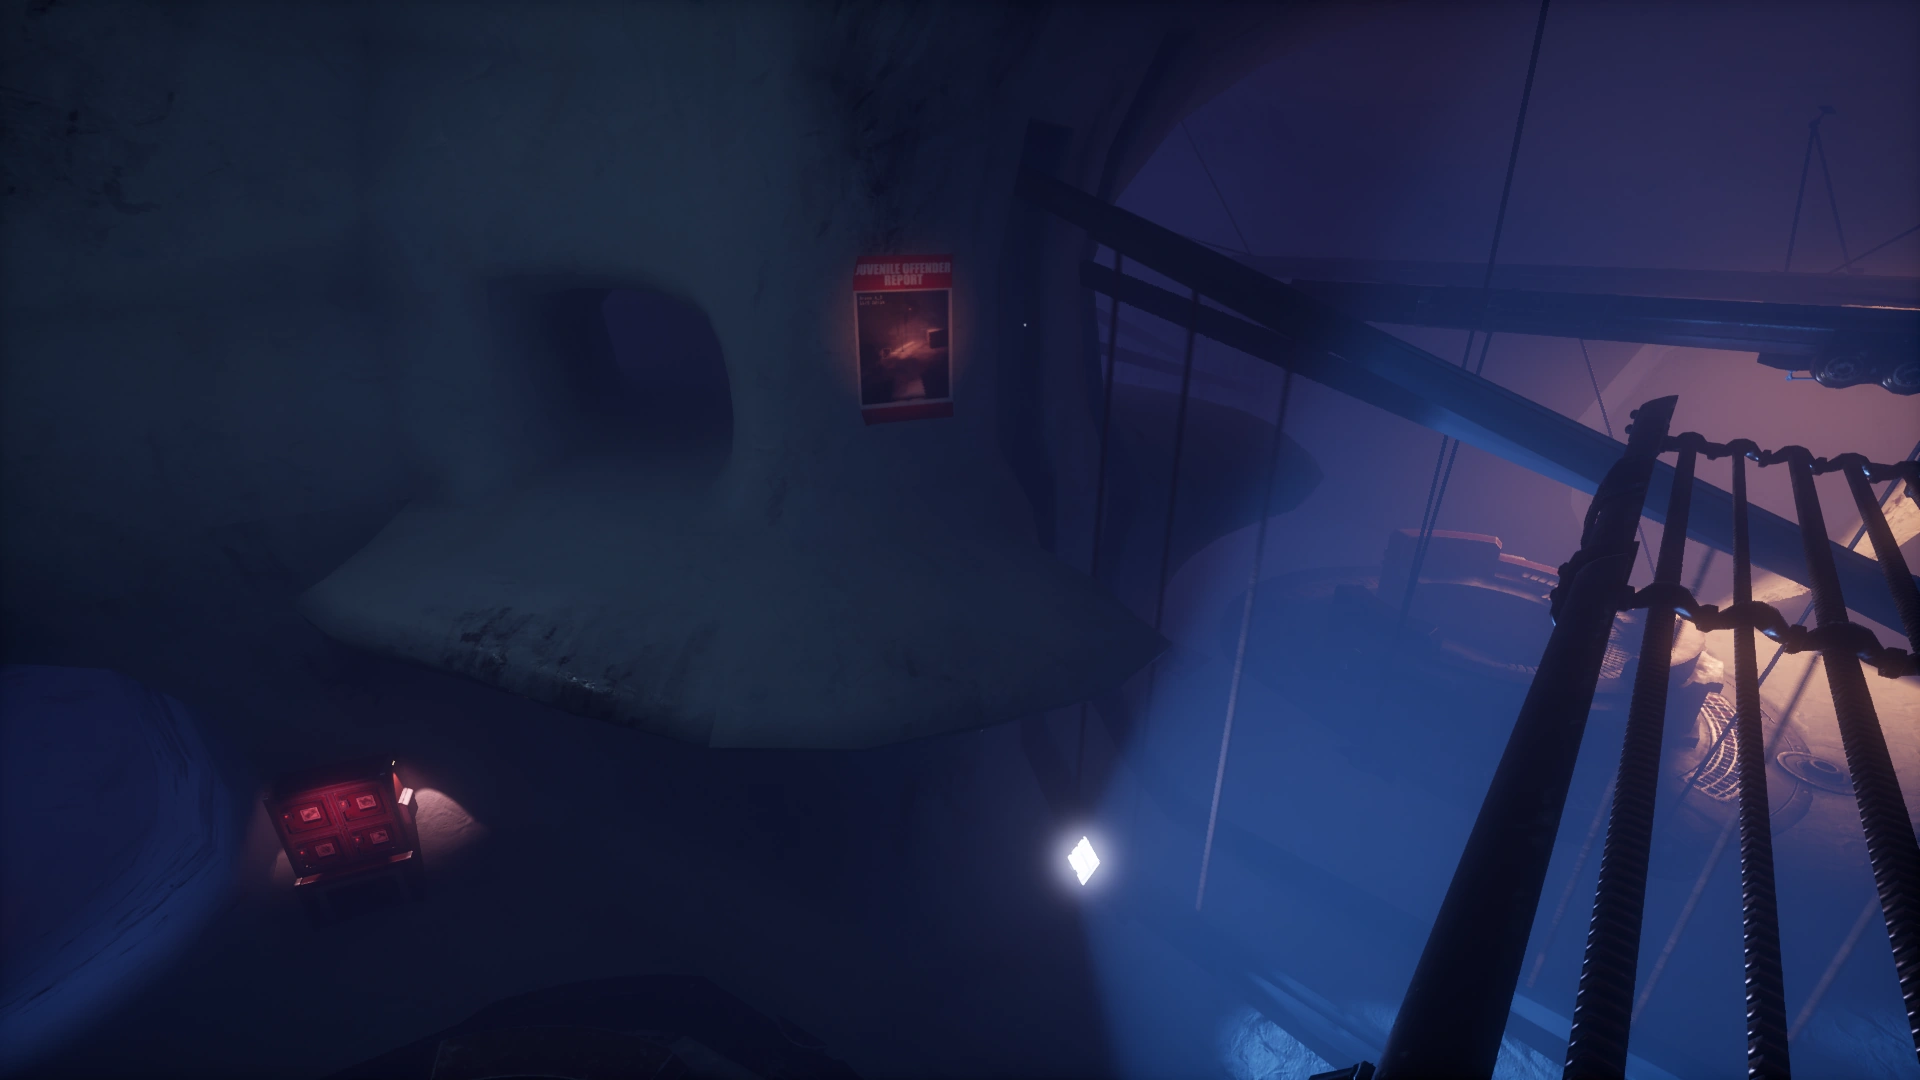
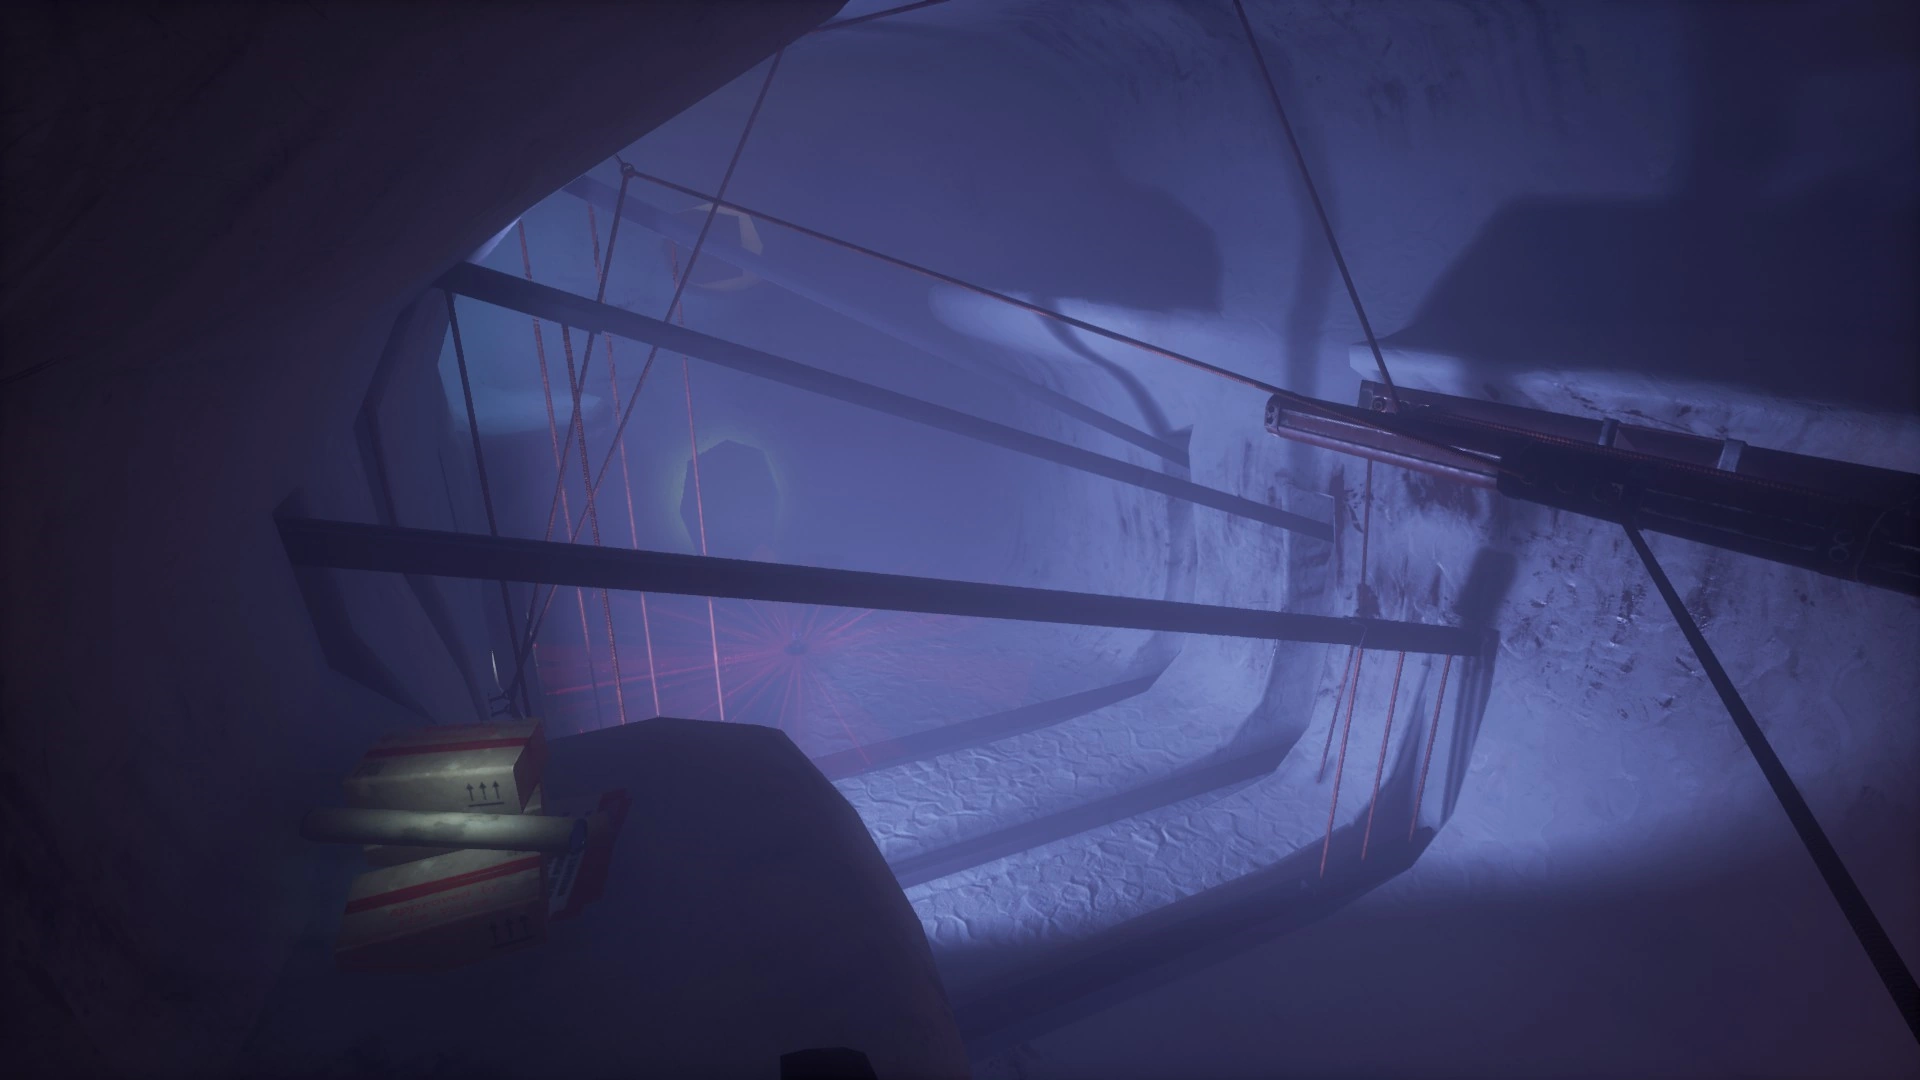
The list of known Bonus Evidence locations in The Maze. This list sorts by location, denotes the type of evidence, and describes the likelihood of finding the specific item during a mission. Click on an image to open a larger view of the location.
The frequency can be three possible values:
- Common - the Bonus Evidence item shows up most of the time and can be found almost every other mission.
- Occasional - the Bonus Evidence item can be found once every few missions. You may go several missions without seeing it.
- Rare - the Bonus Evidence item may spawn only once in a dozen or more missions.
For a list of item types, see Types of Bonus Evidence.
The frequency will often depend on the host's level. If the frequency changes drastically with varying host levels, it will be noted for low level and high level. If a piece of evidence only spawns at low levels or particularly when the host is Level 1, that will also be noted. A host is typically considered high level once they reach Level 7.
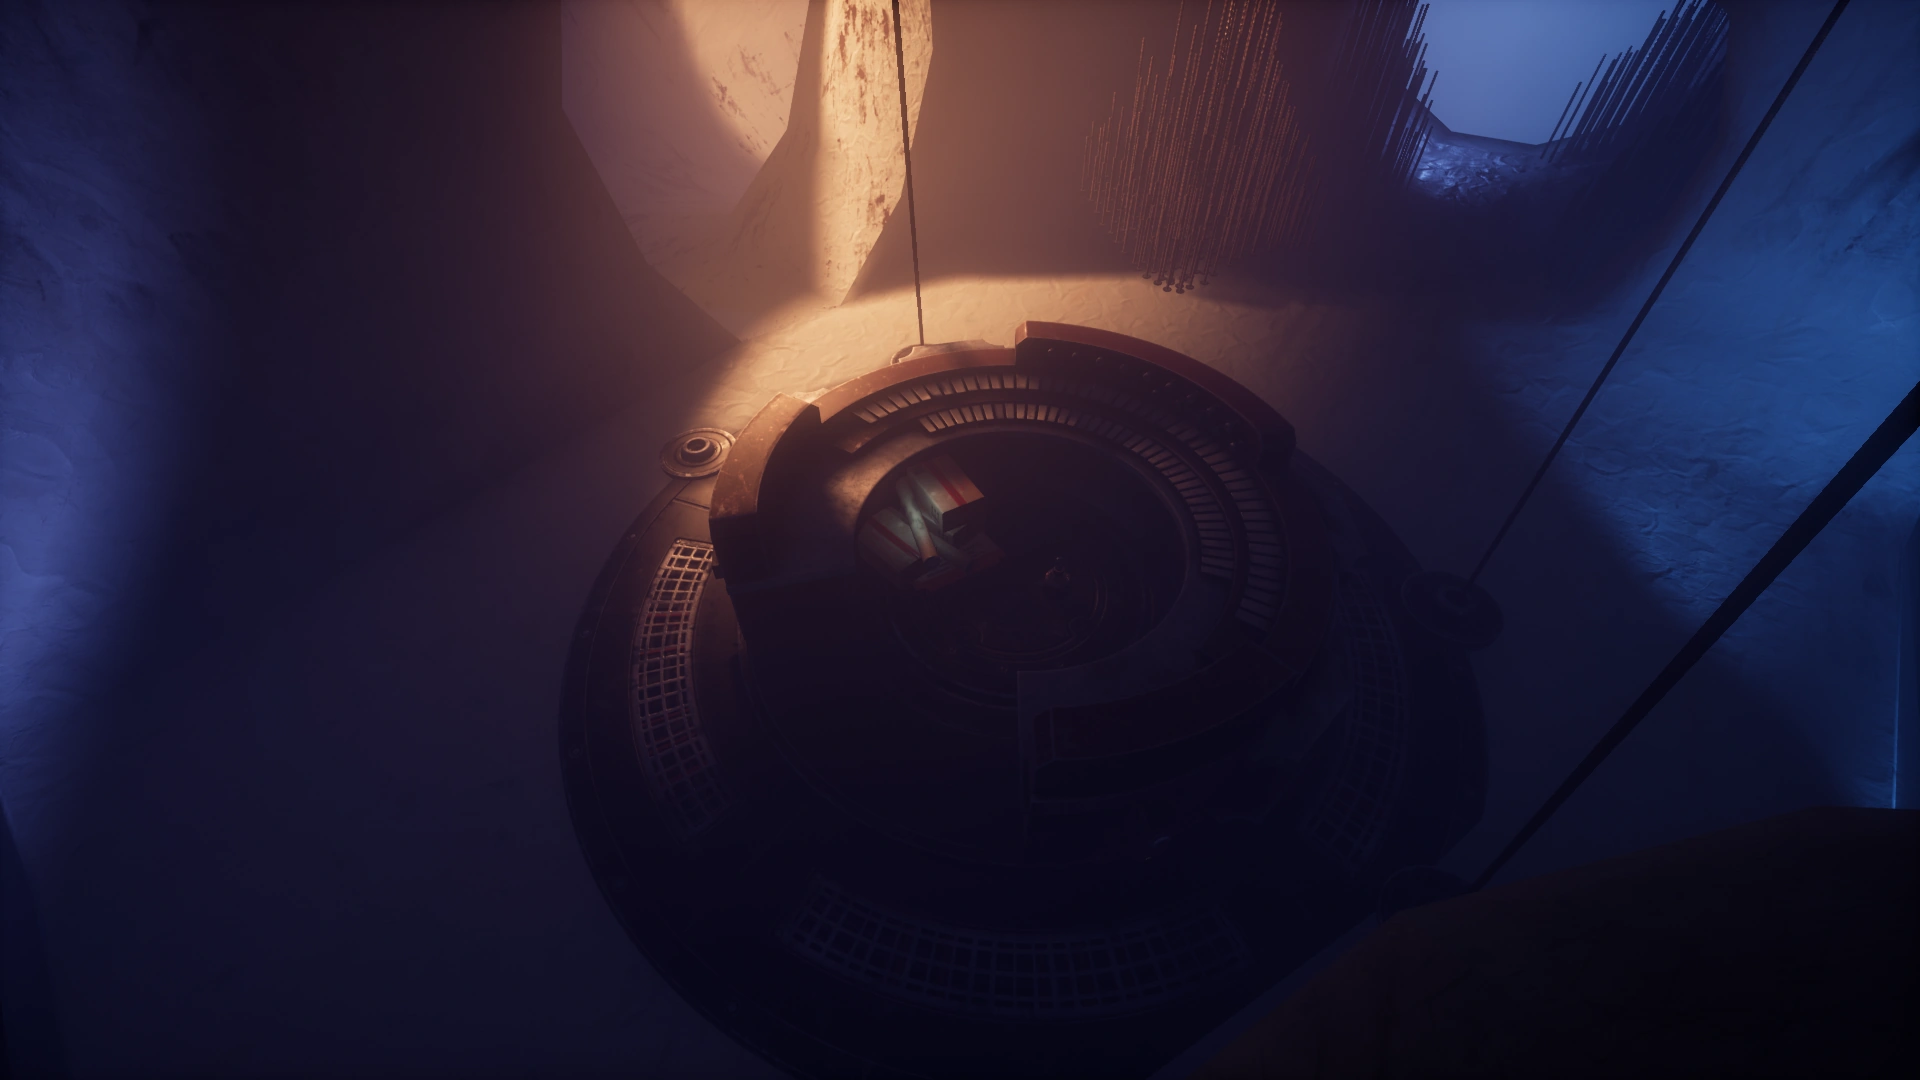
920 Observation[ | ]

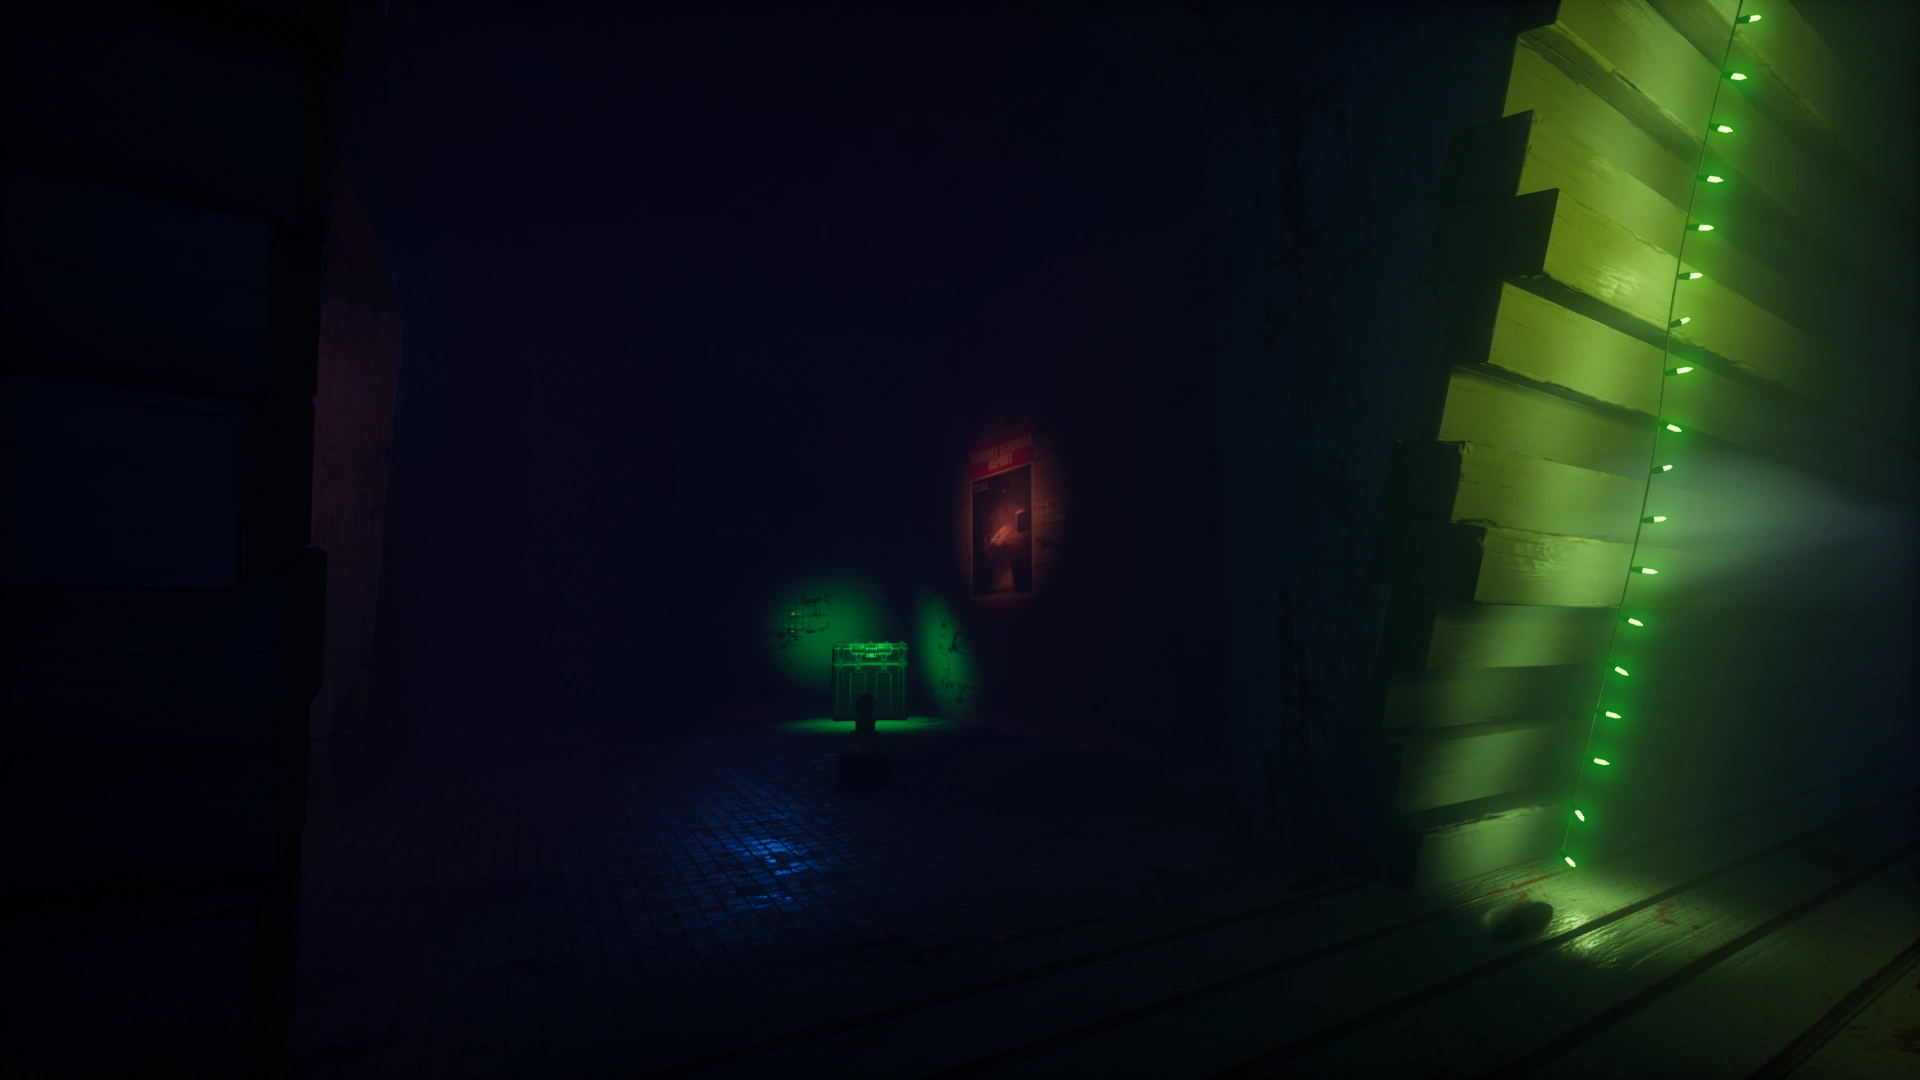
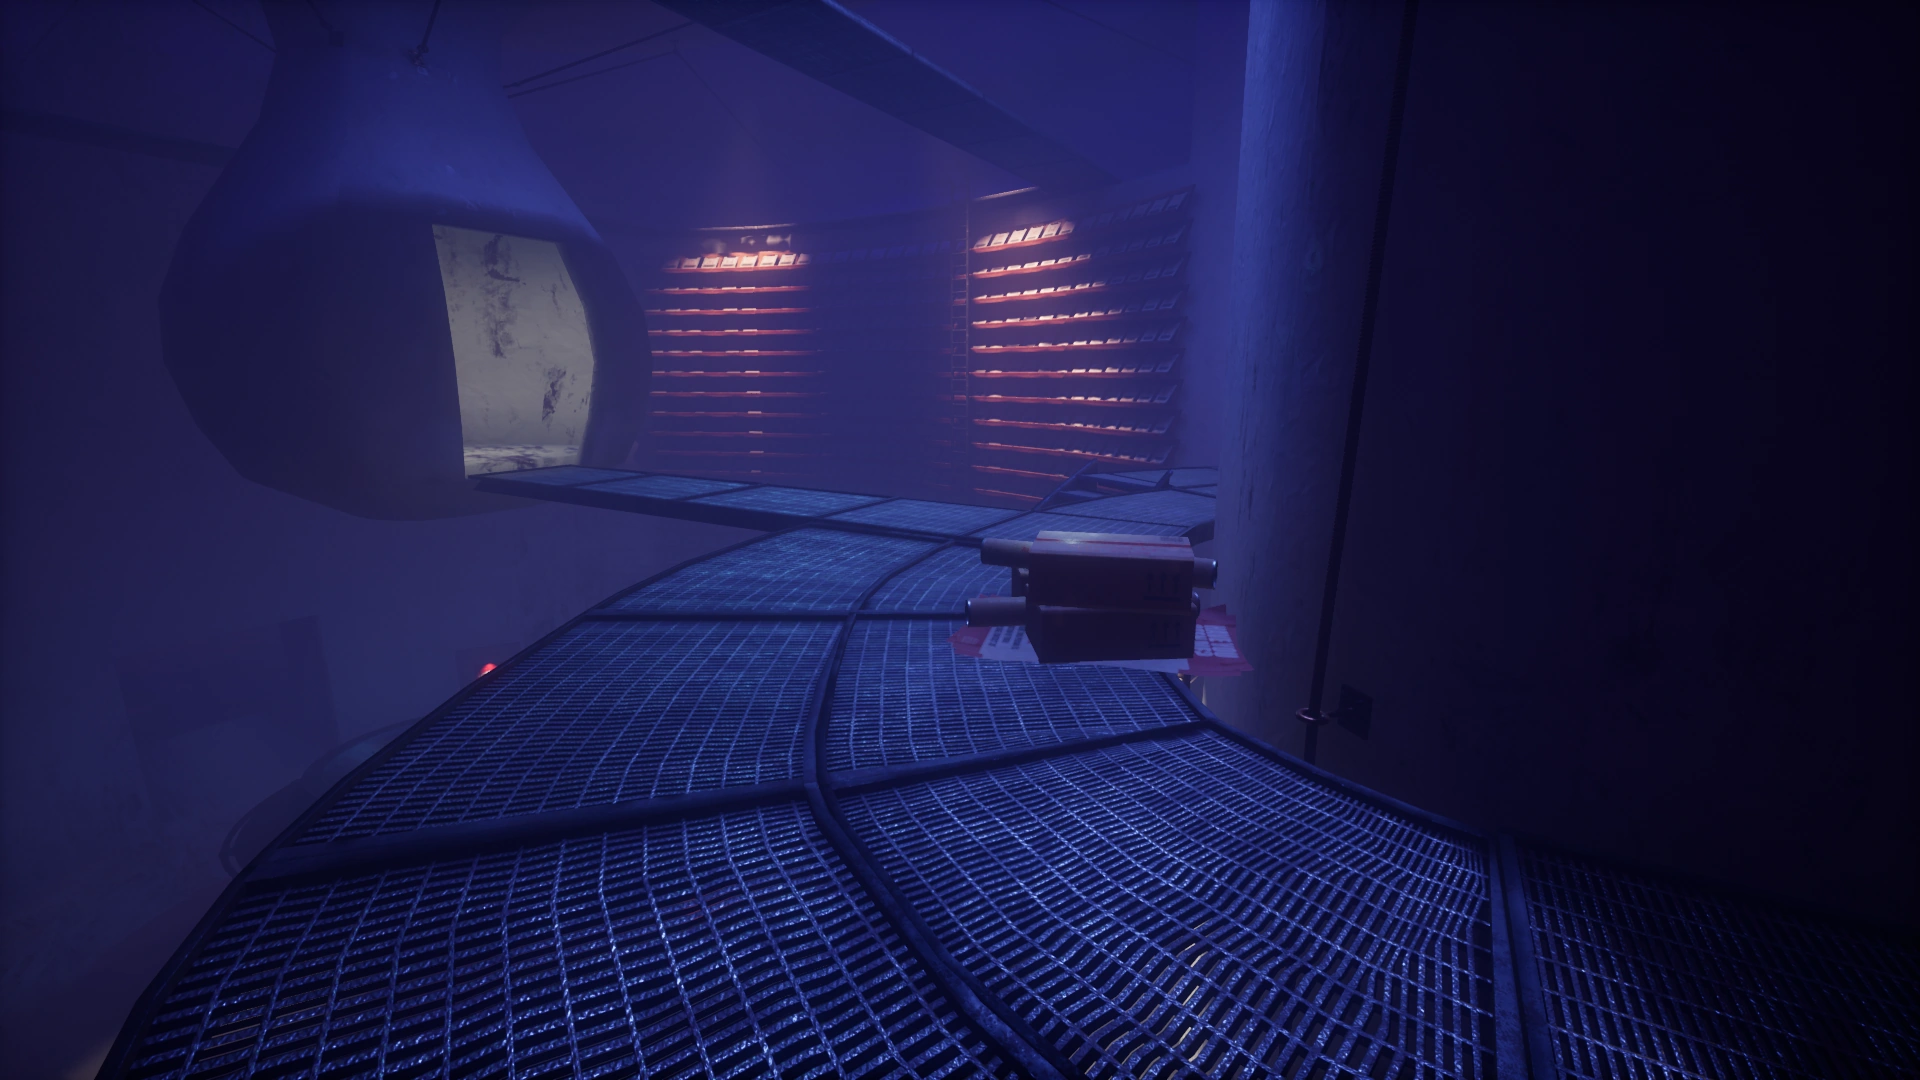
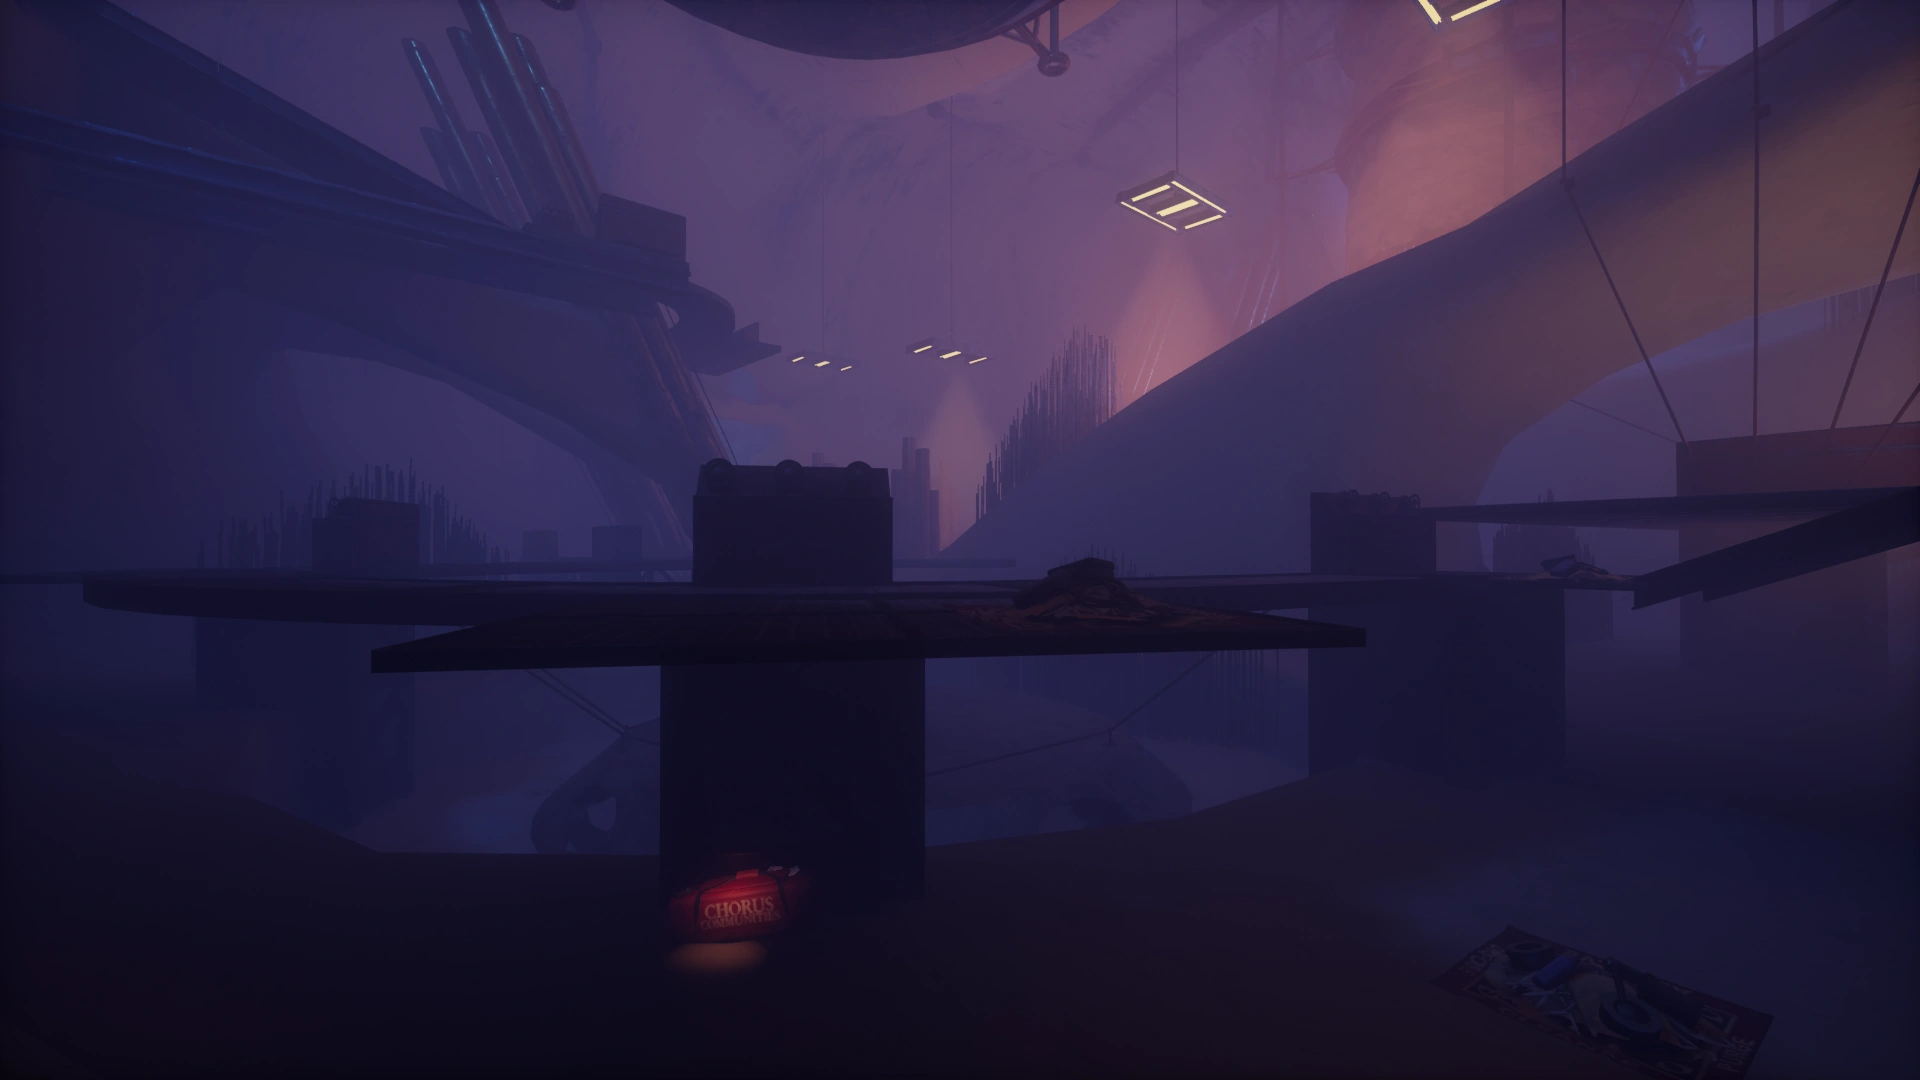
Opposite Host Conditioning Entrance — Briefcase
(Low Level: Occasional)
(High Level: Rare)
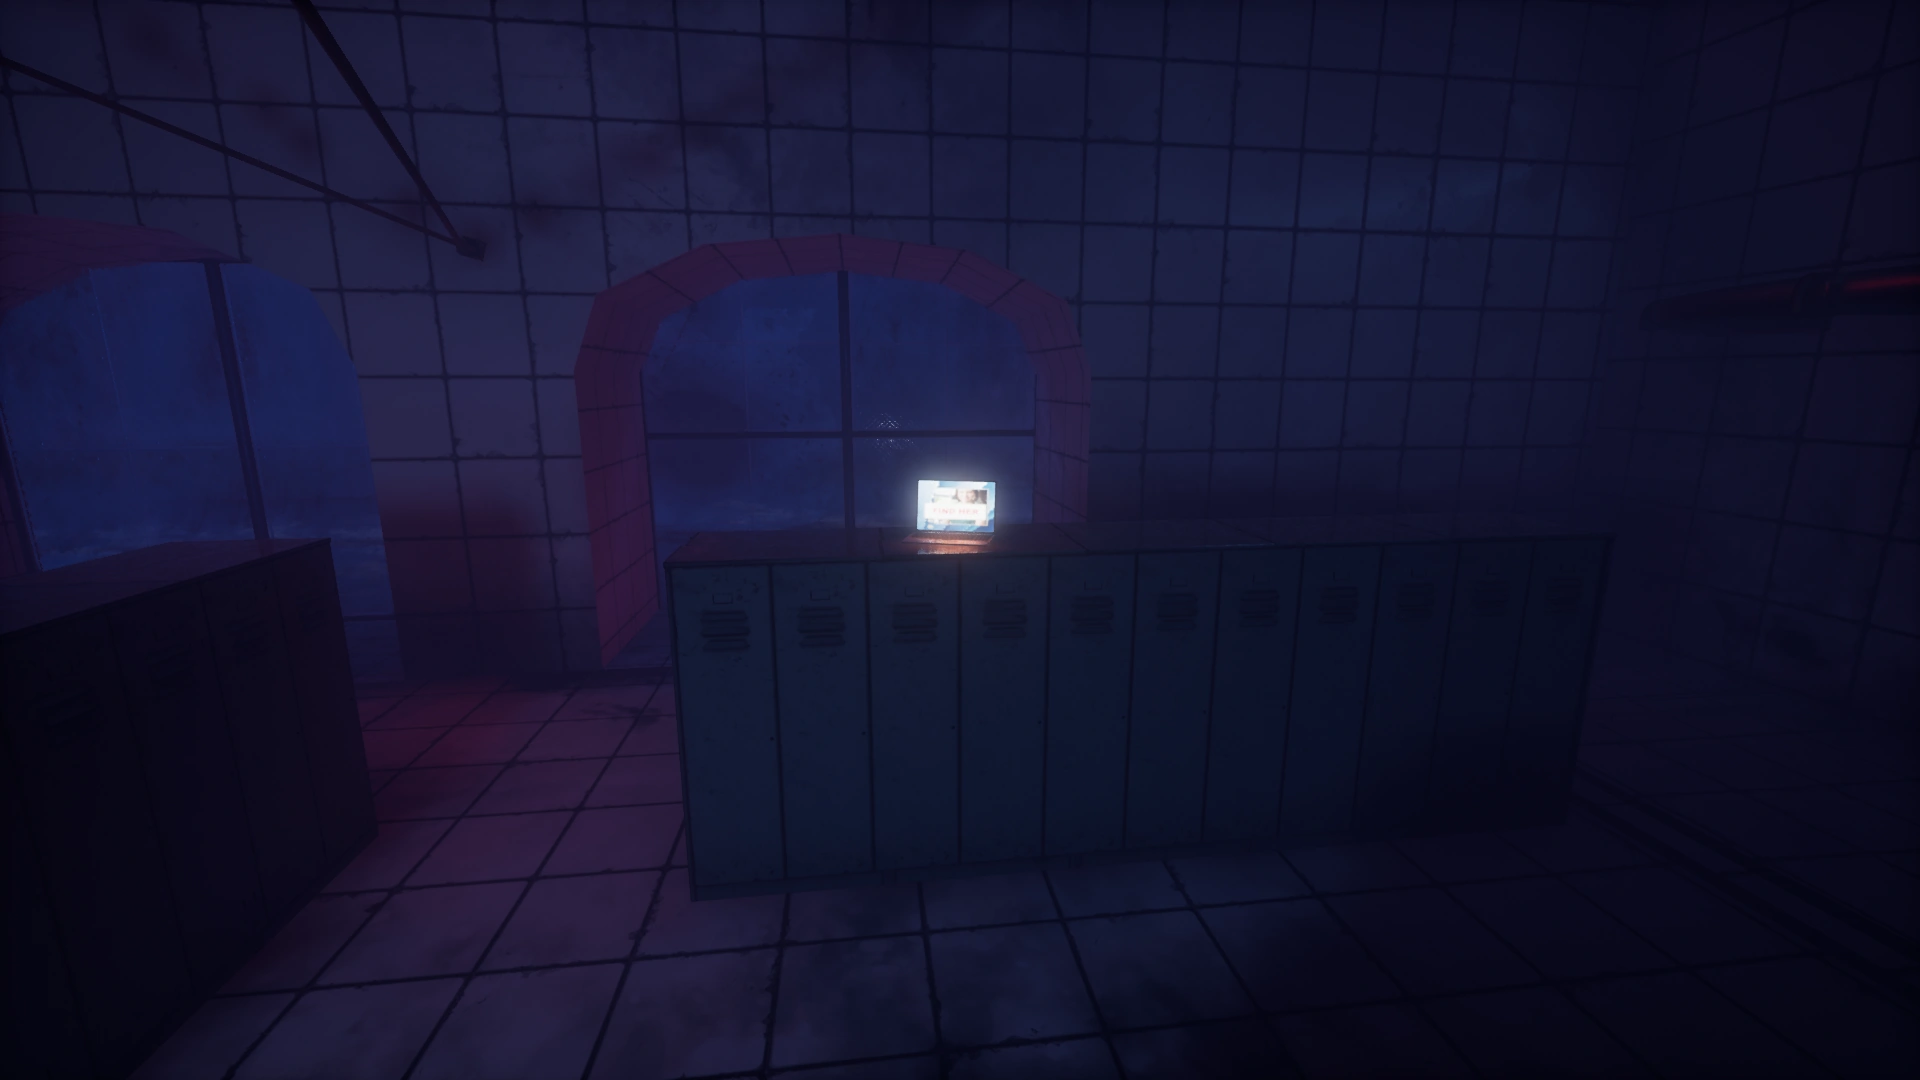
Instrument Supply Entrance Generator — Laptop
(Occasional)
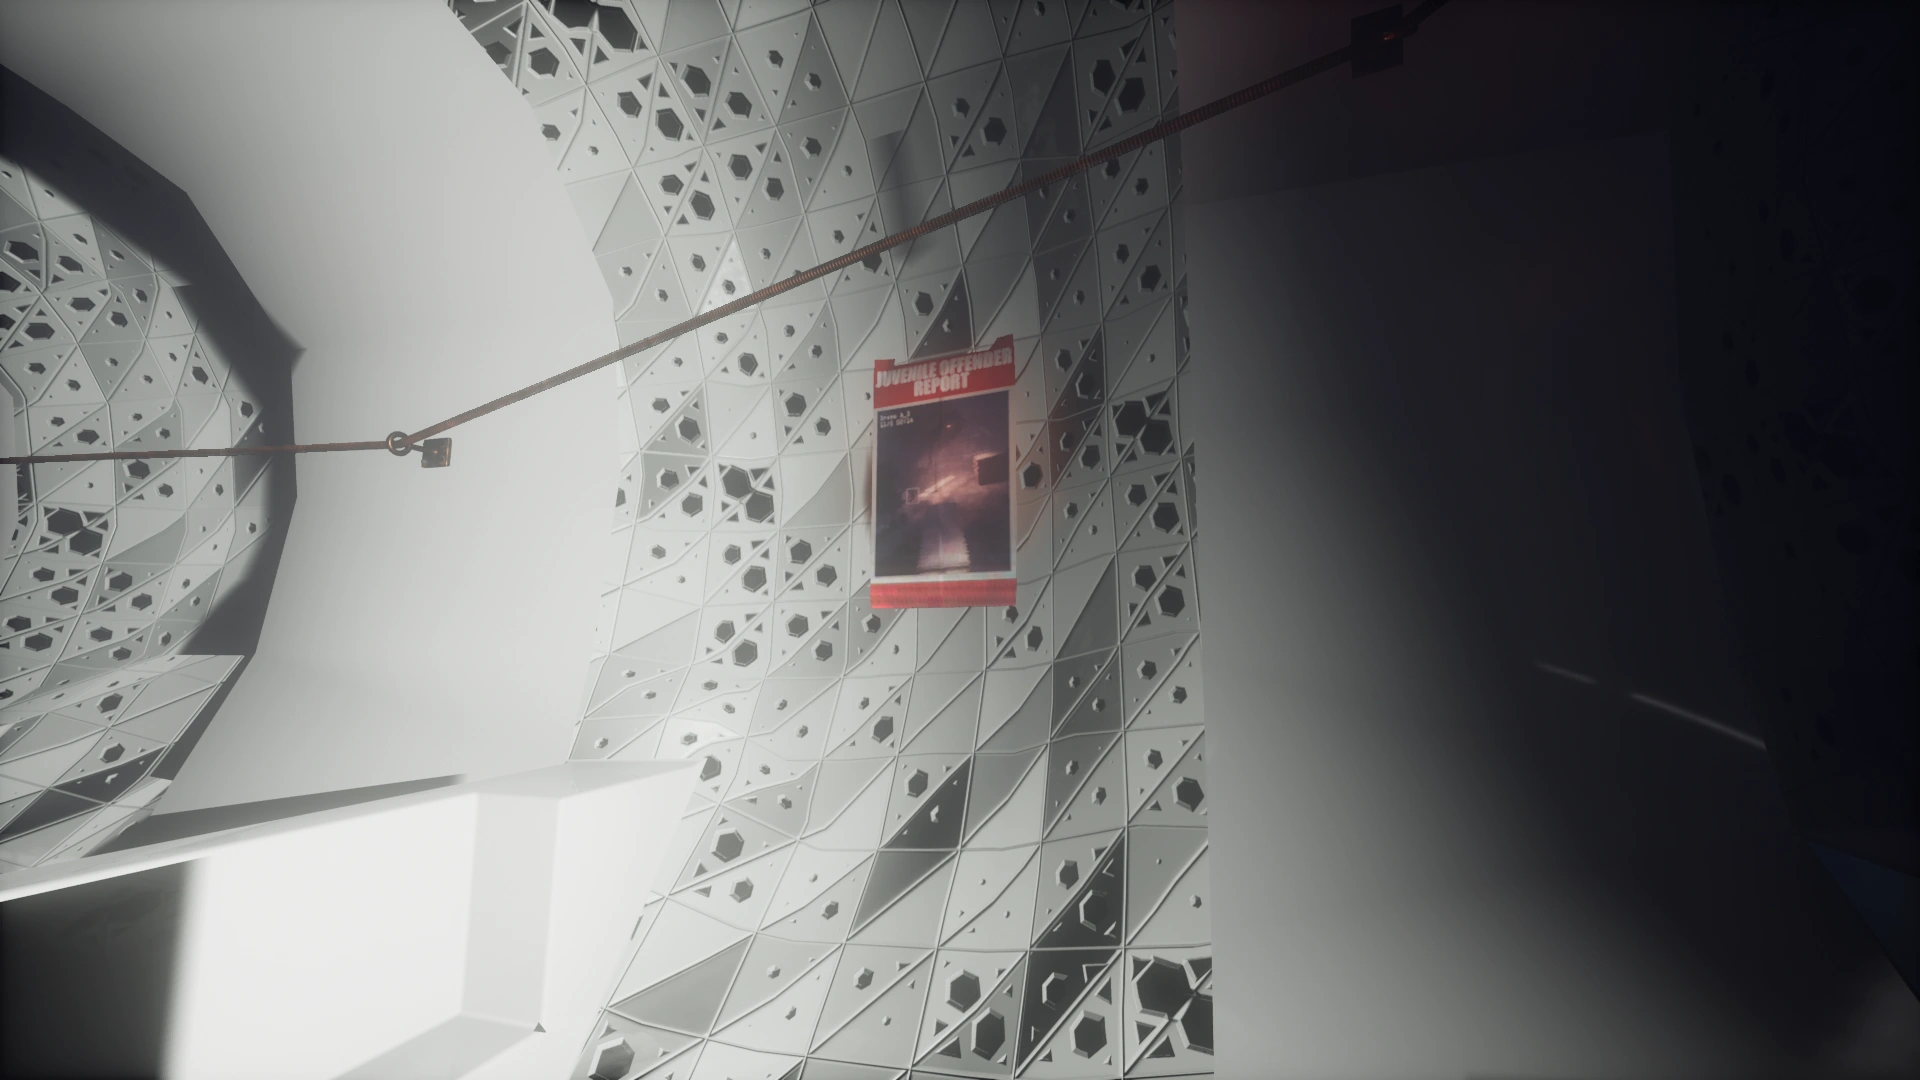
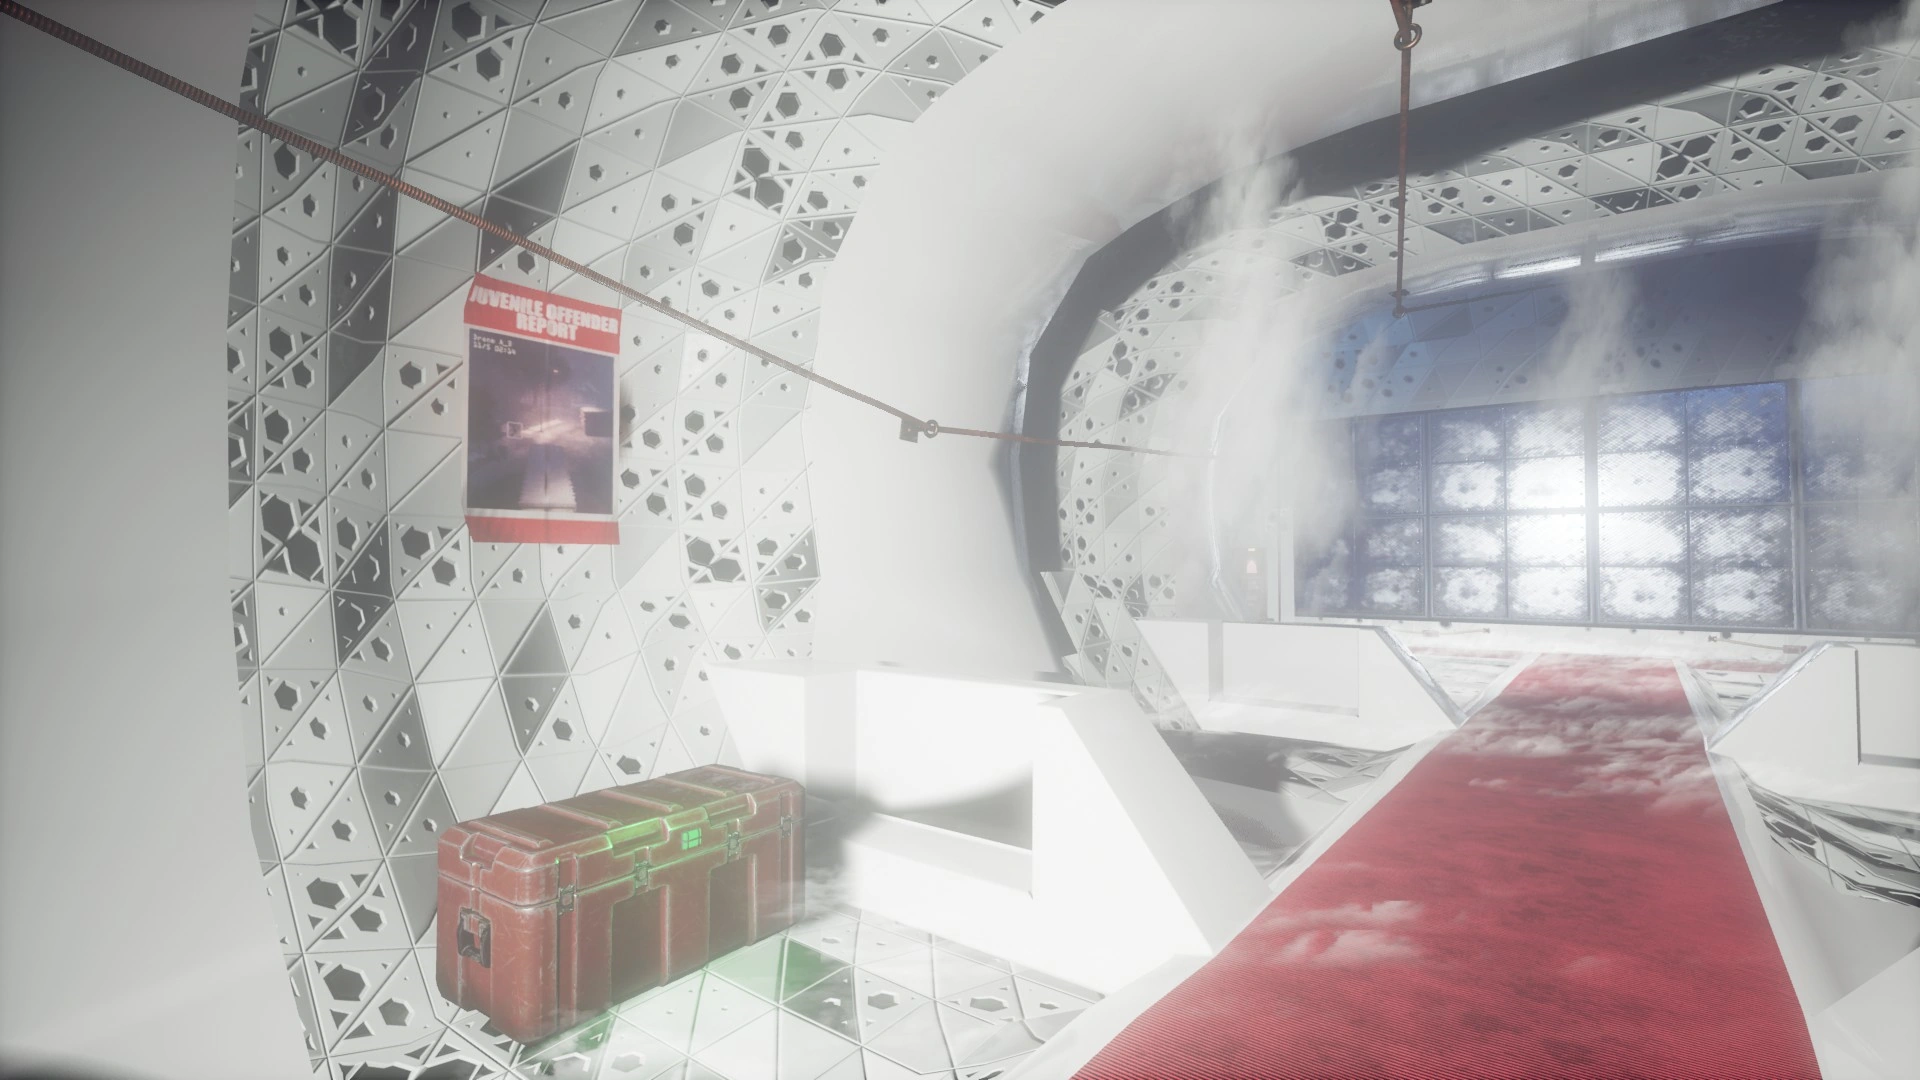
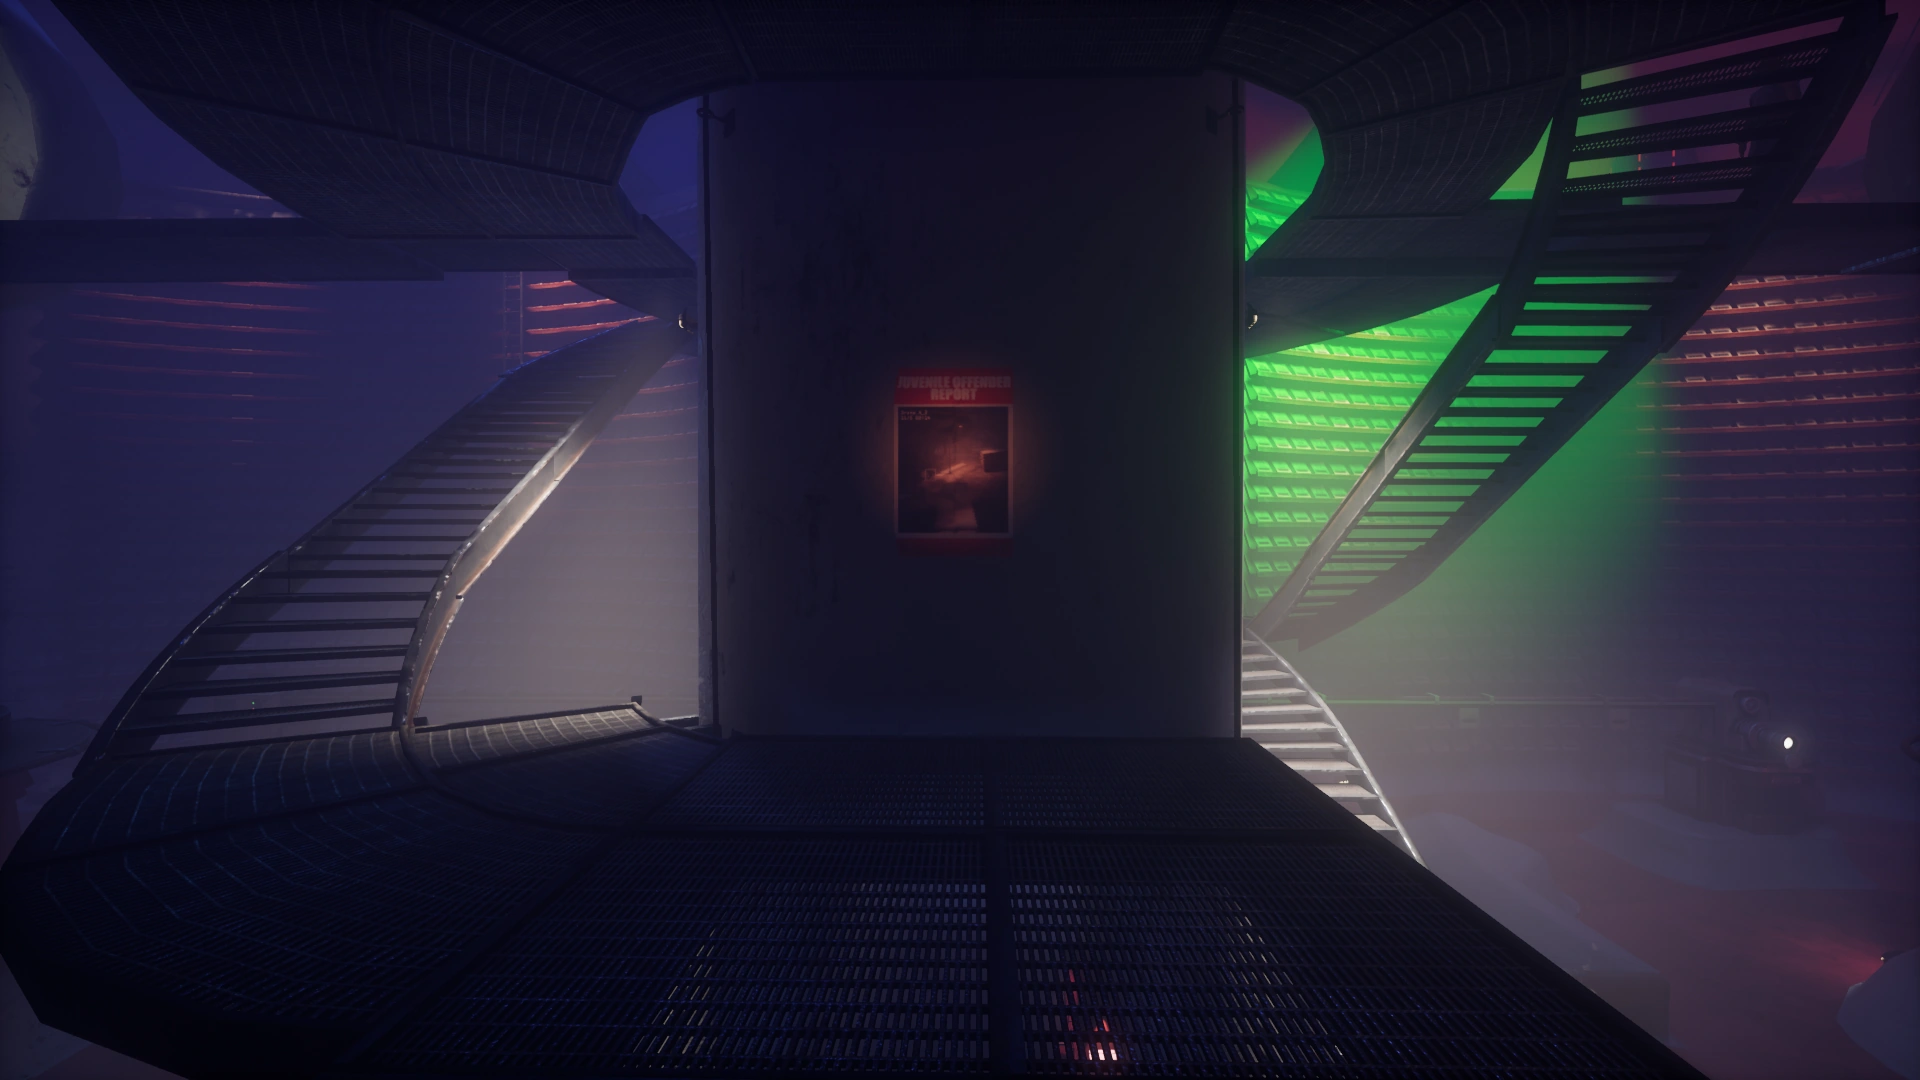
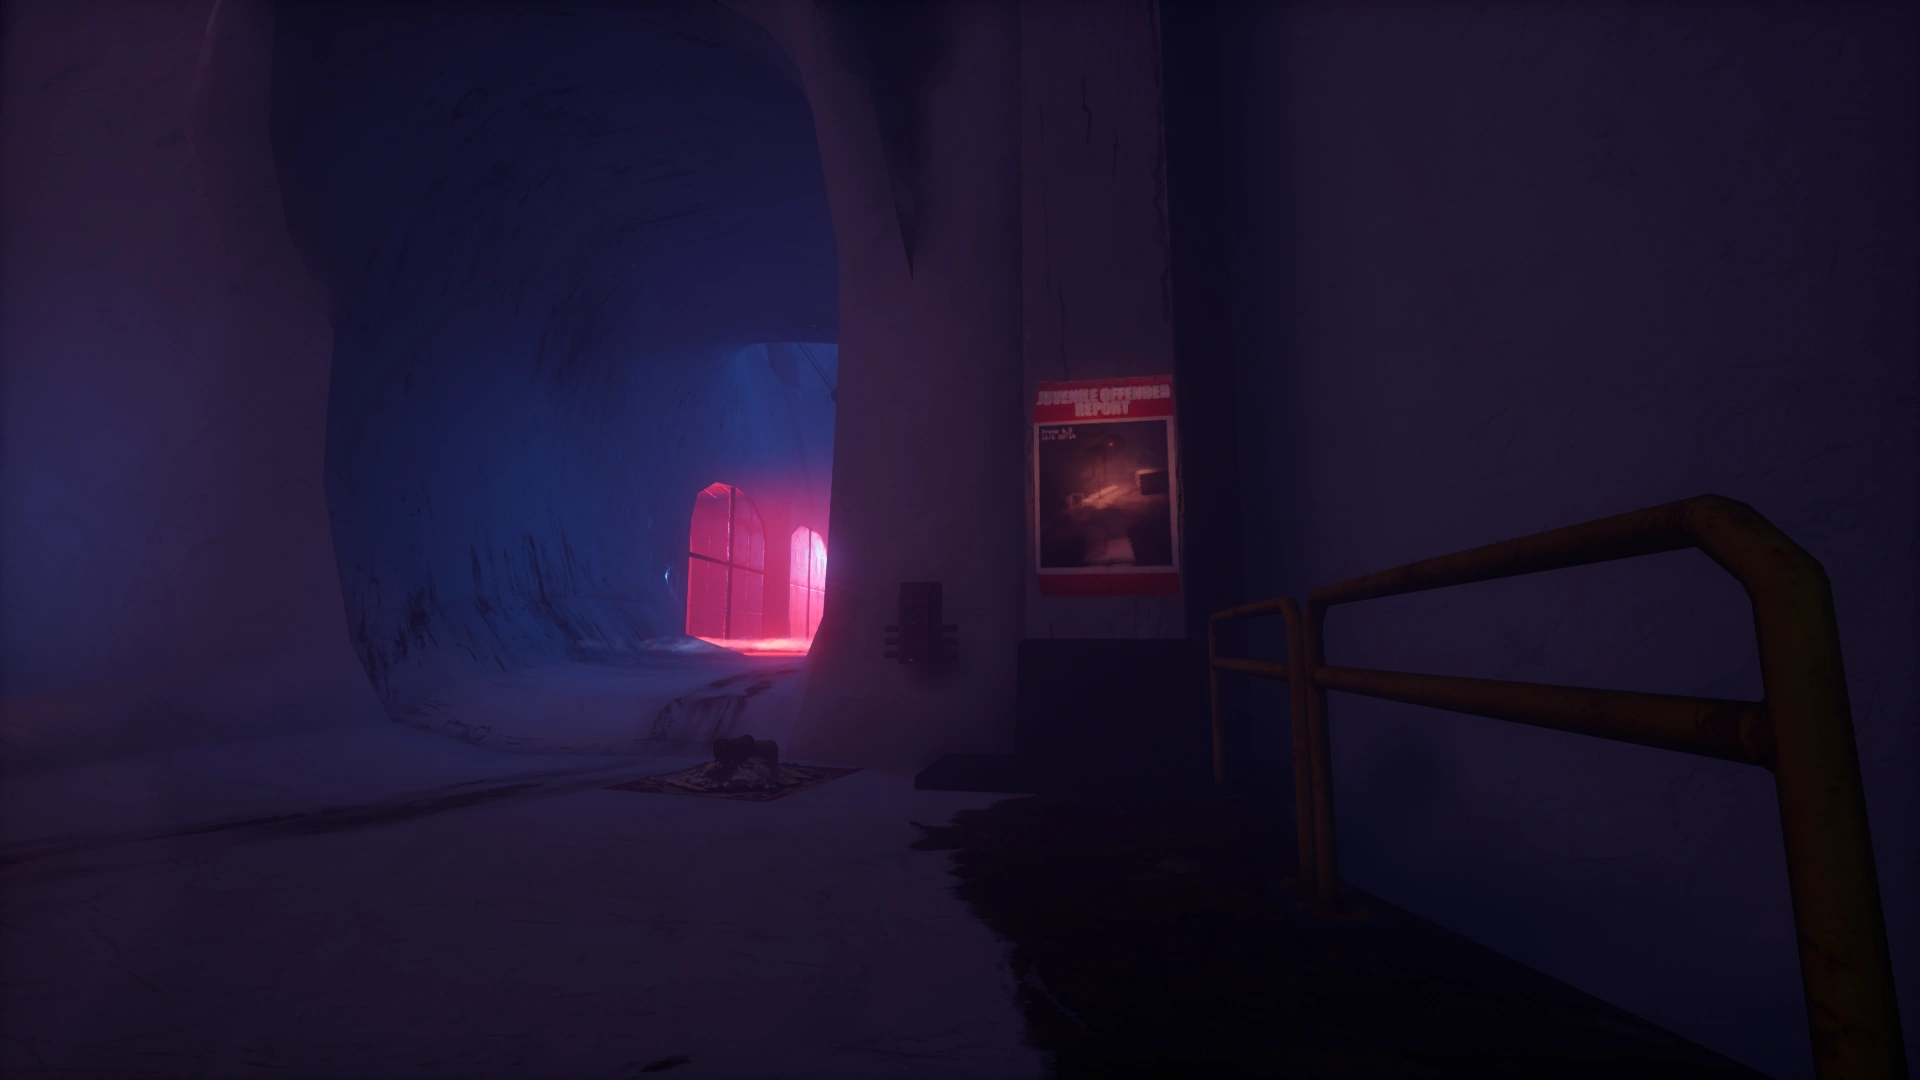
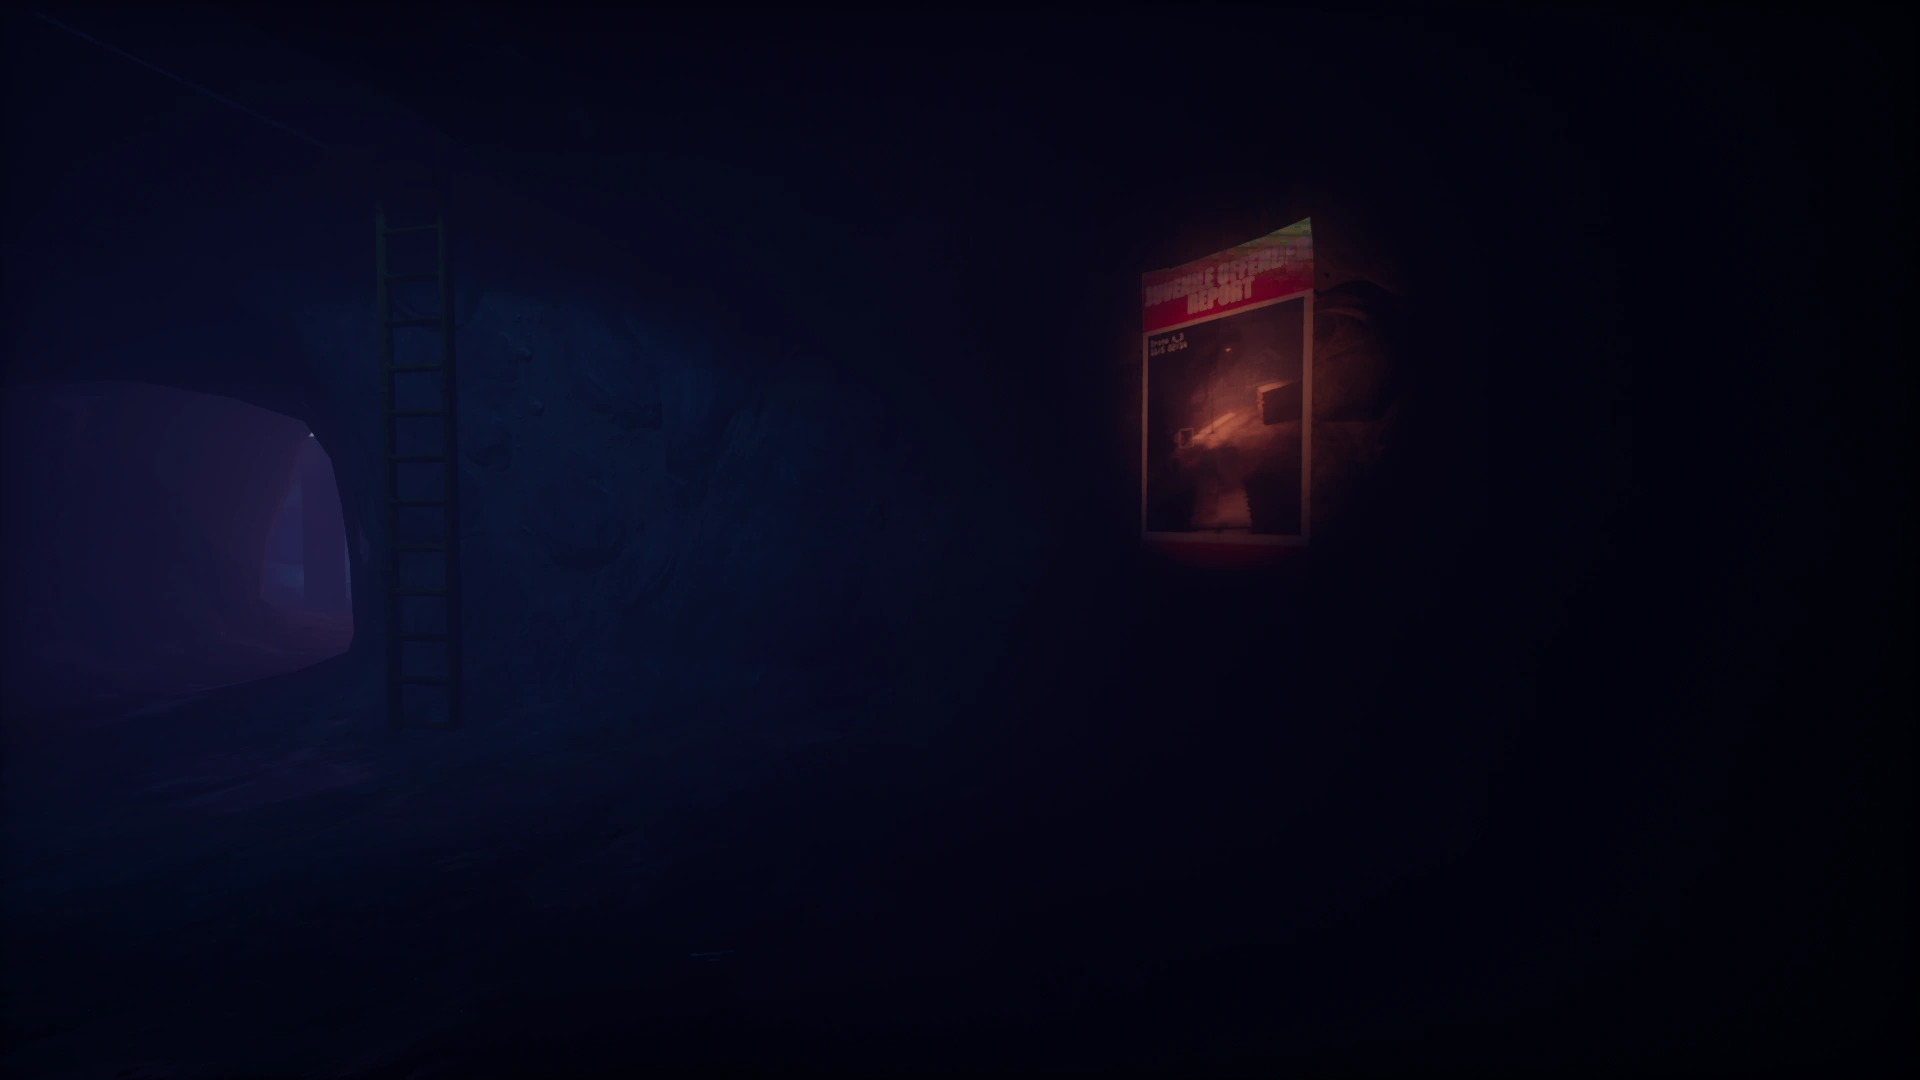
Corner opposite ladder — Poster
(Low Level: Occasional)
(High Level: Rare)
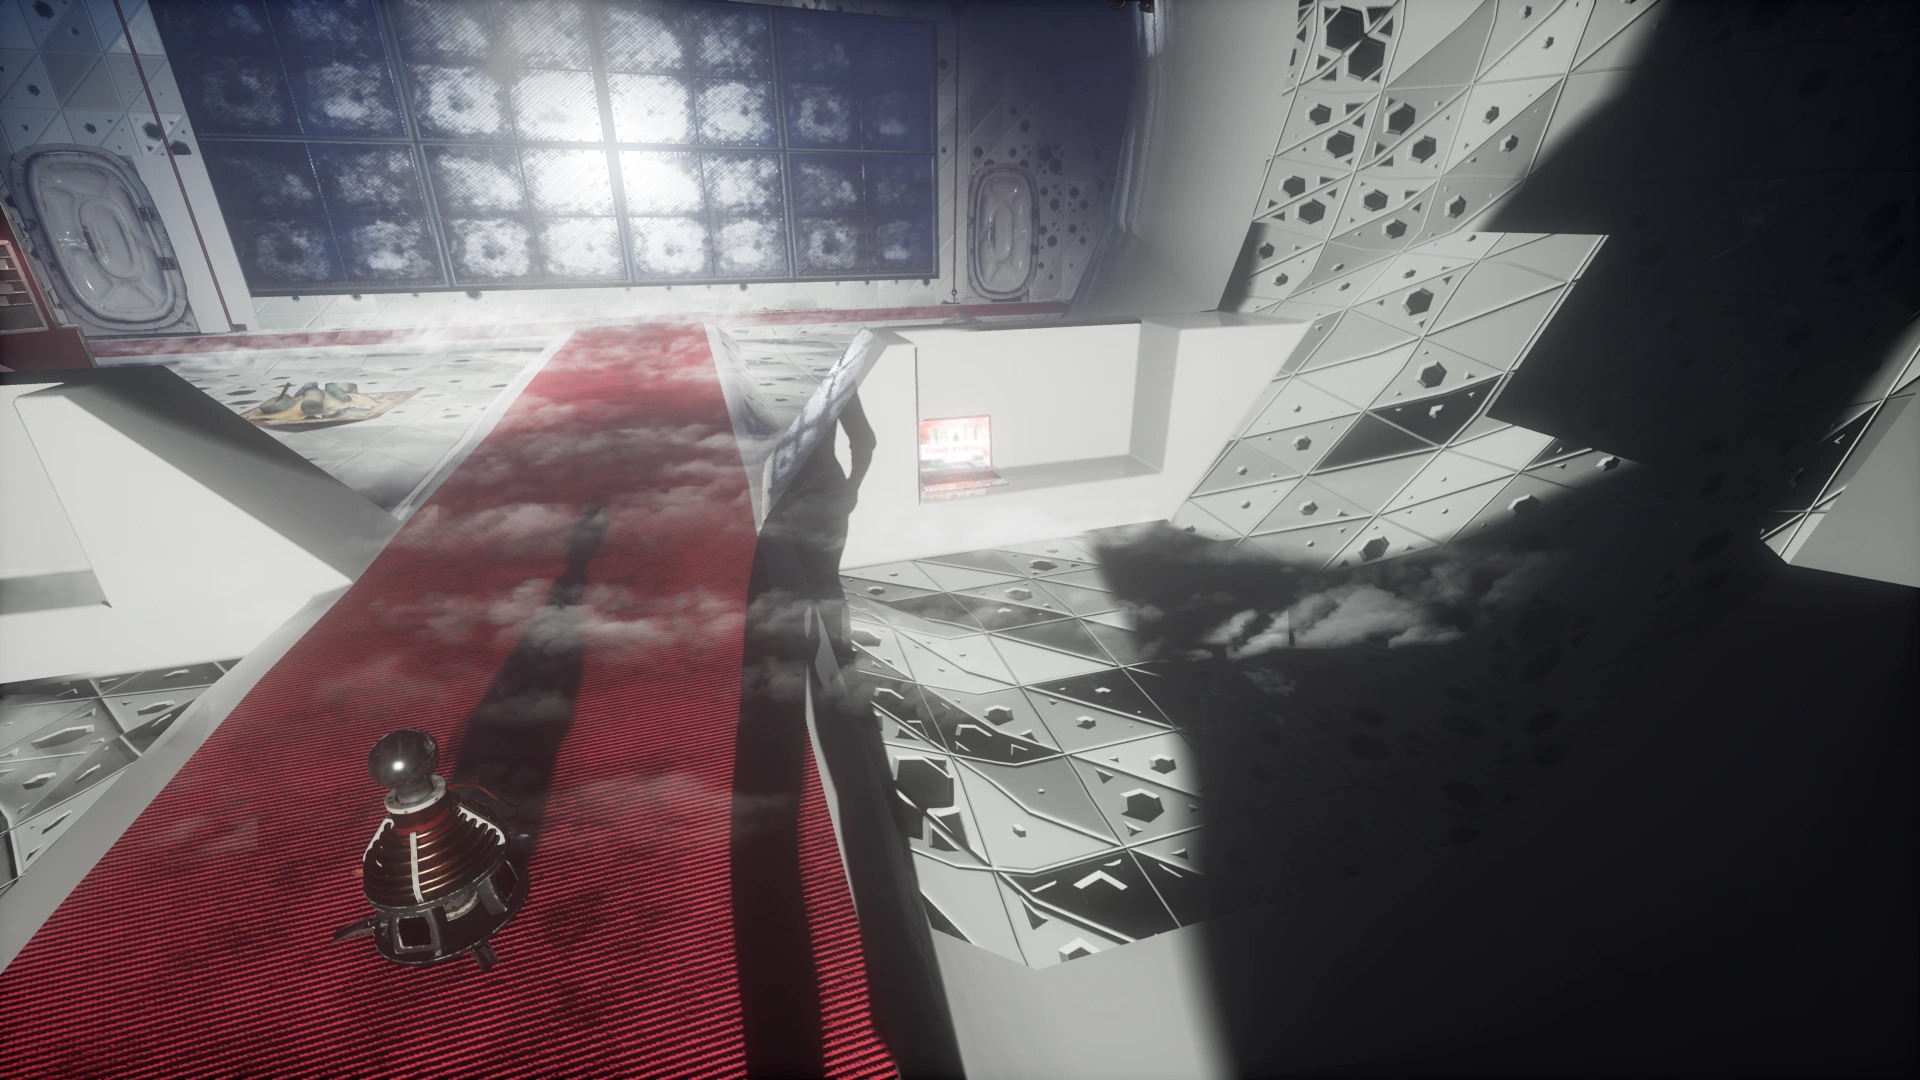
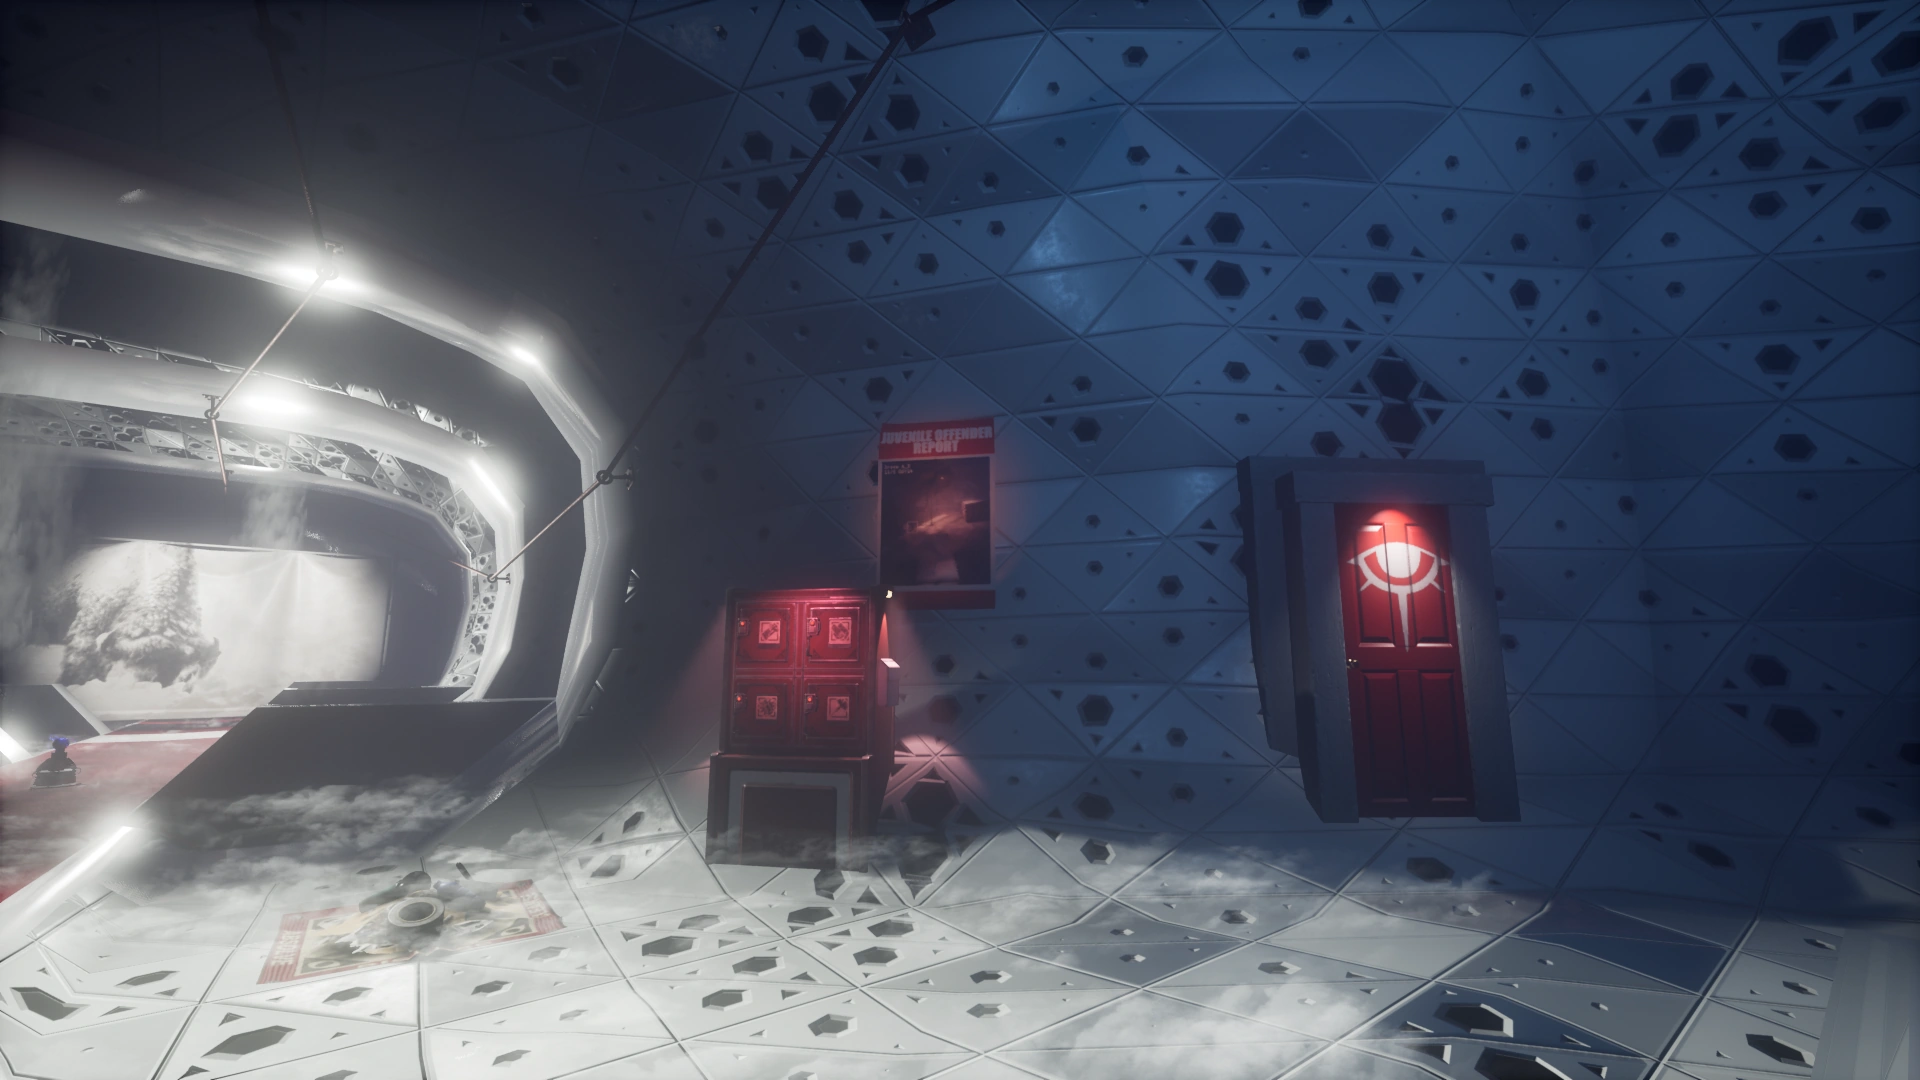
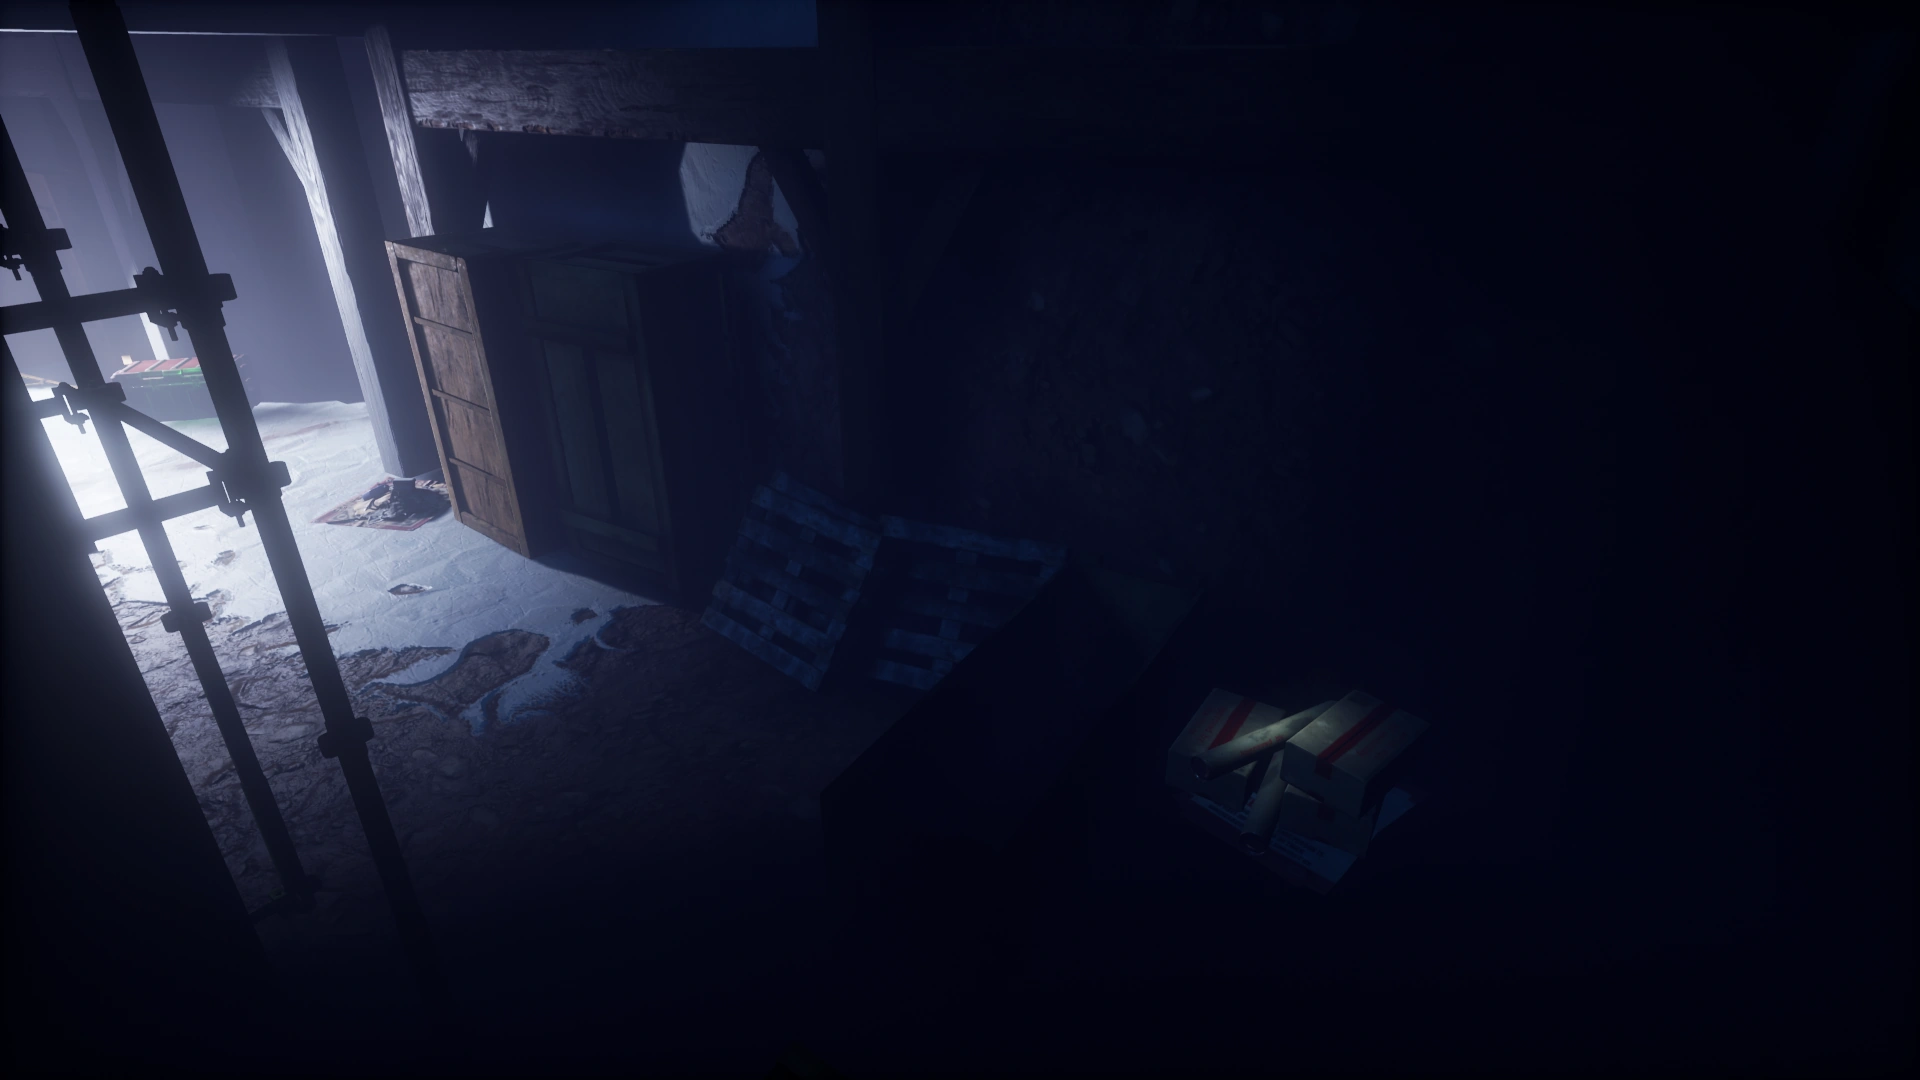
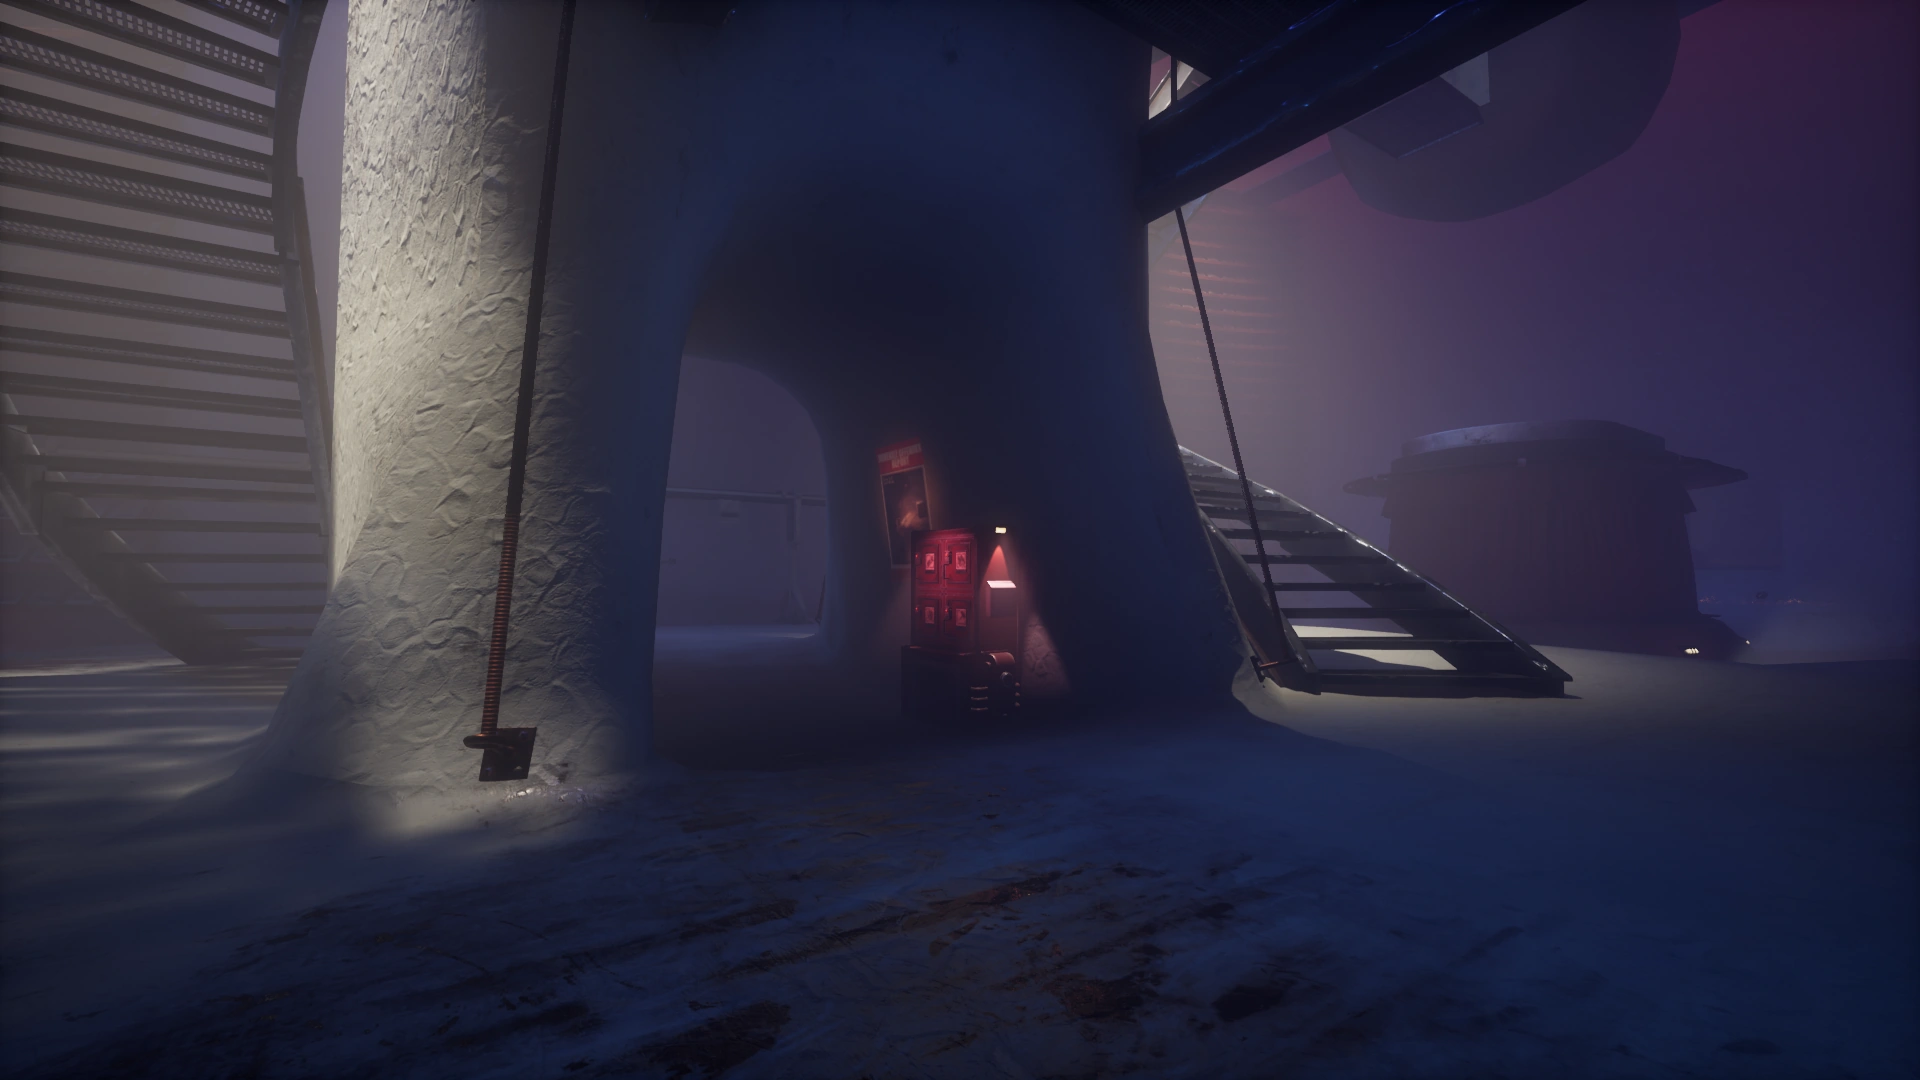
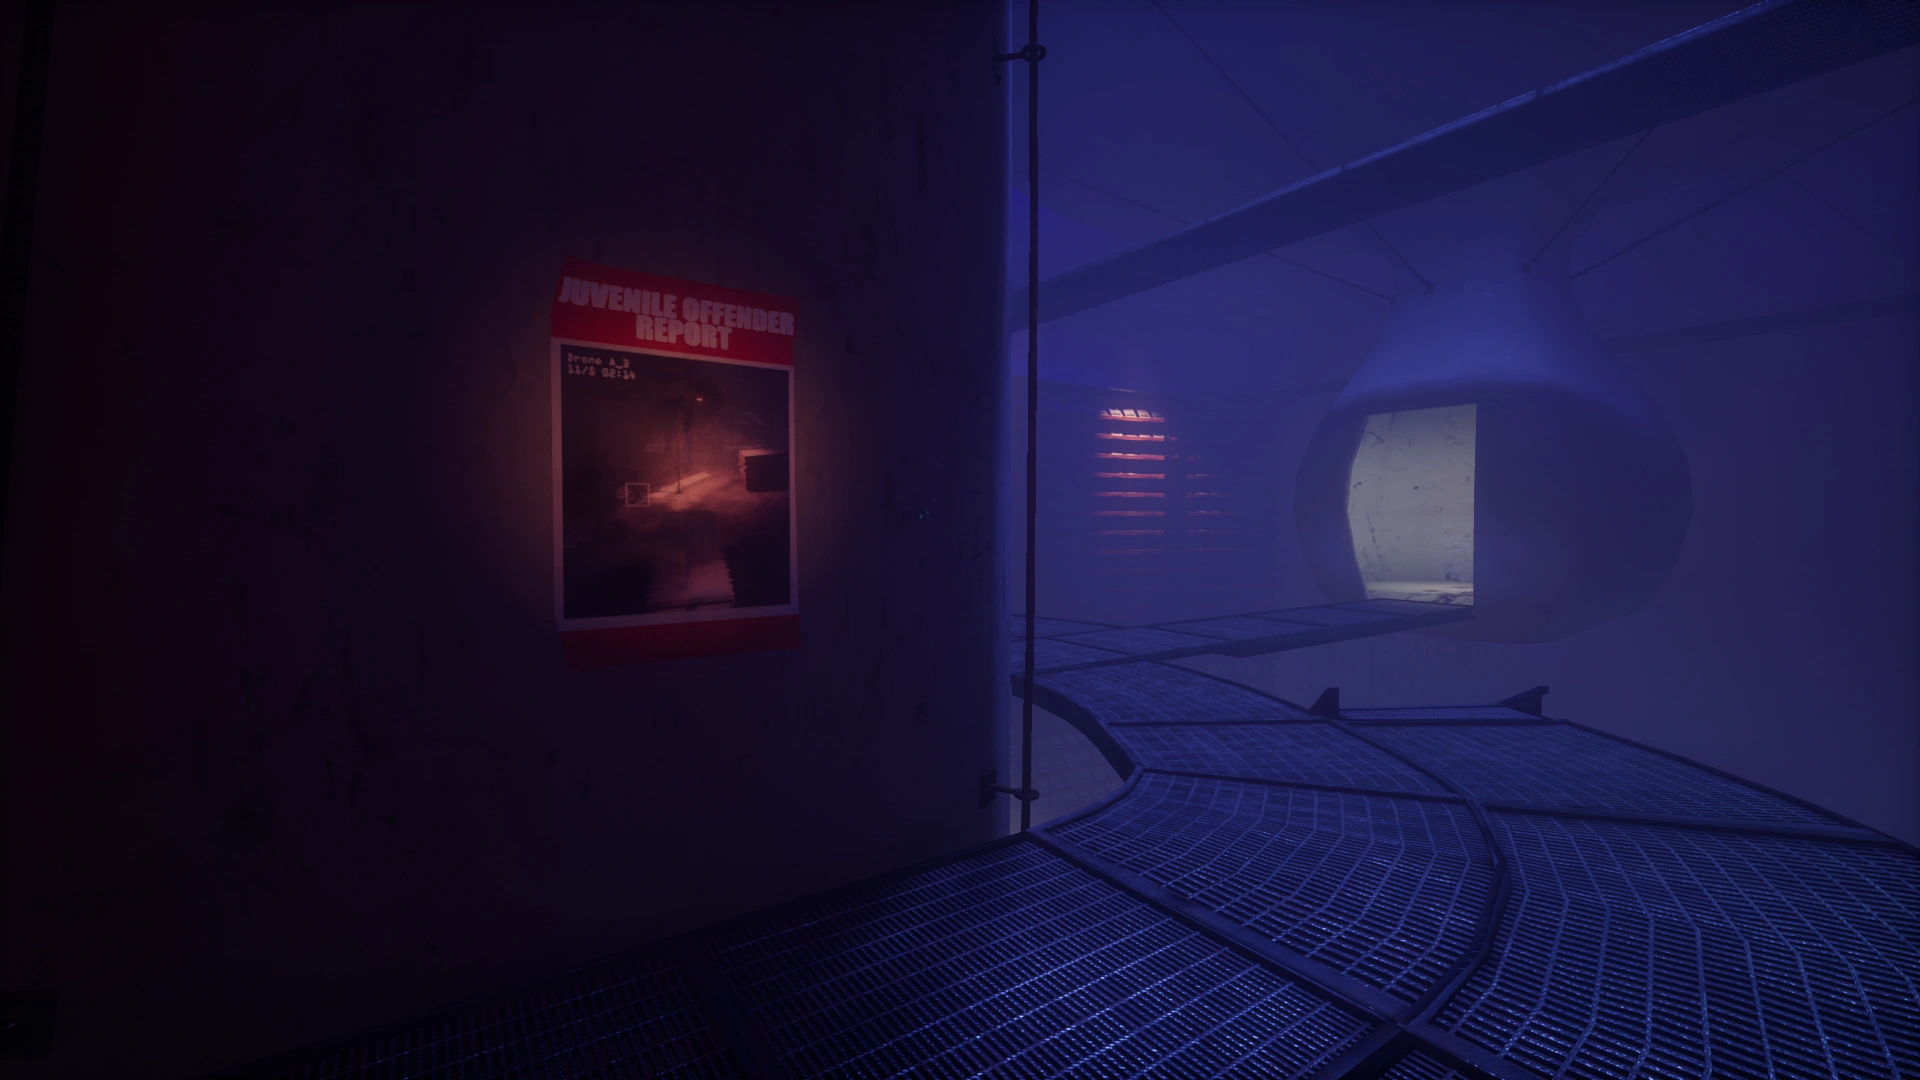
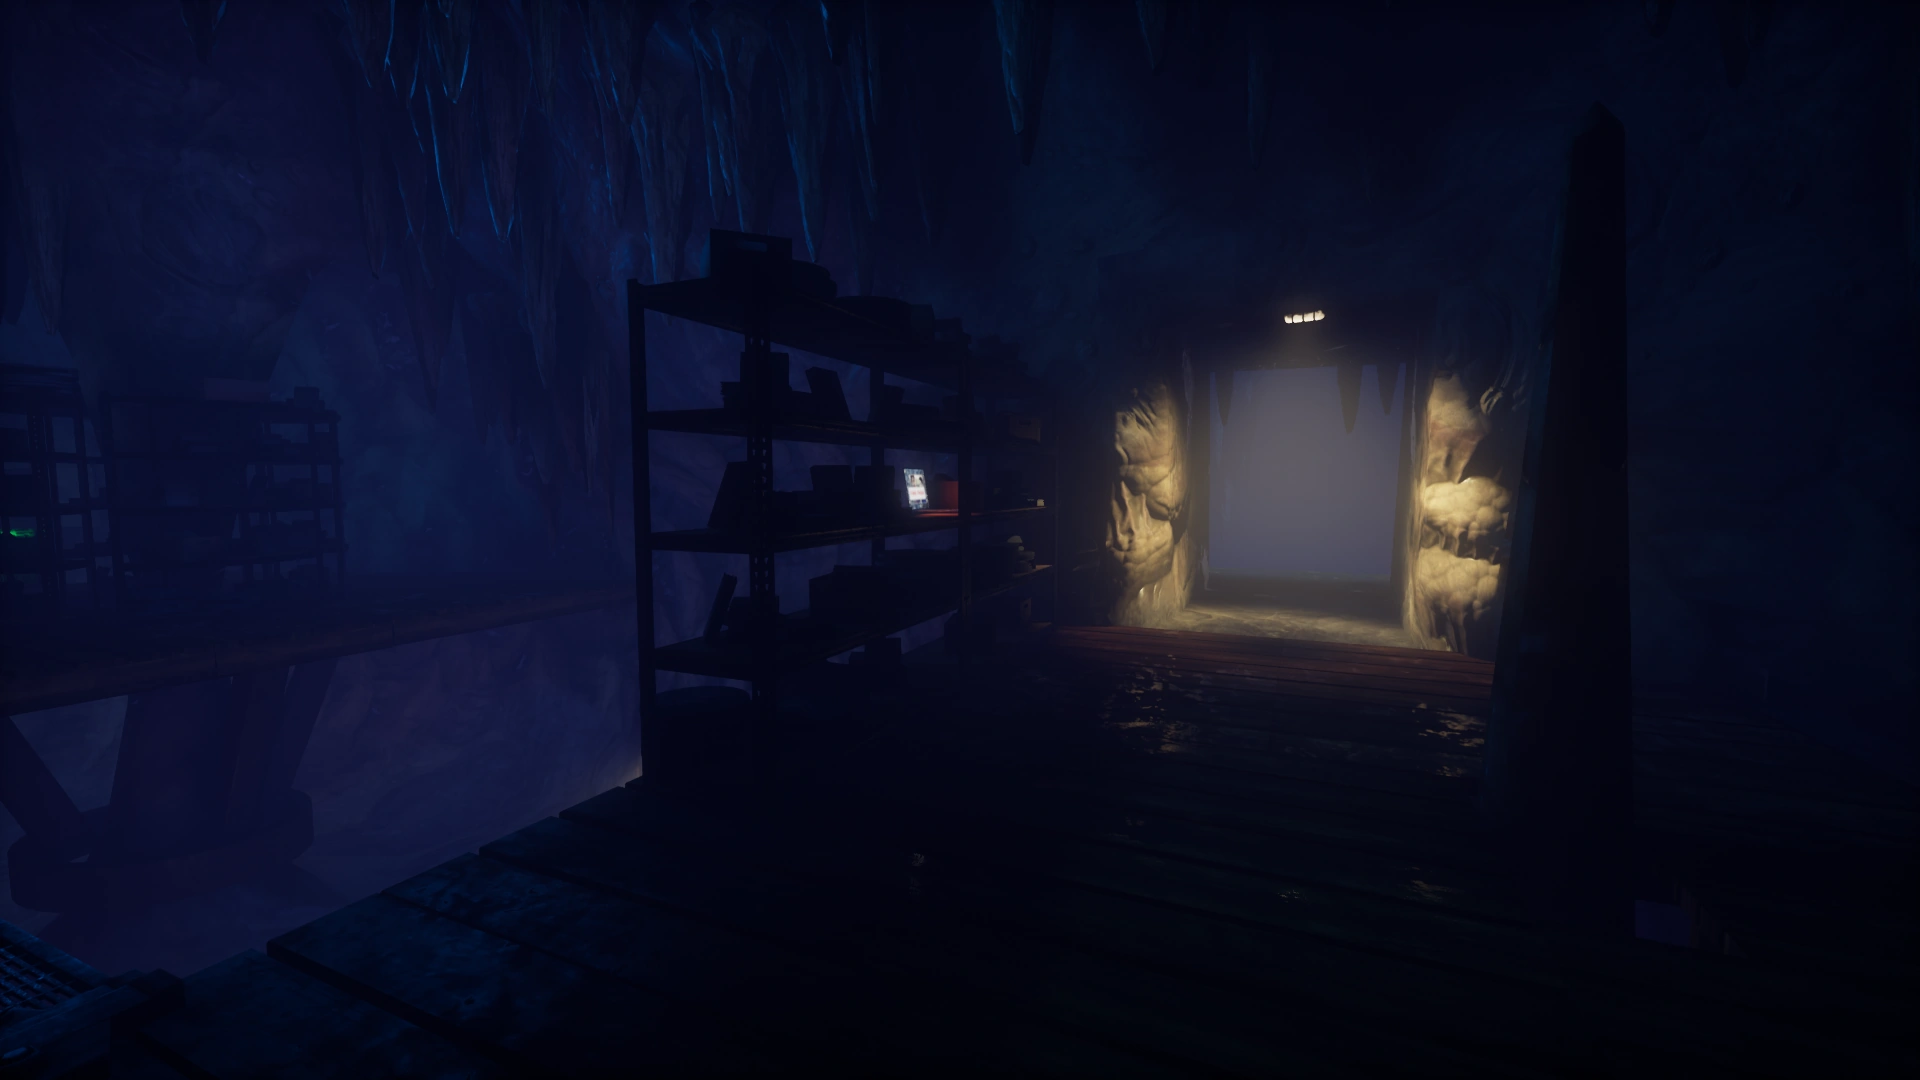
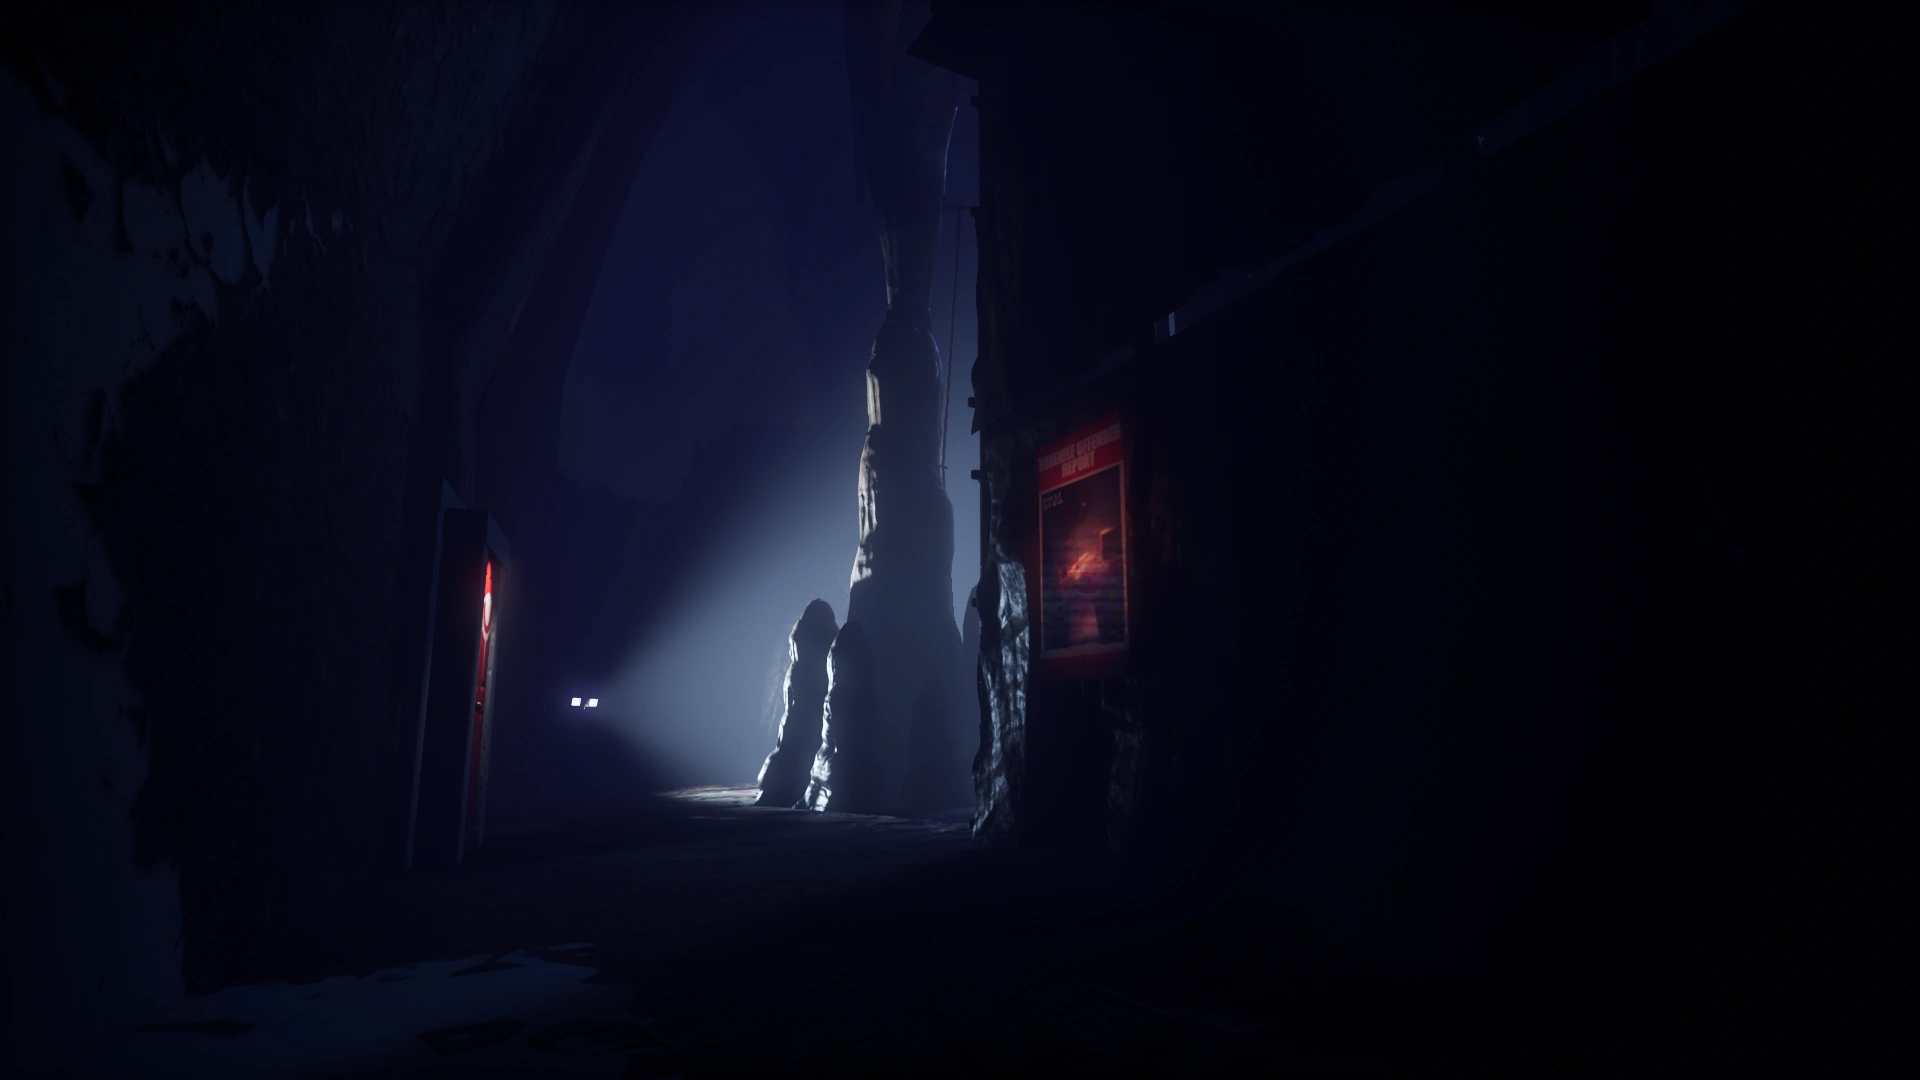
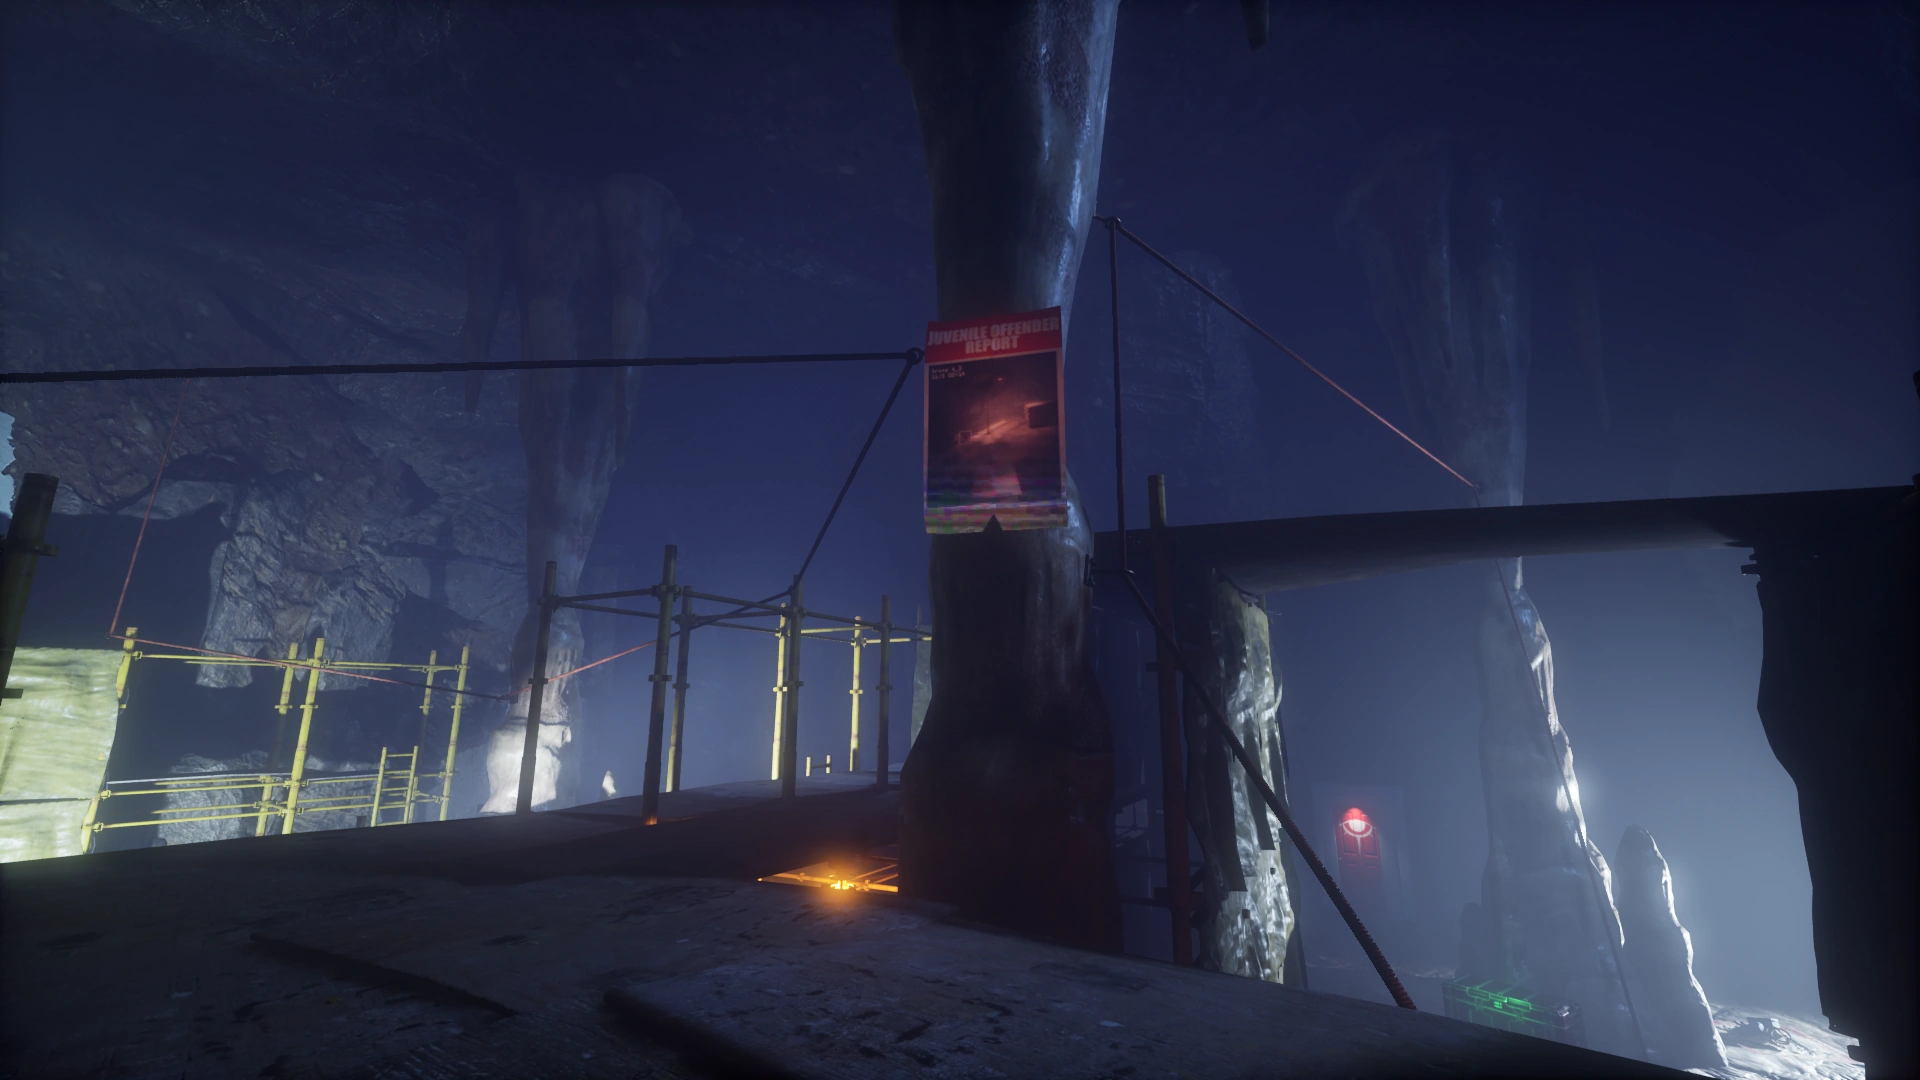
Glass Room — Poster
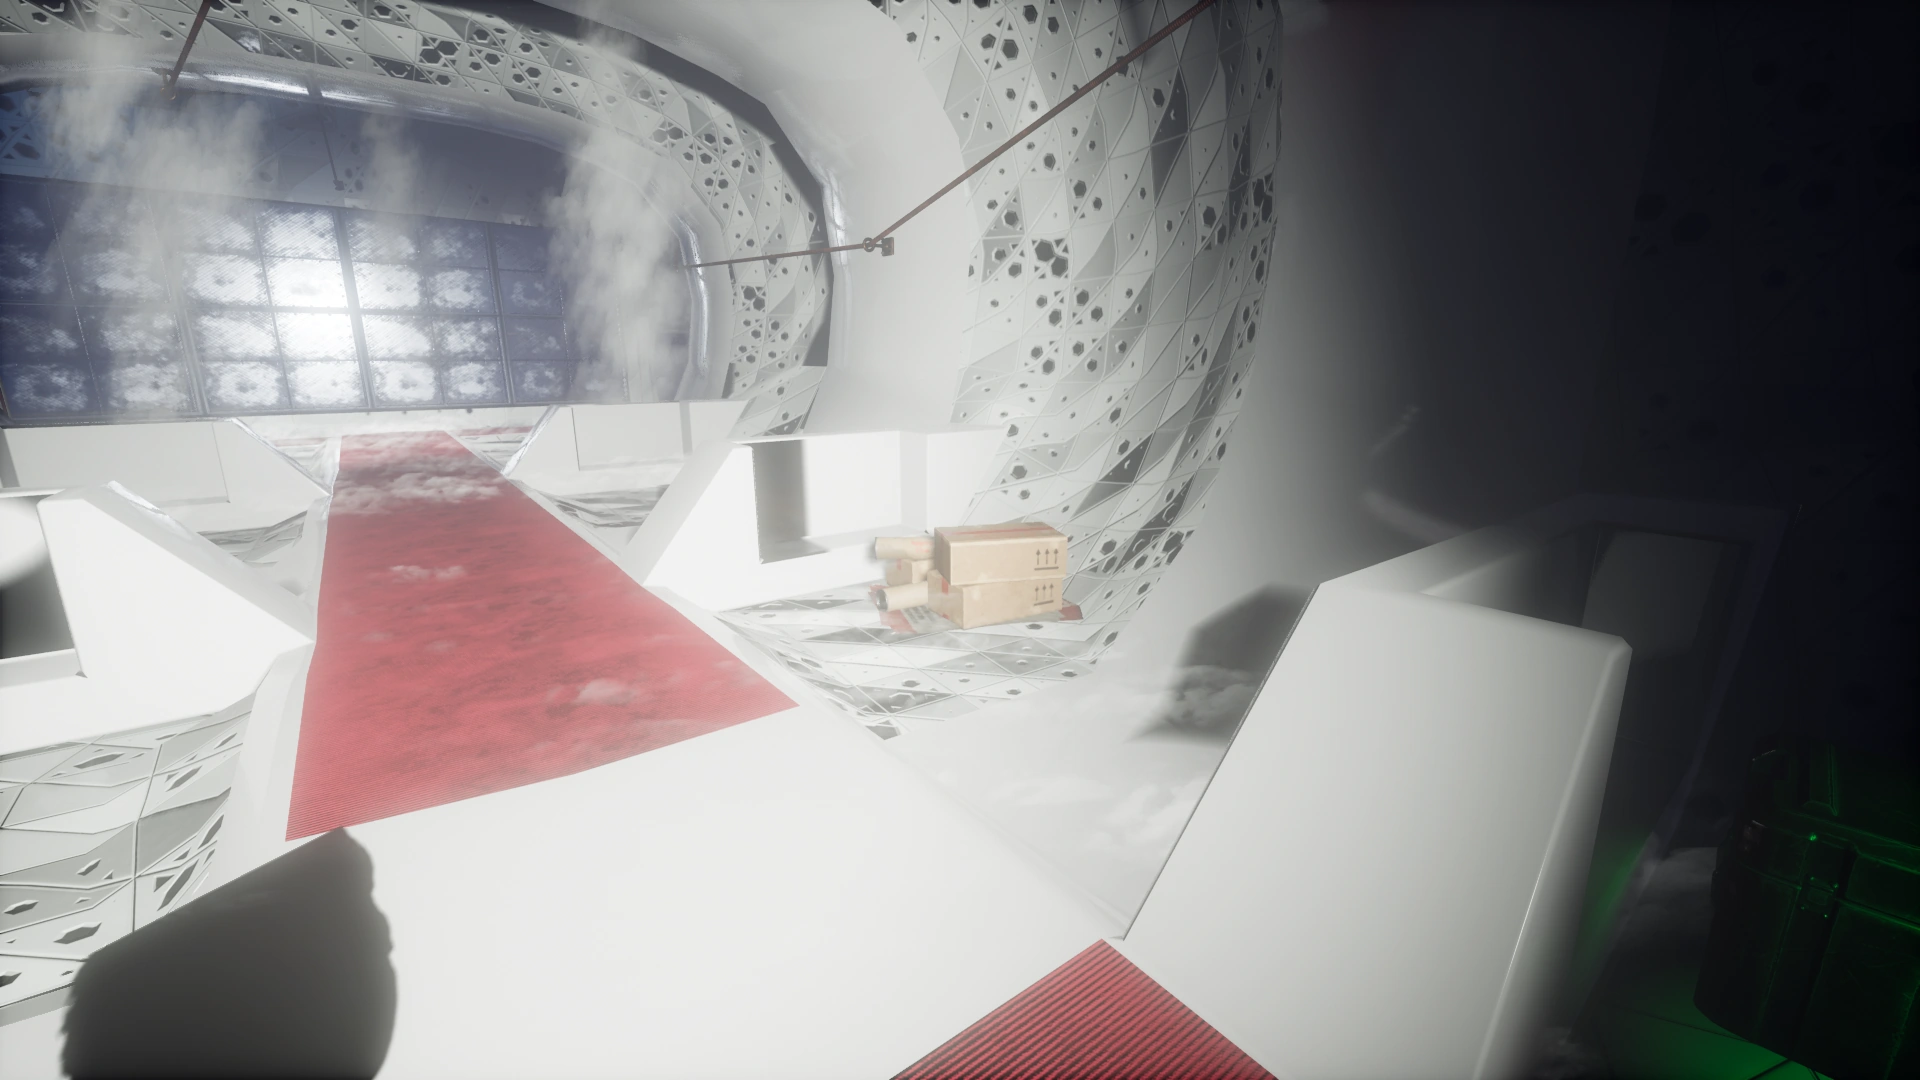
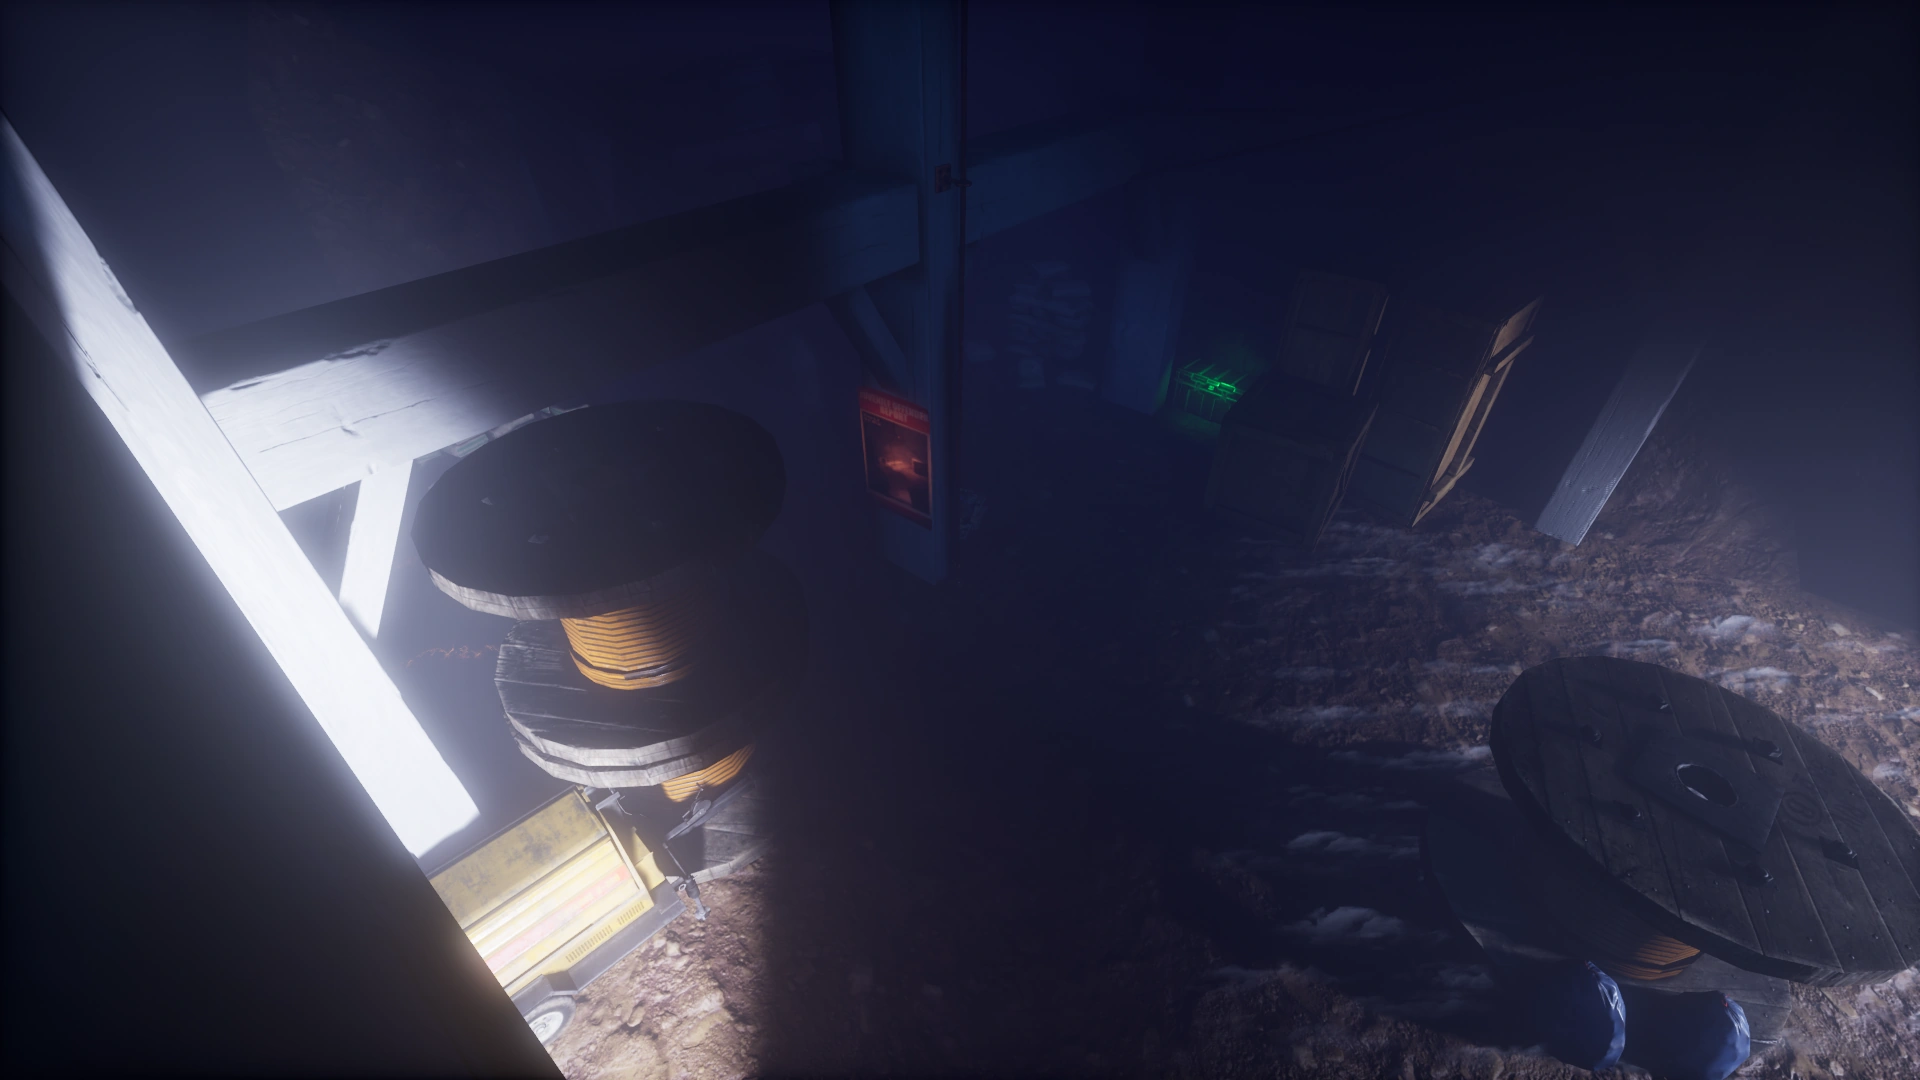
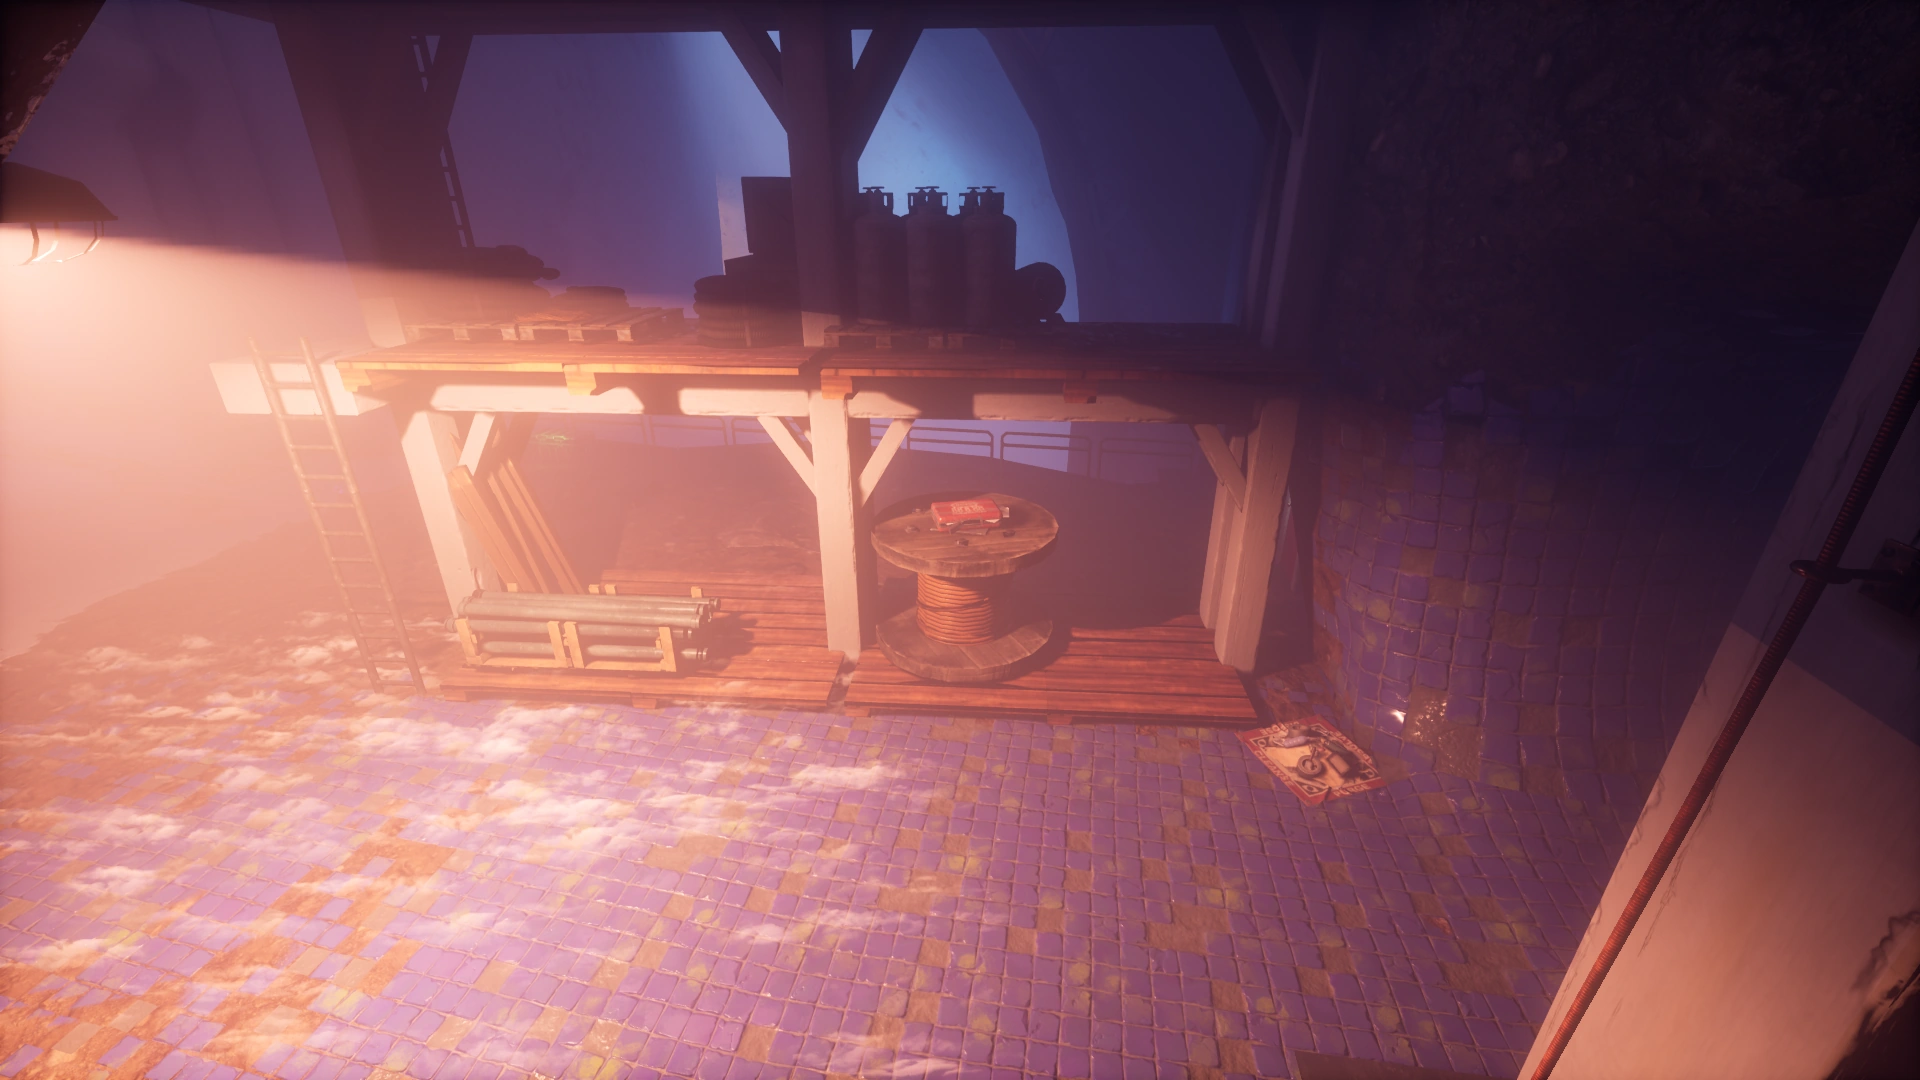
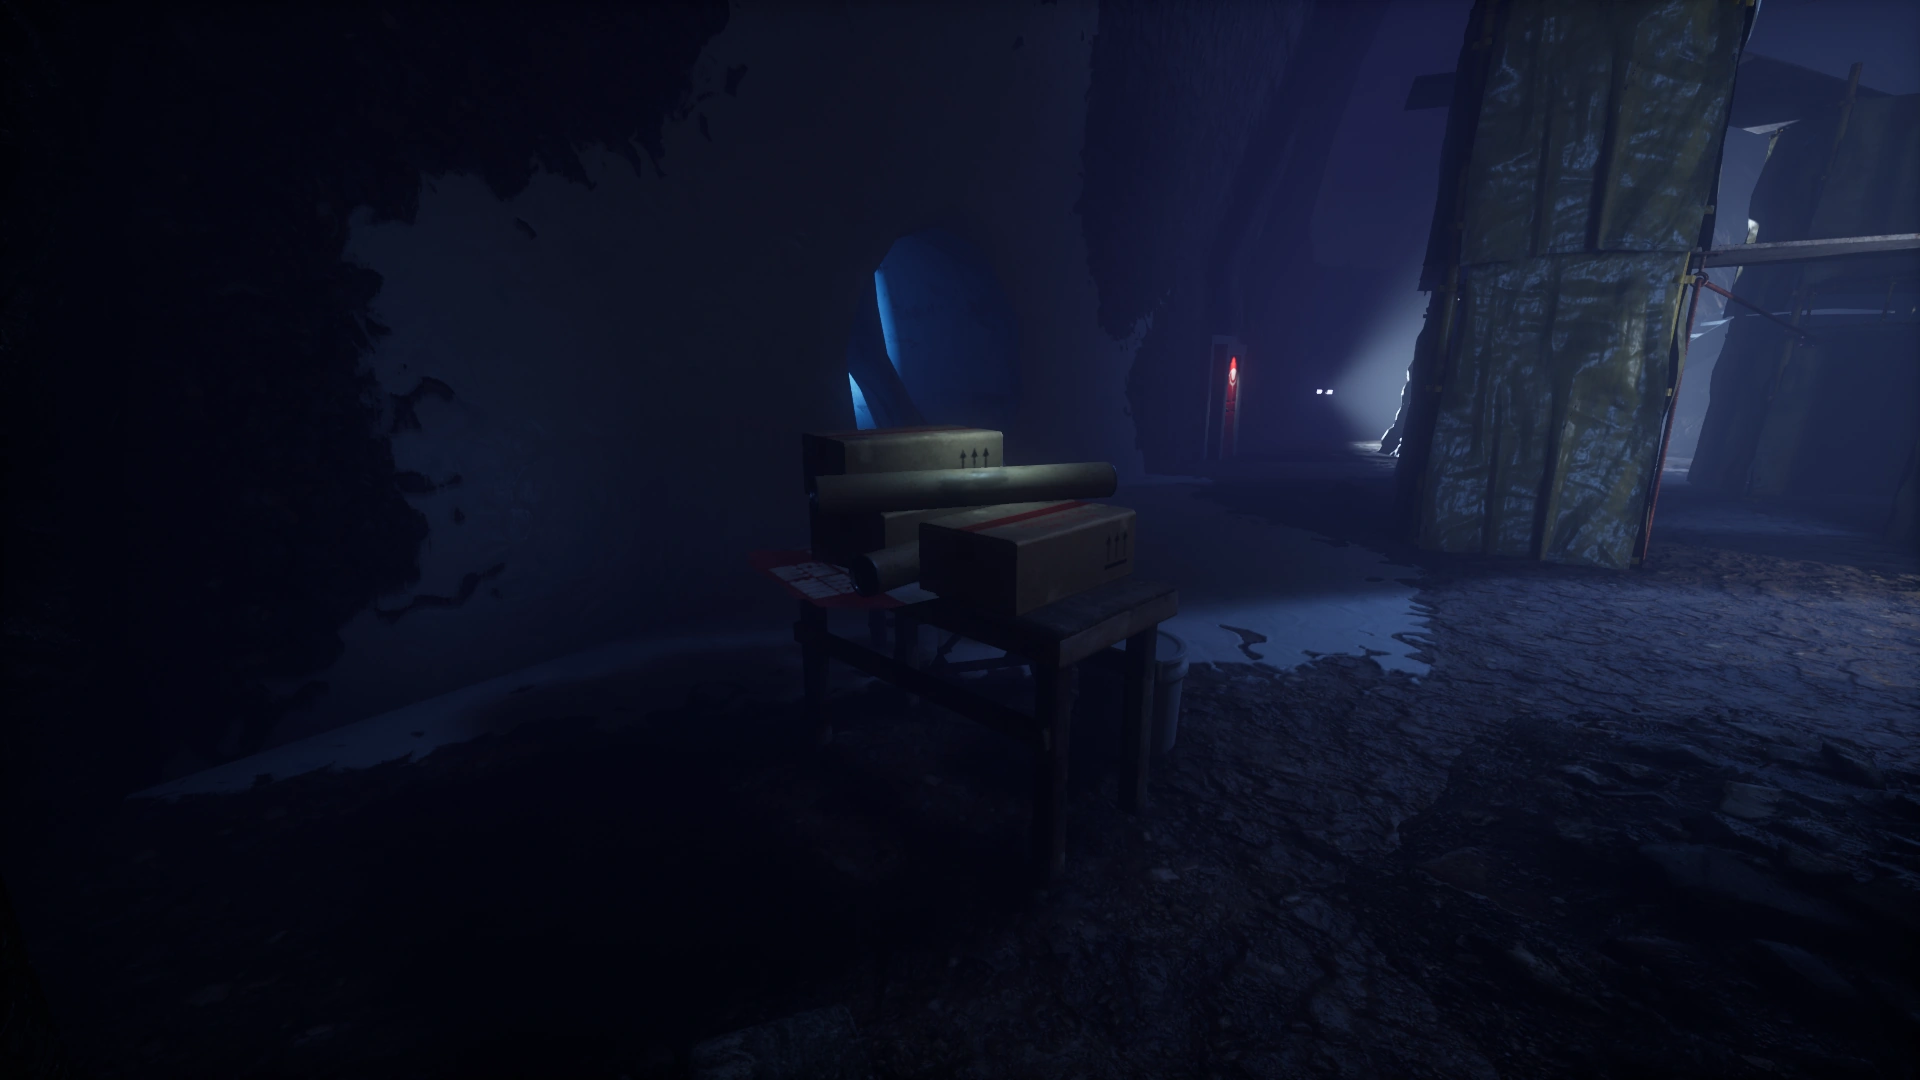
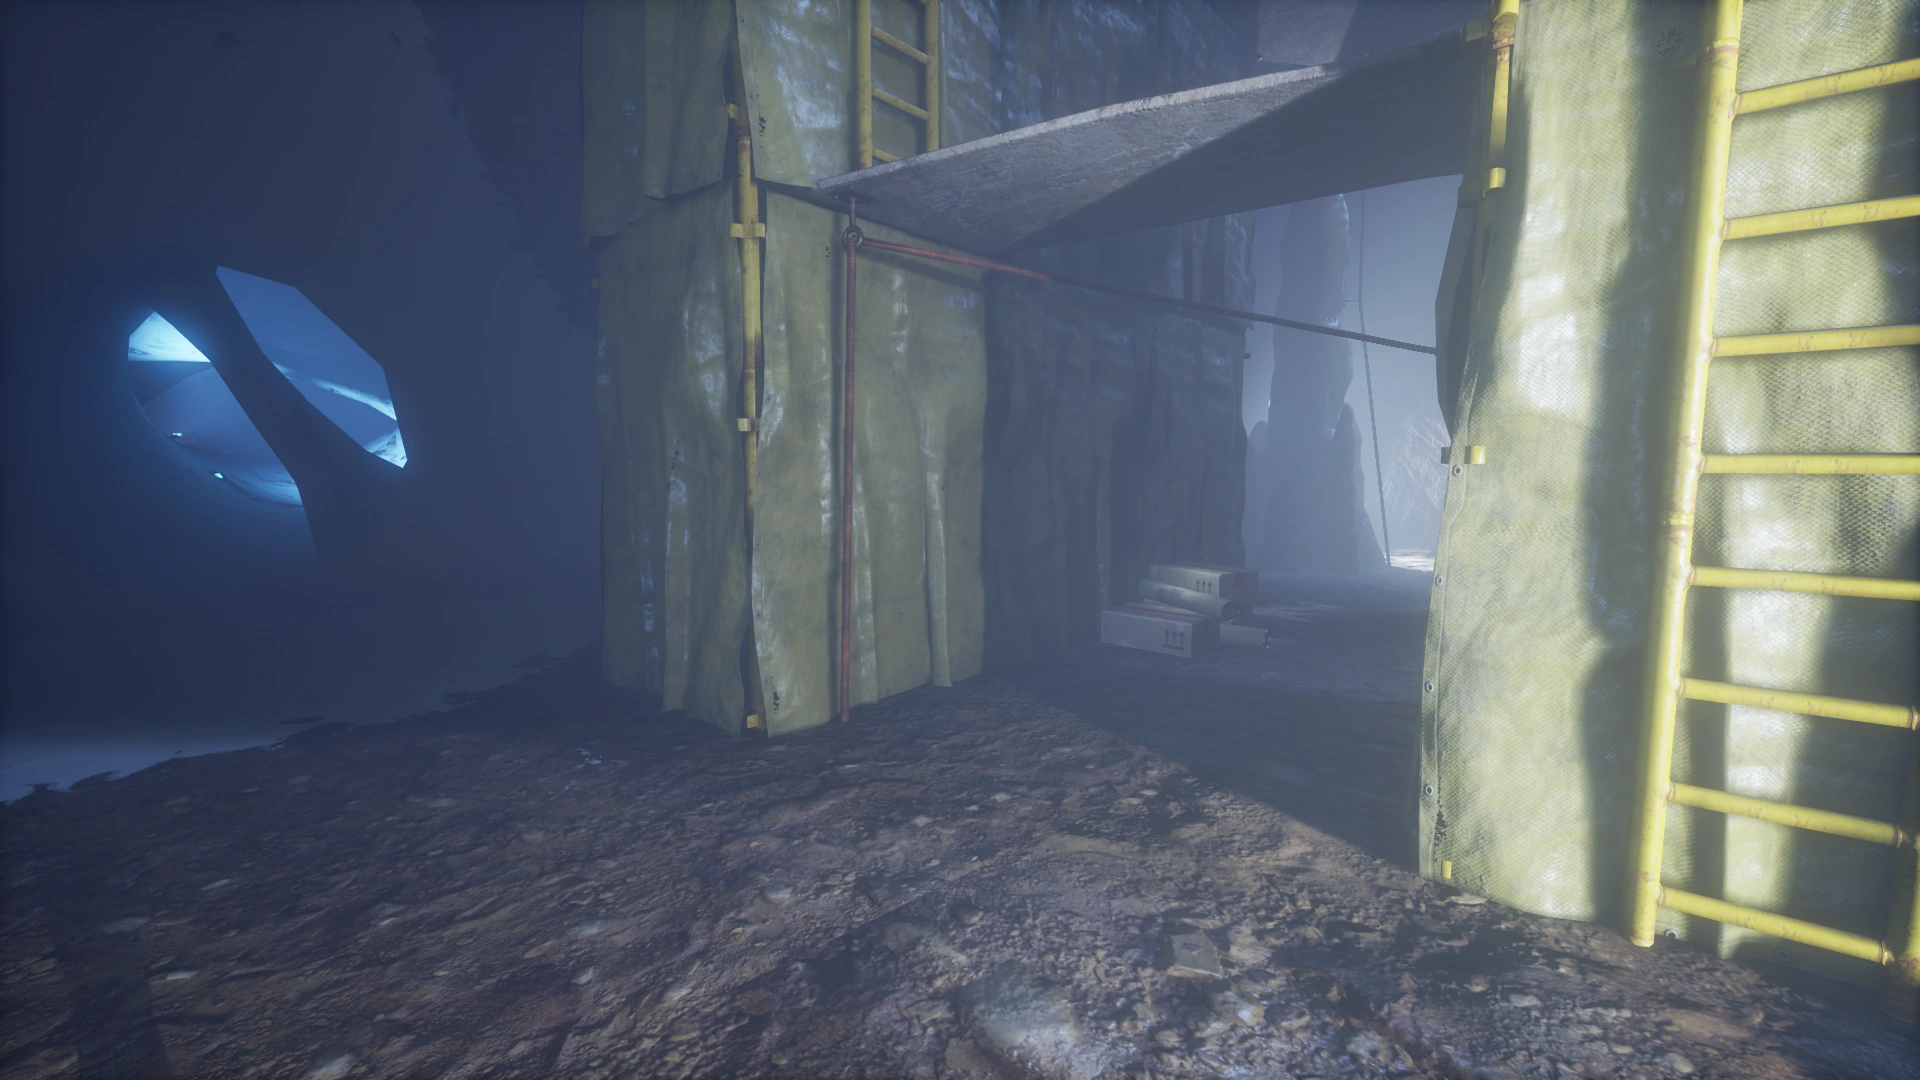
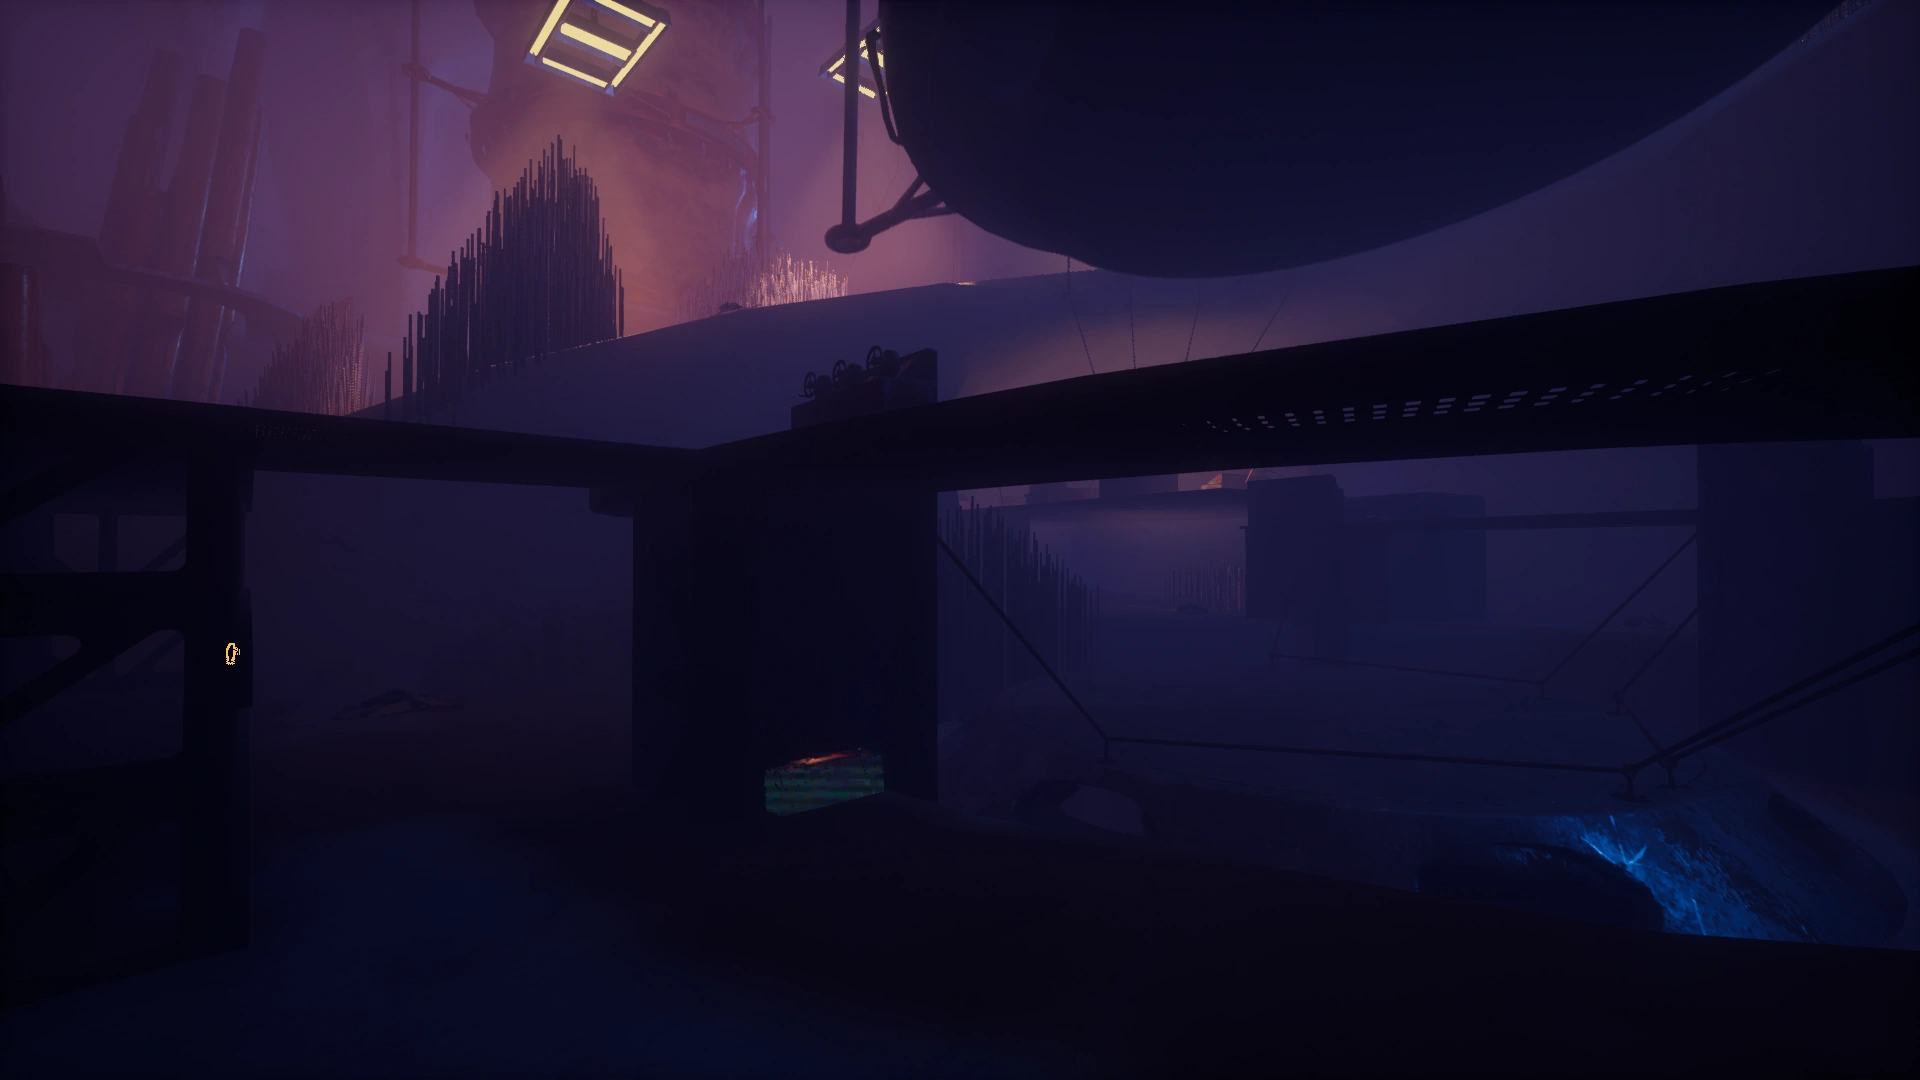
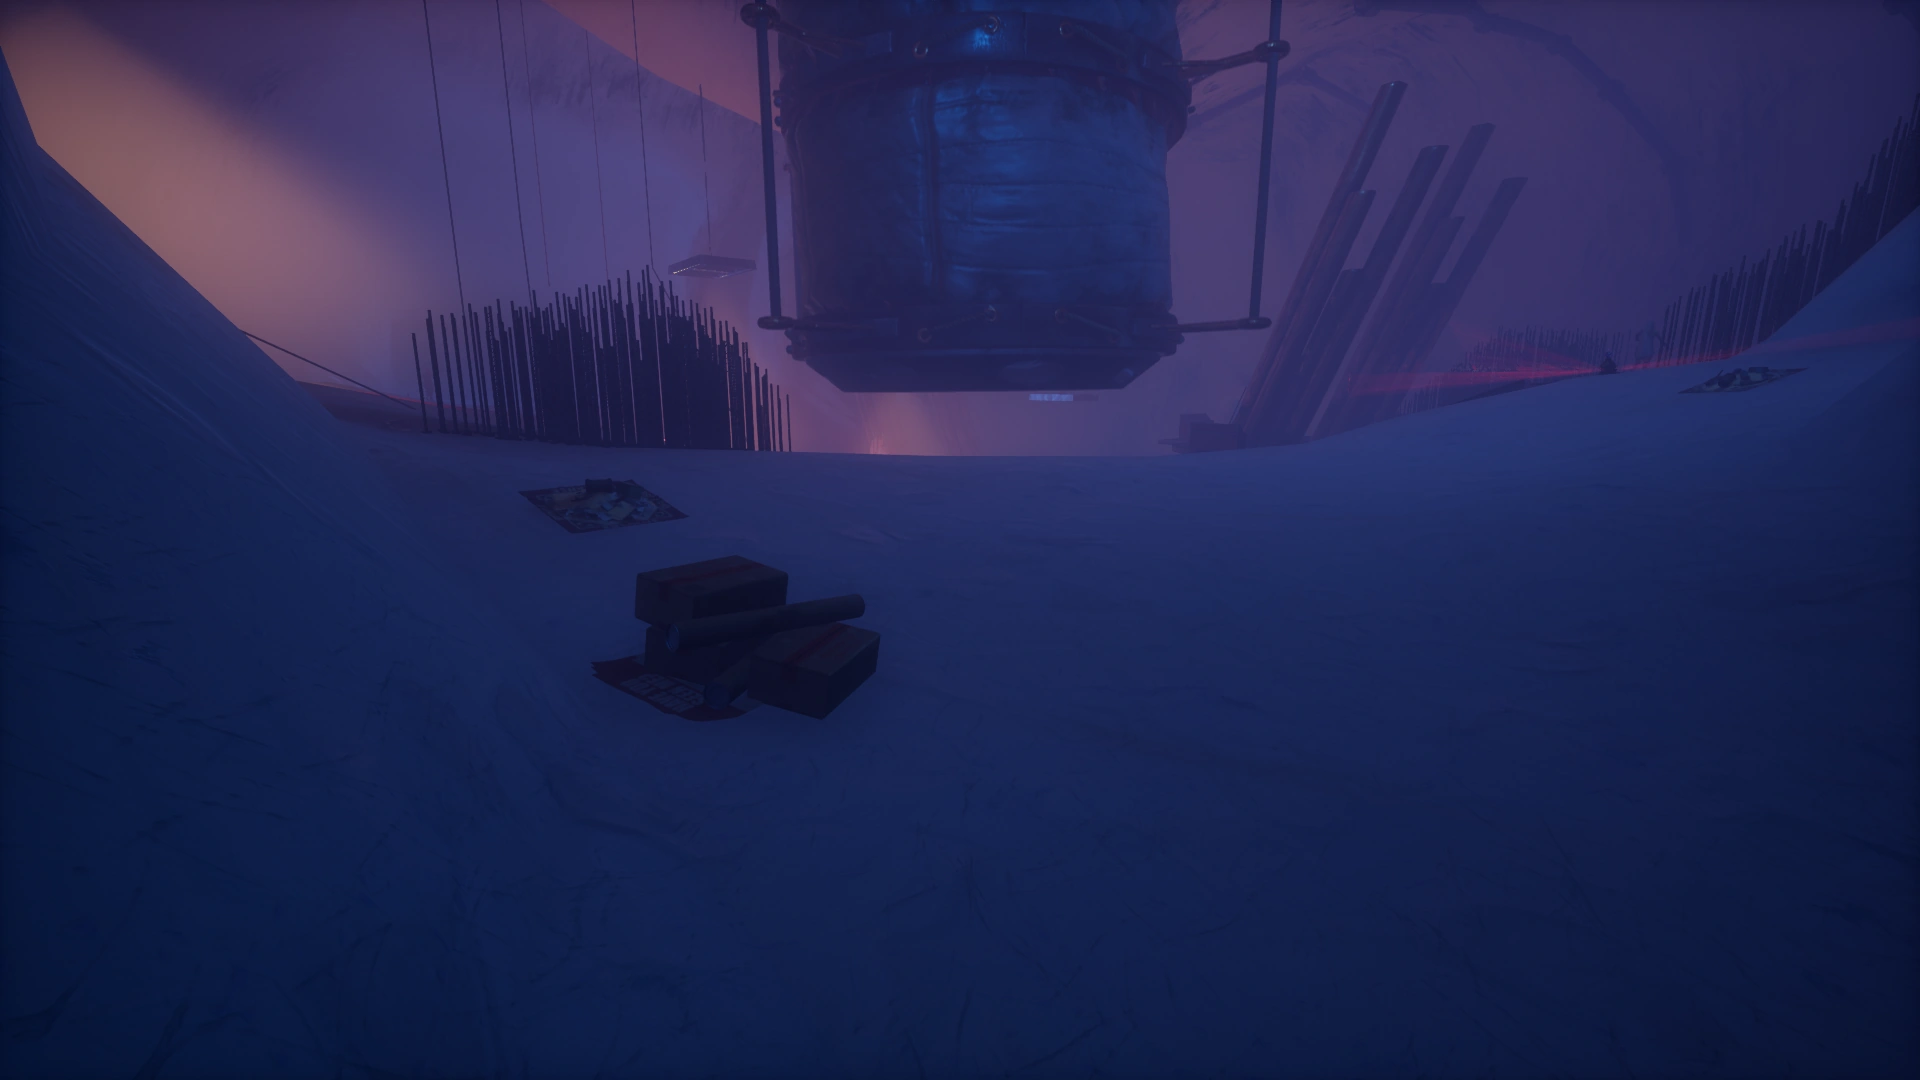
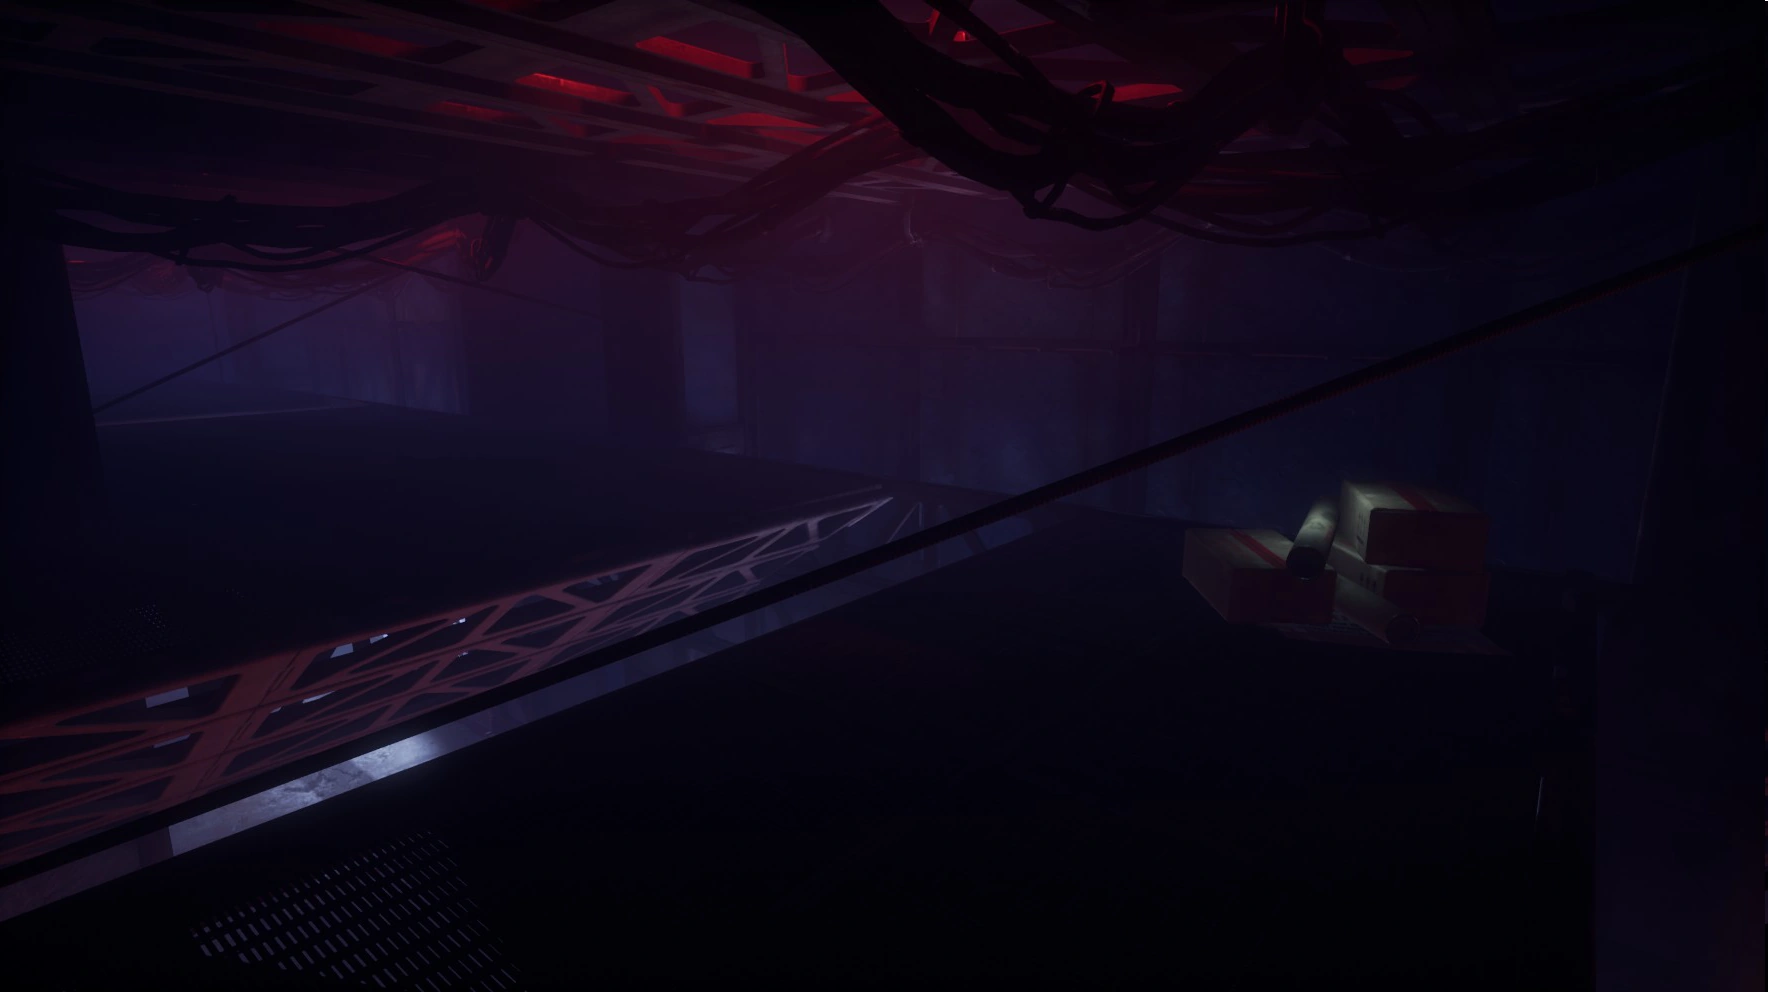
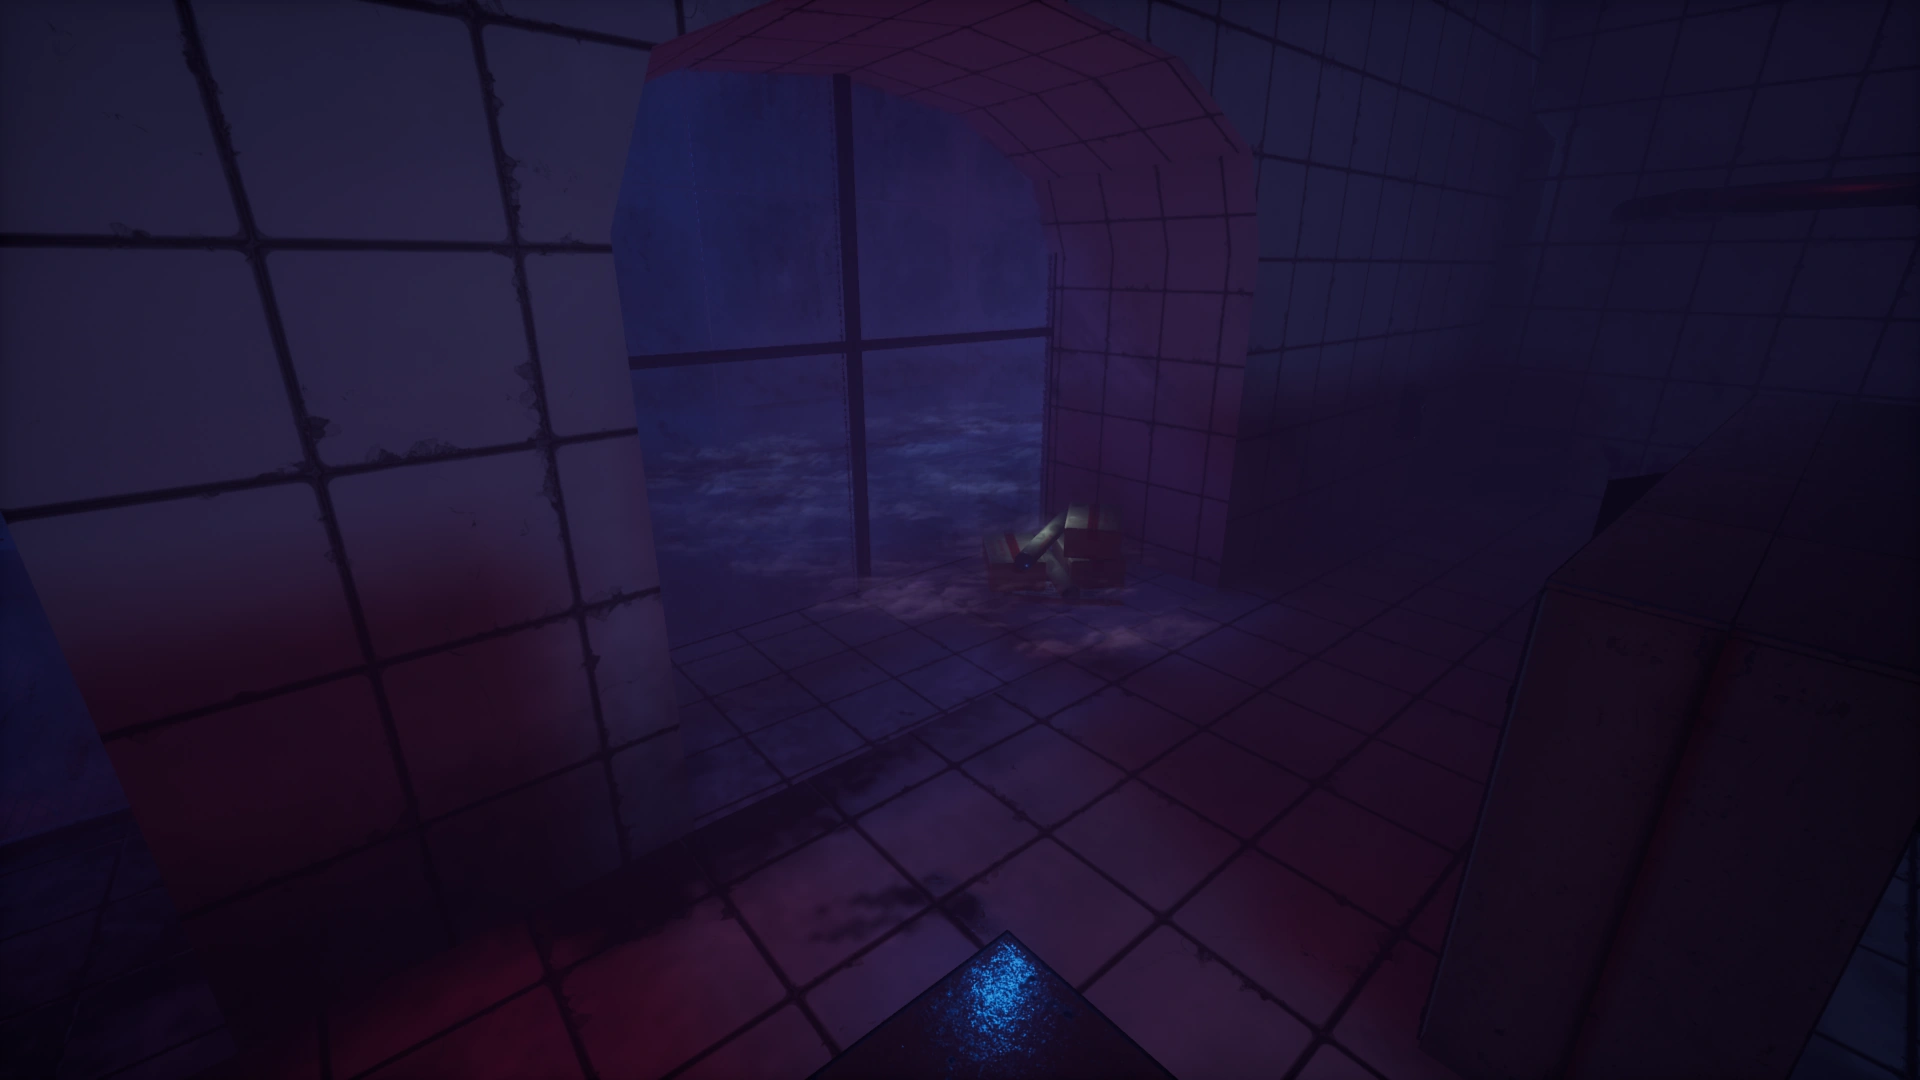
(Occasional)Corner Near Glass Room — Boxes and Tubes
(Rare)Corner Opposite Host Conditioning Entrance — Duffle Bag
(Low Level: Occasional)
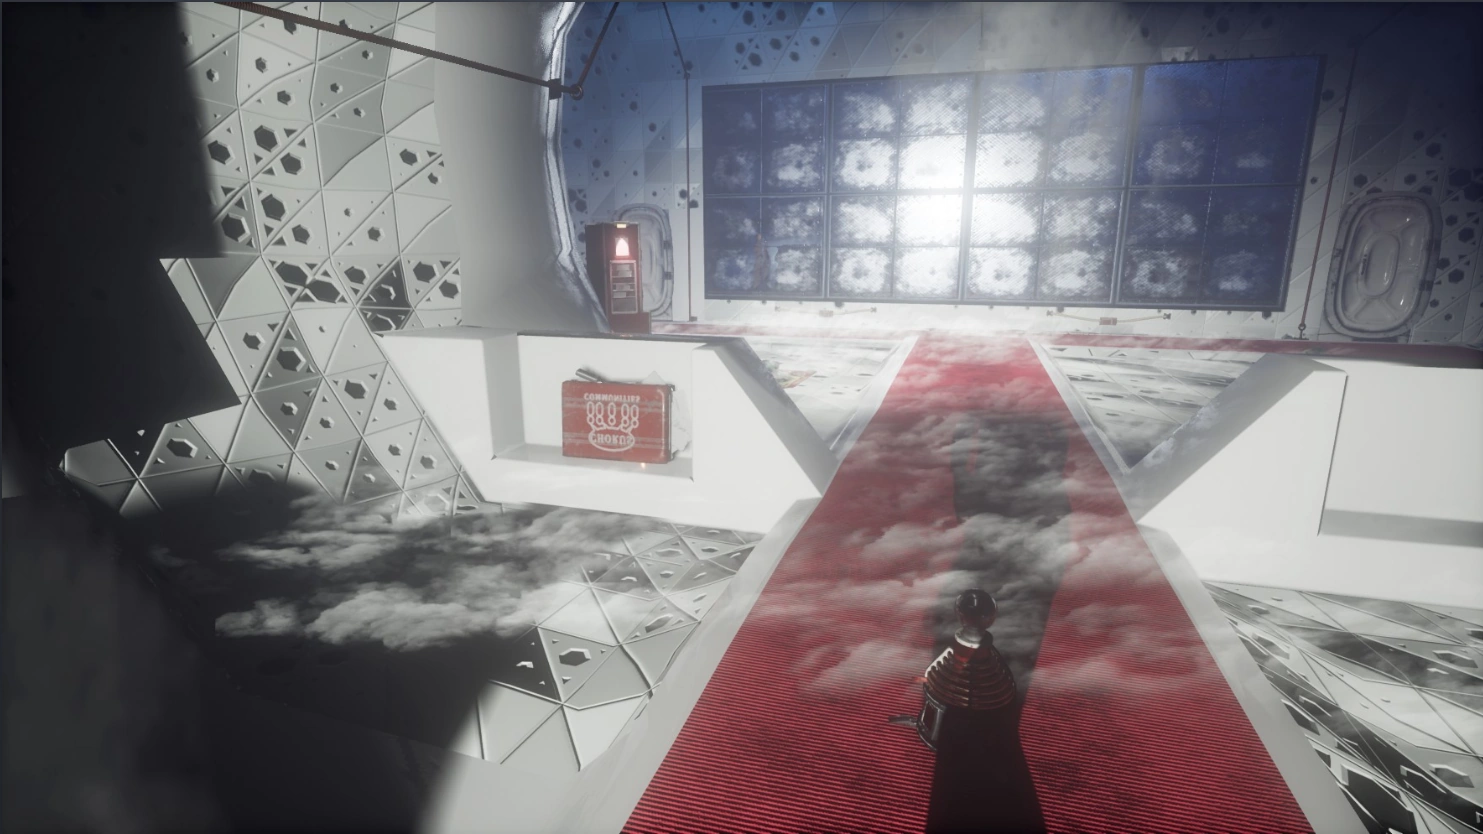
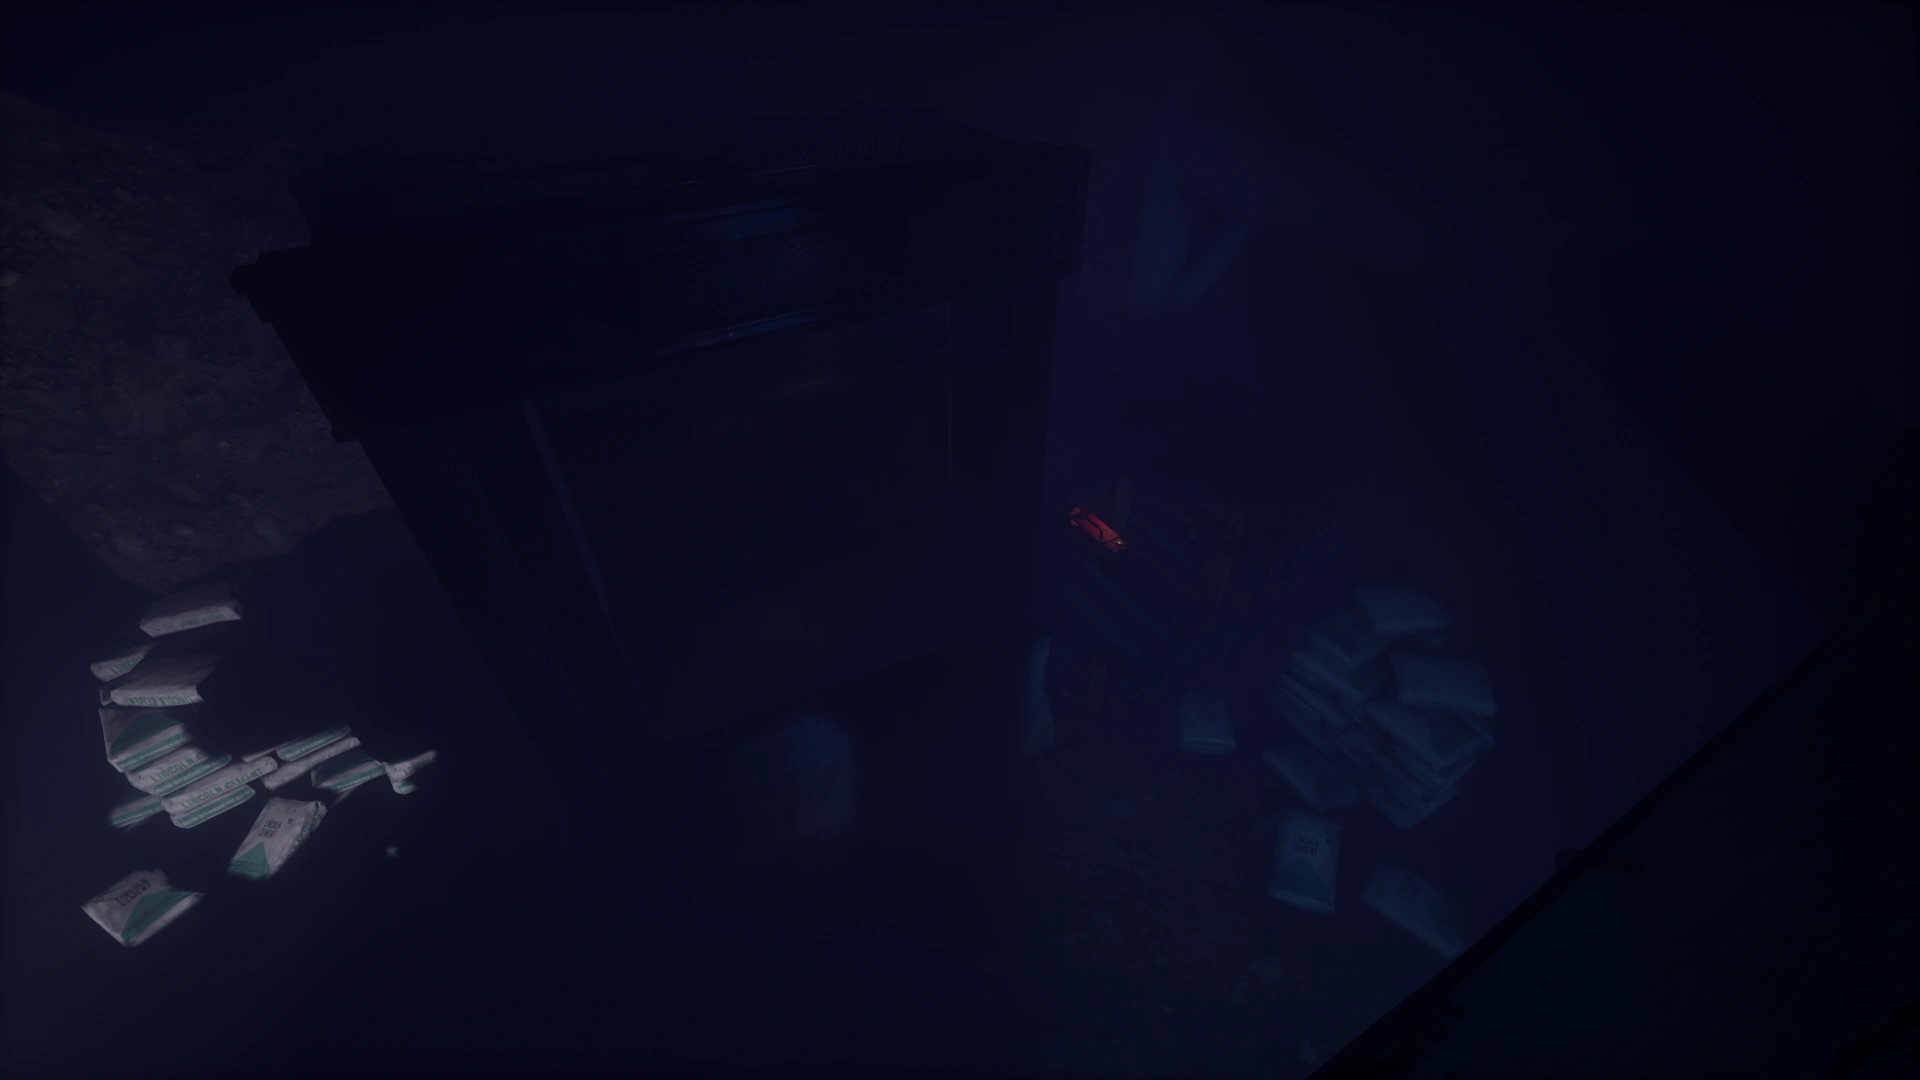
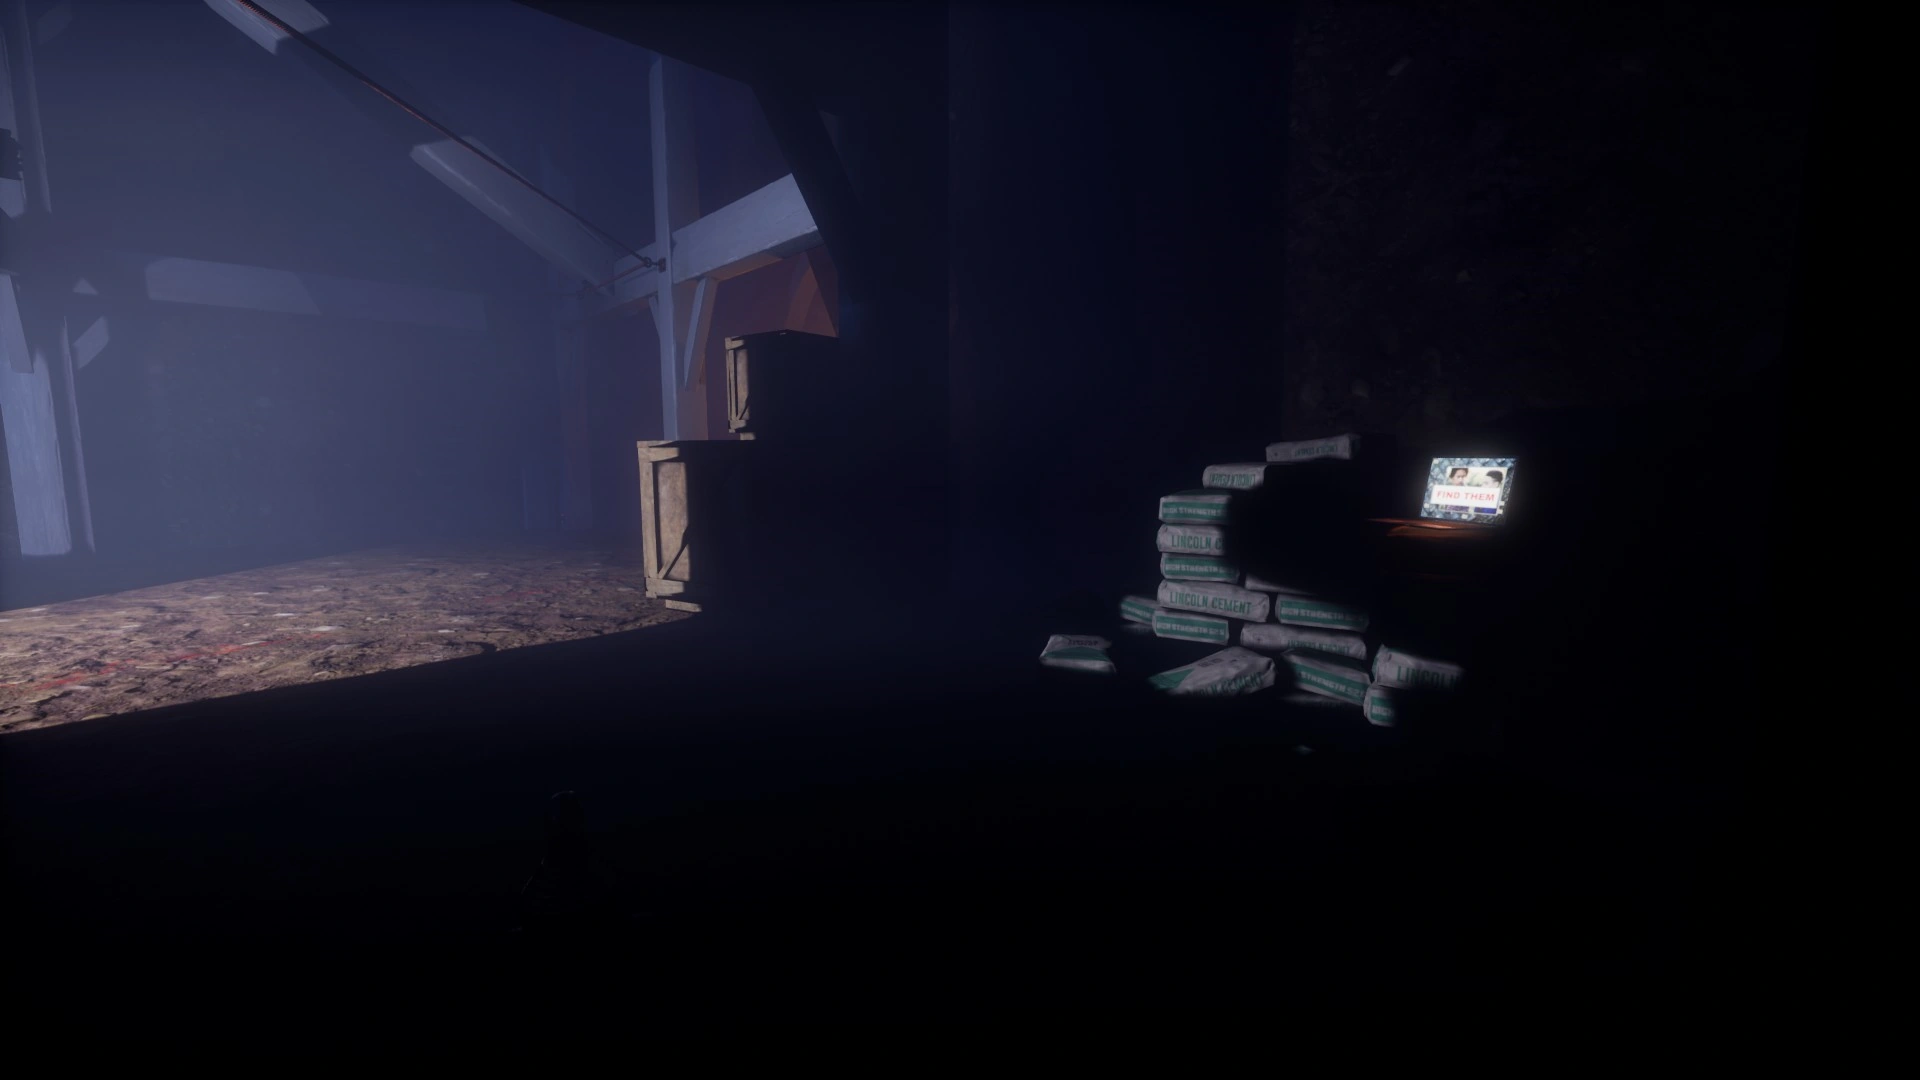
(High Level: Rare)Cement Bag Pile — Laptop
(Occasional)

The Airway[ | ]
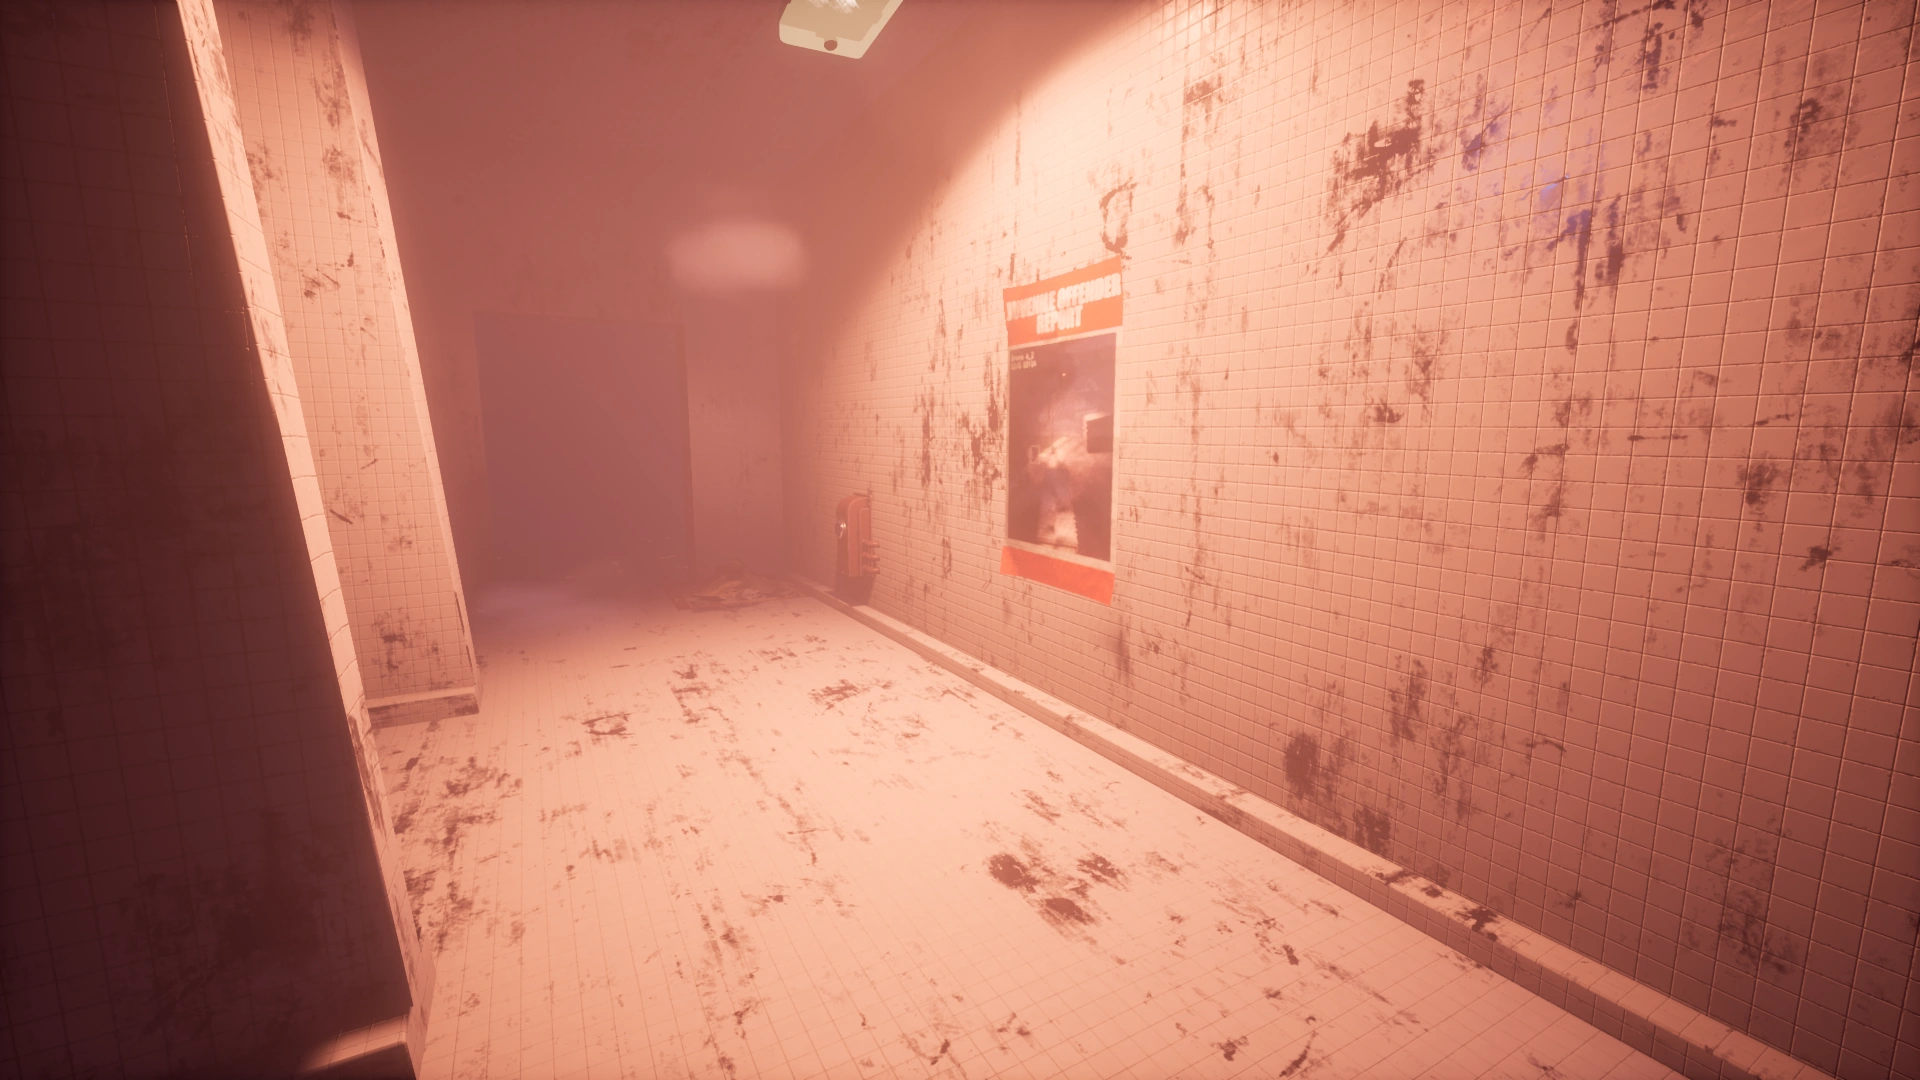
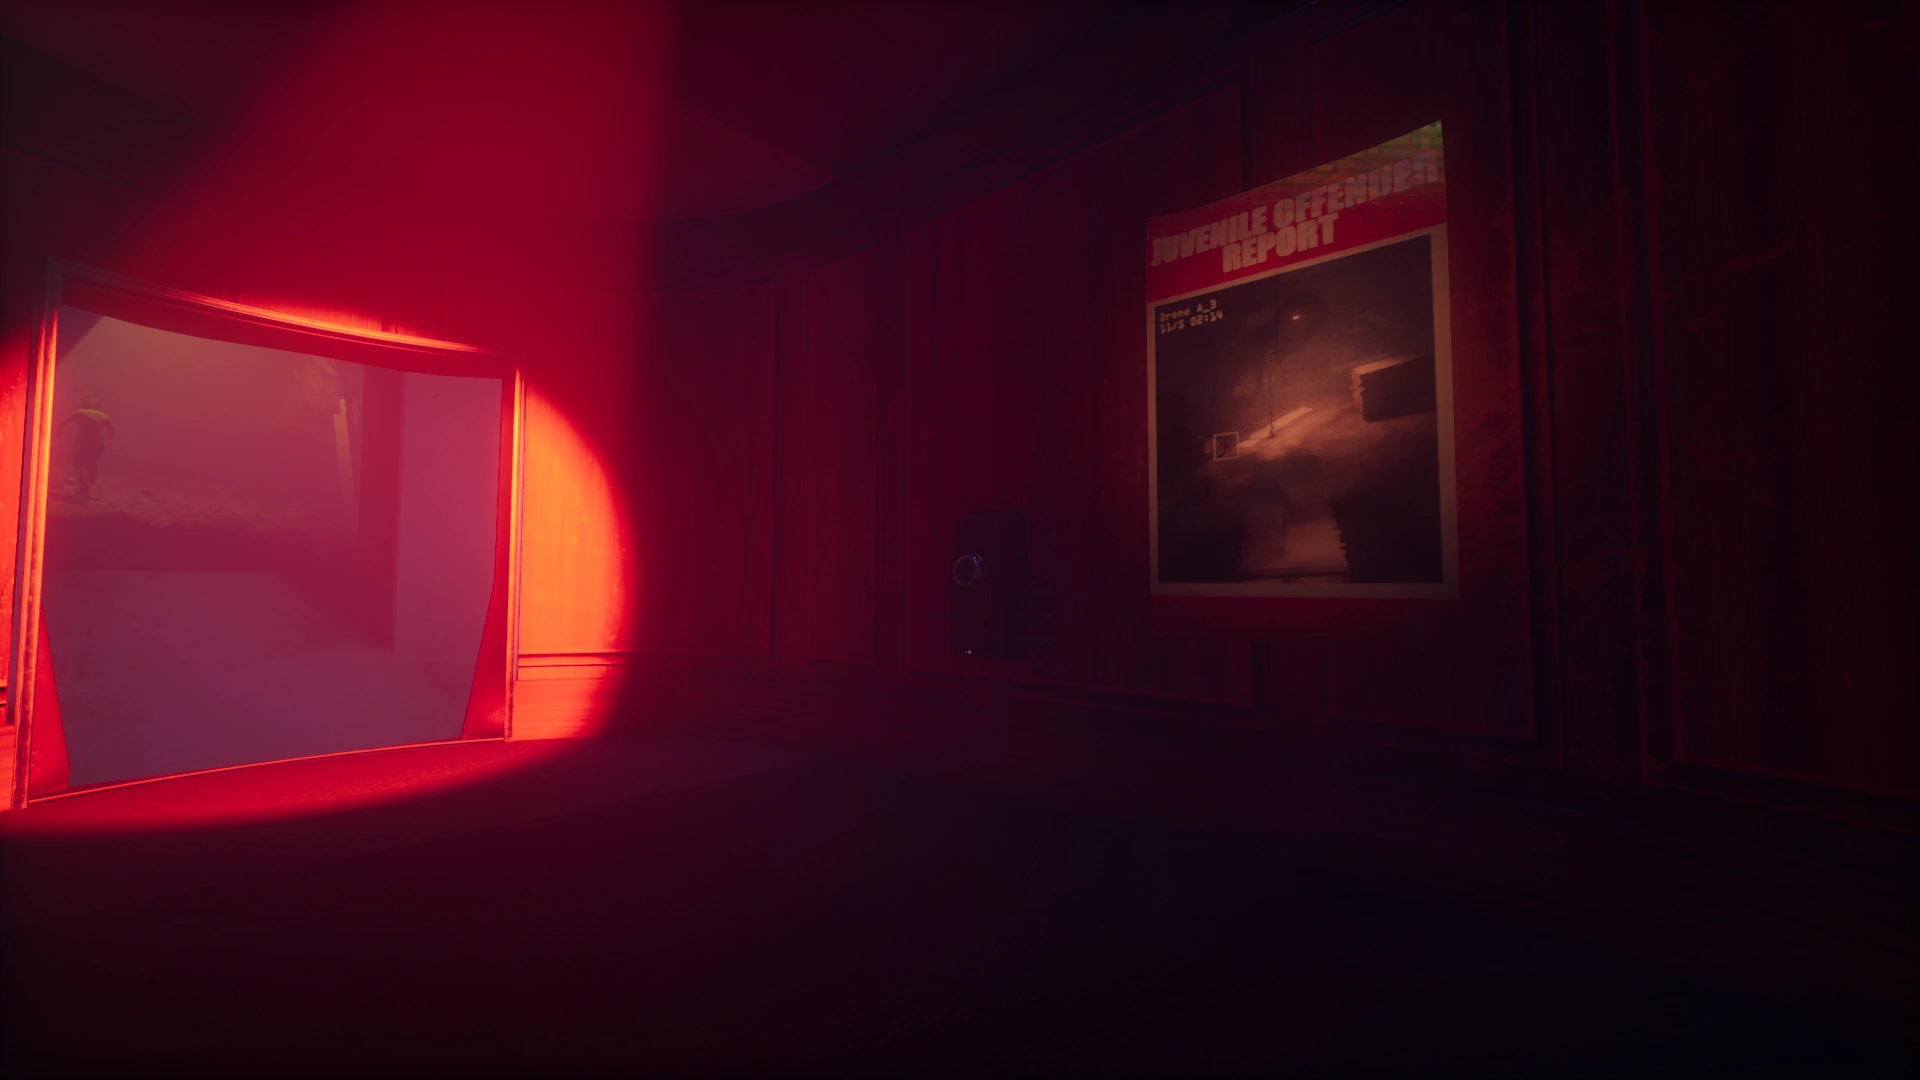
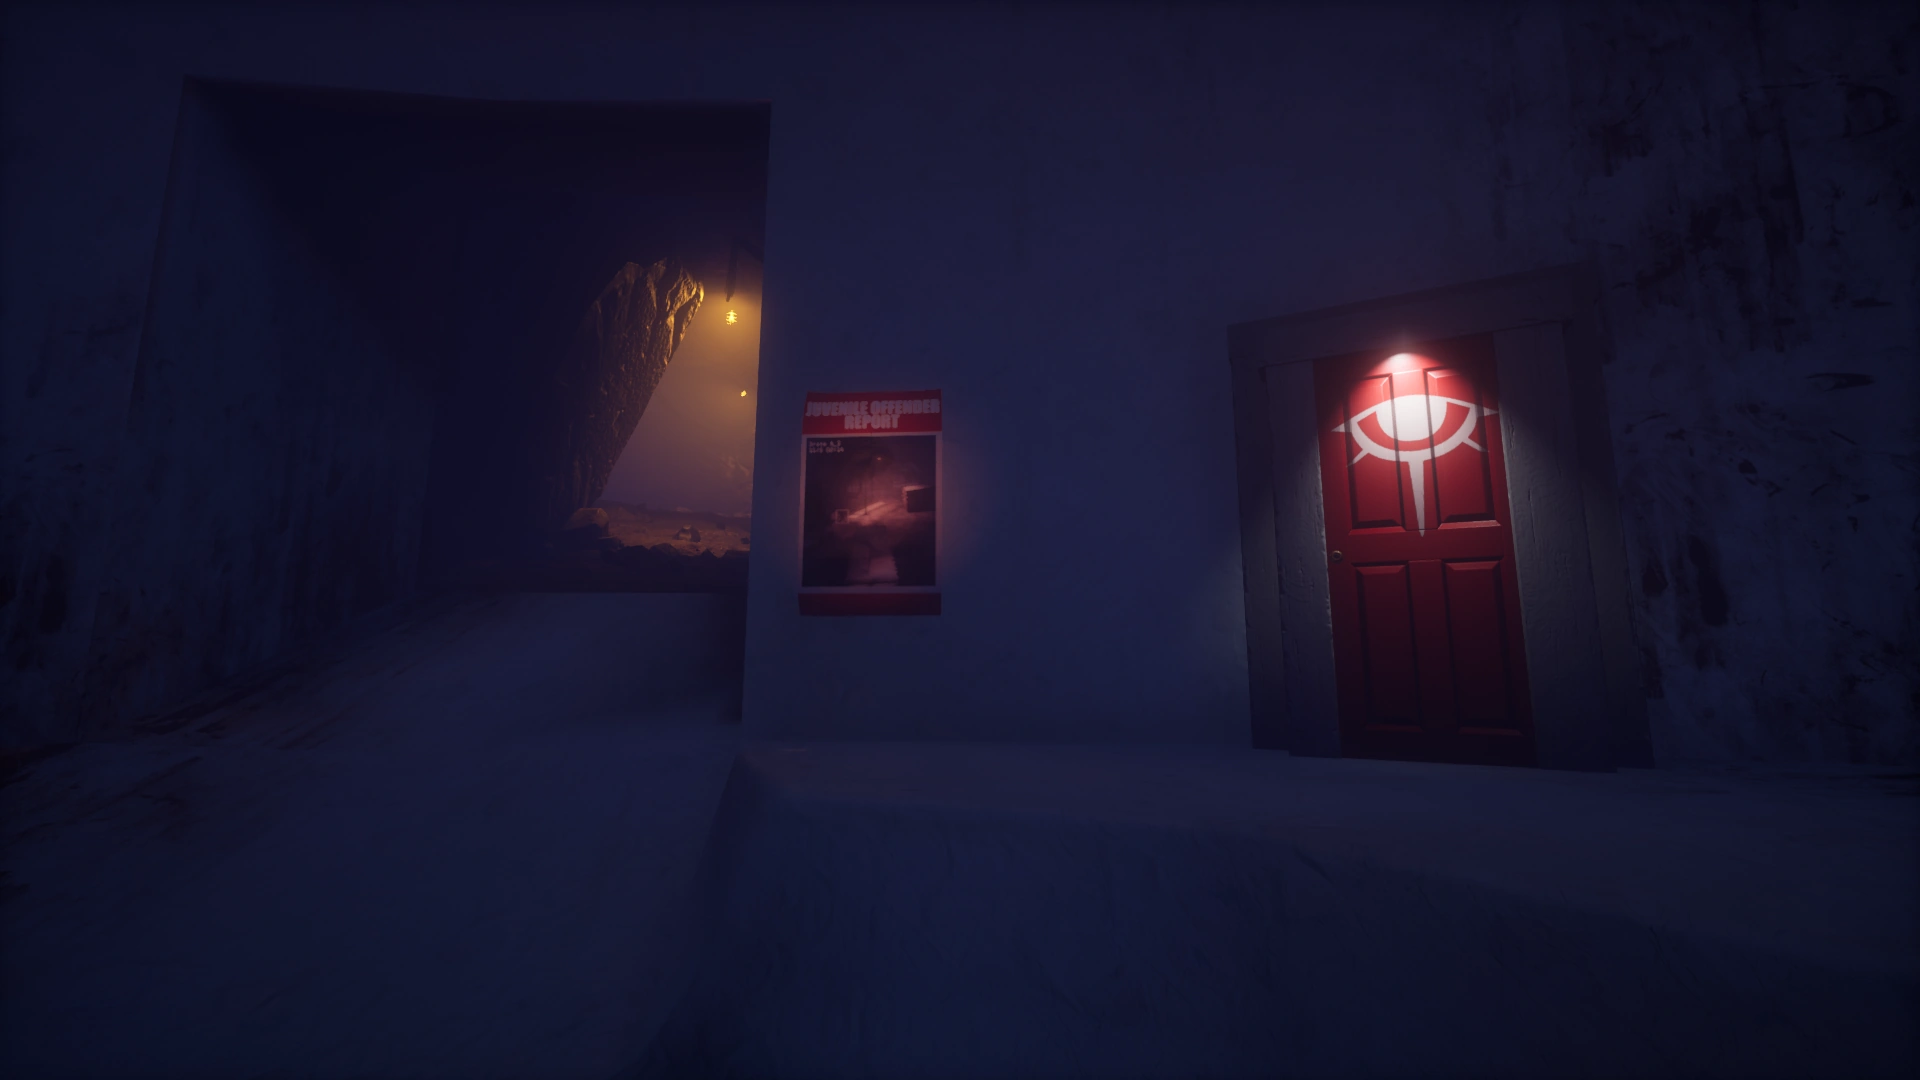
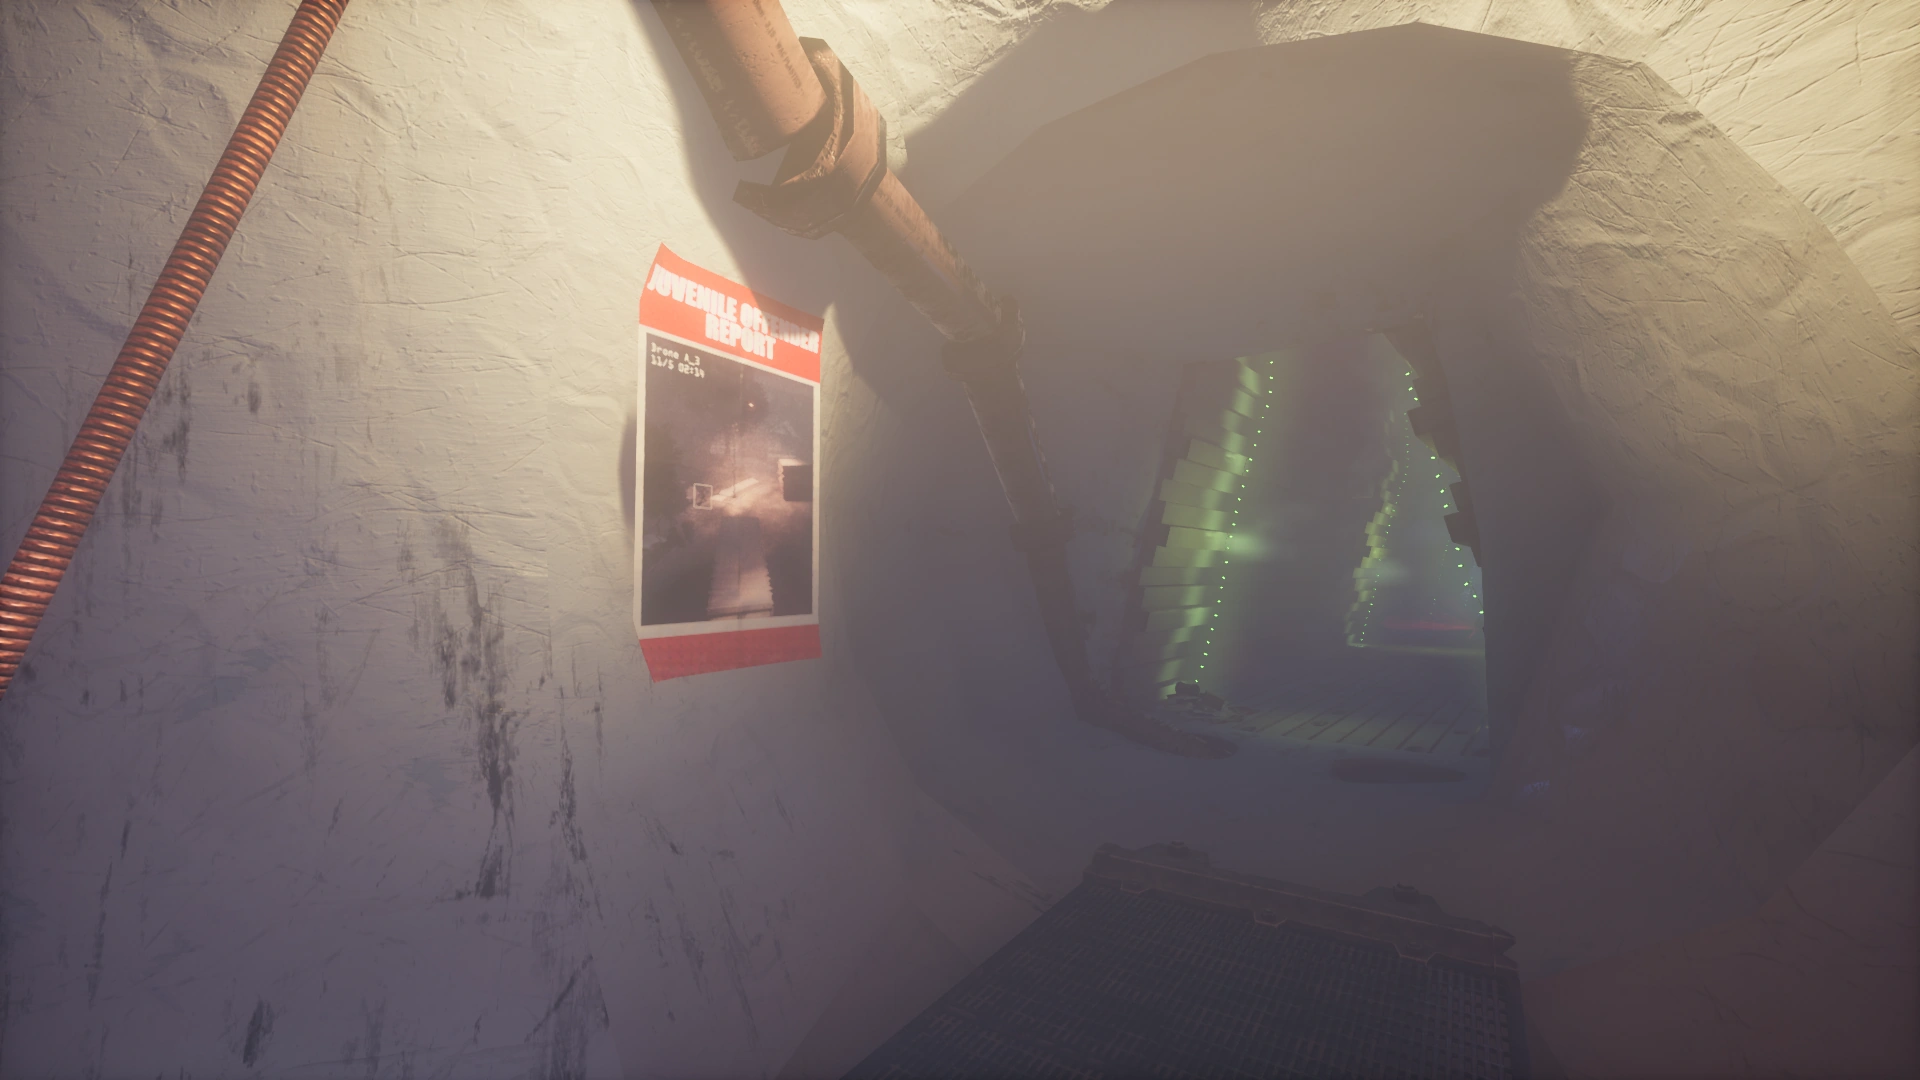
Bathroom Entrance — Poster
(Low Level: Occasional)
(High Level: Rare)Bathroom — Poster
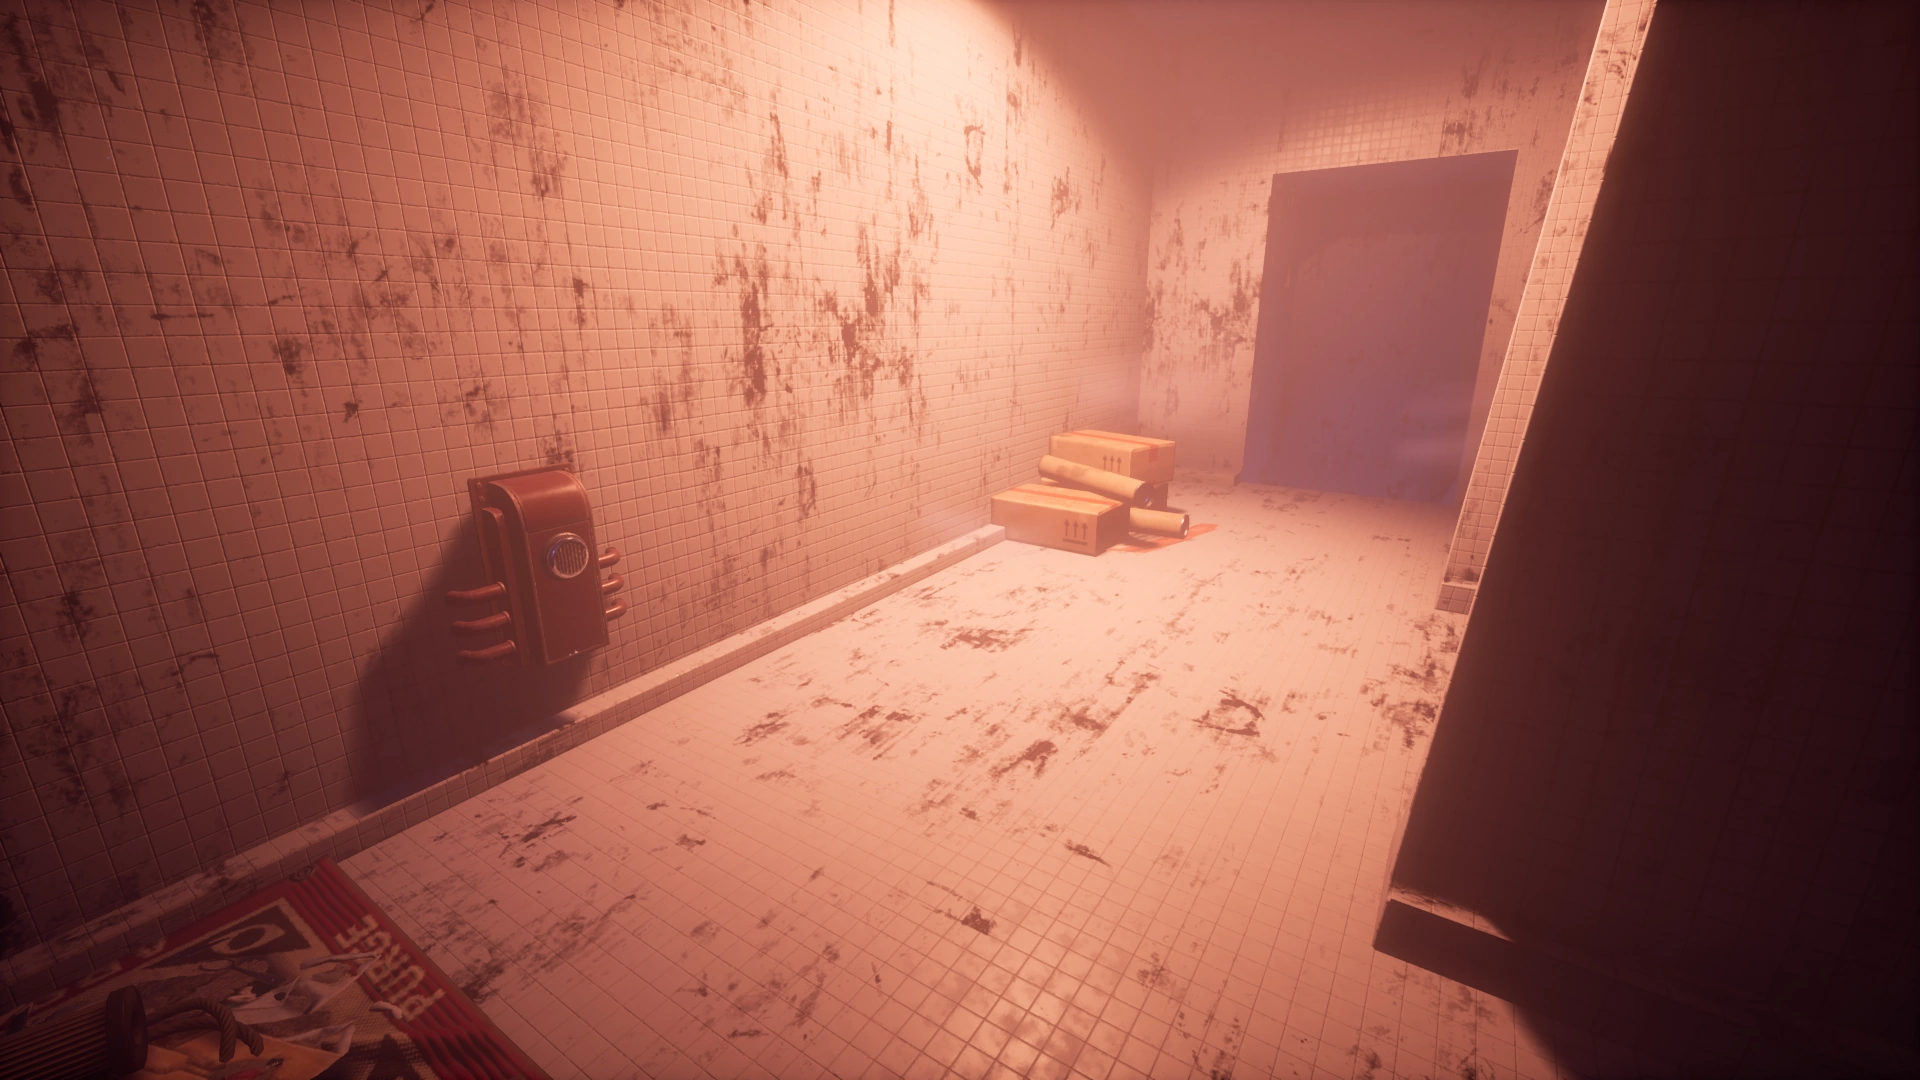
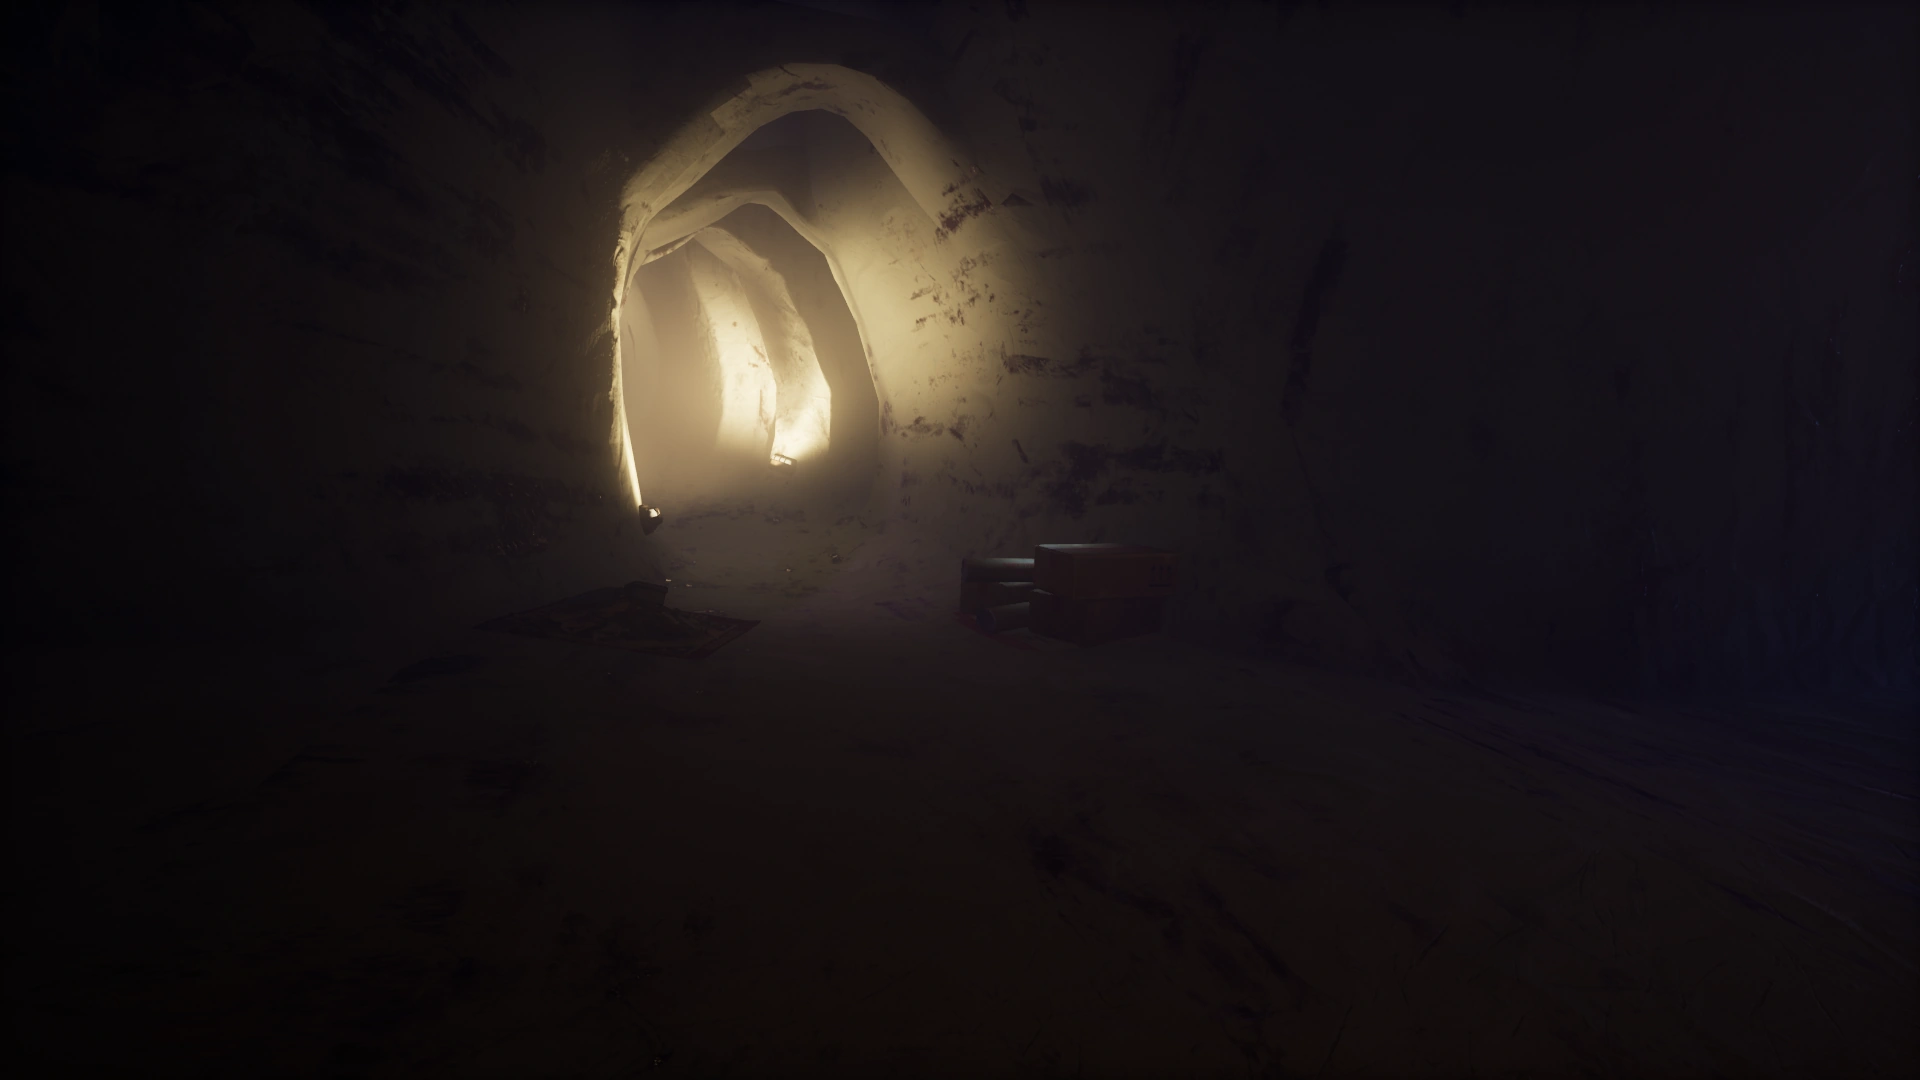
(Rare)Bathroom — Boxes and Tubes
(Rare)
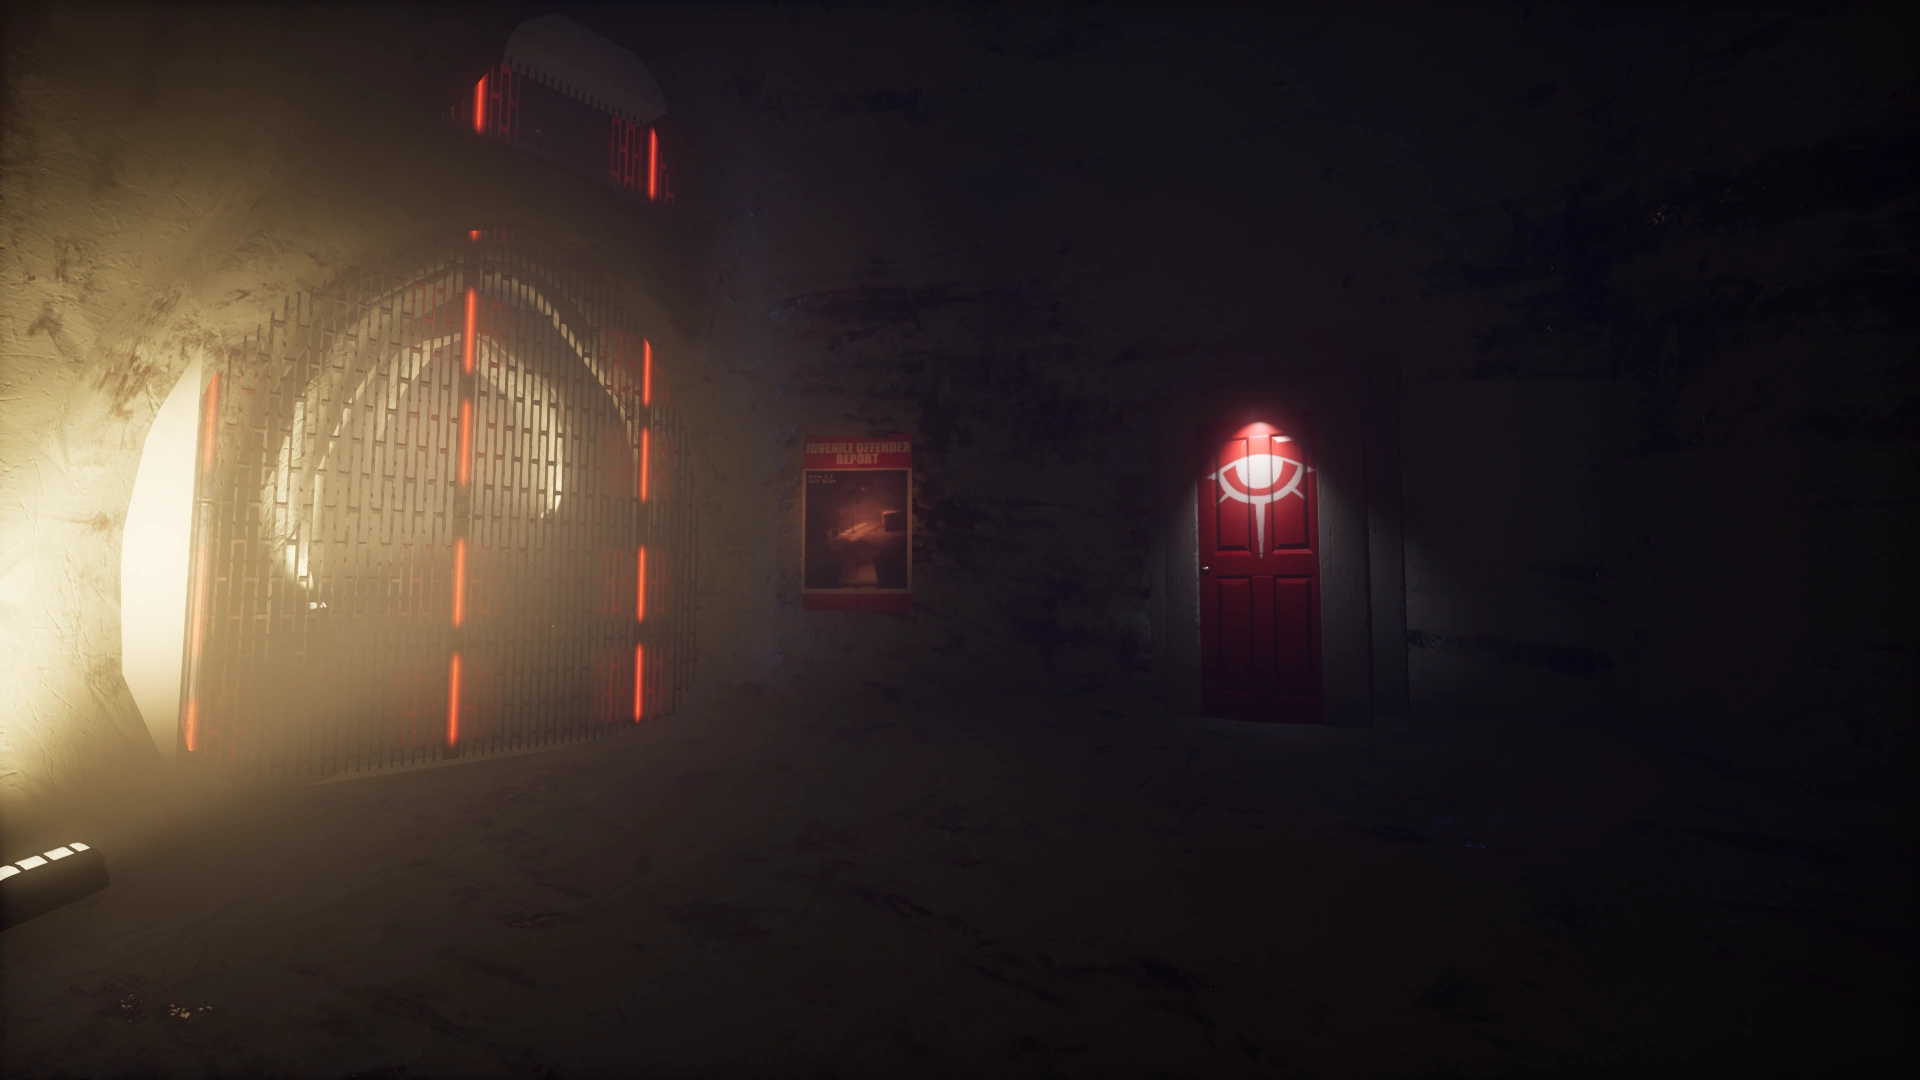
The Arches[ | ]
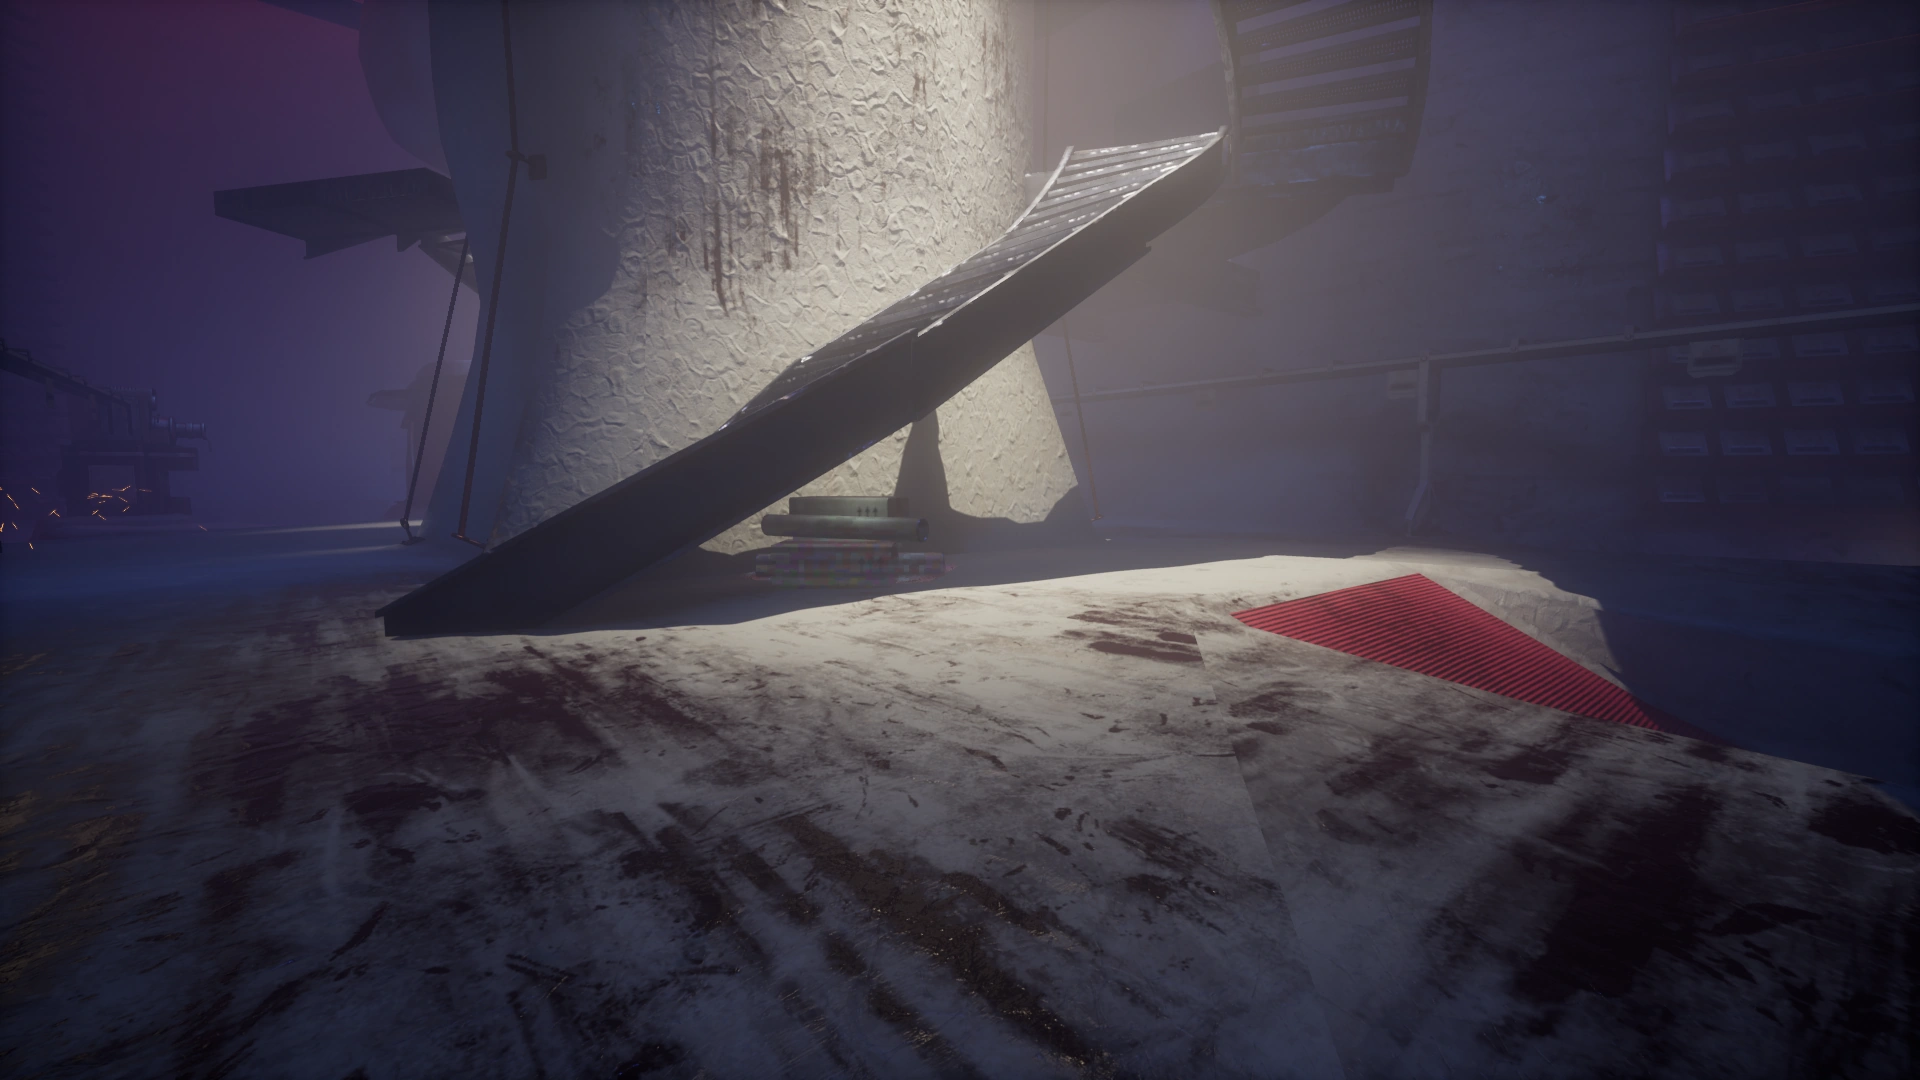
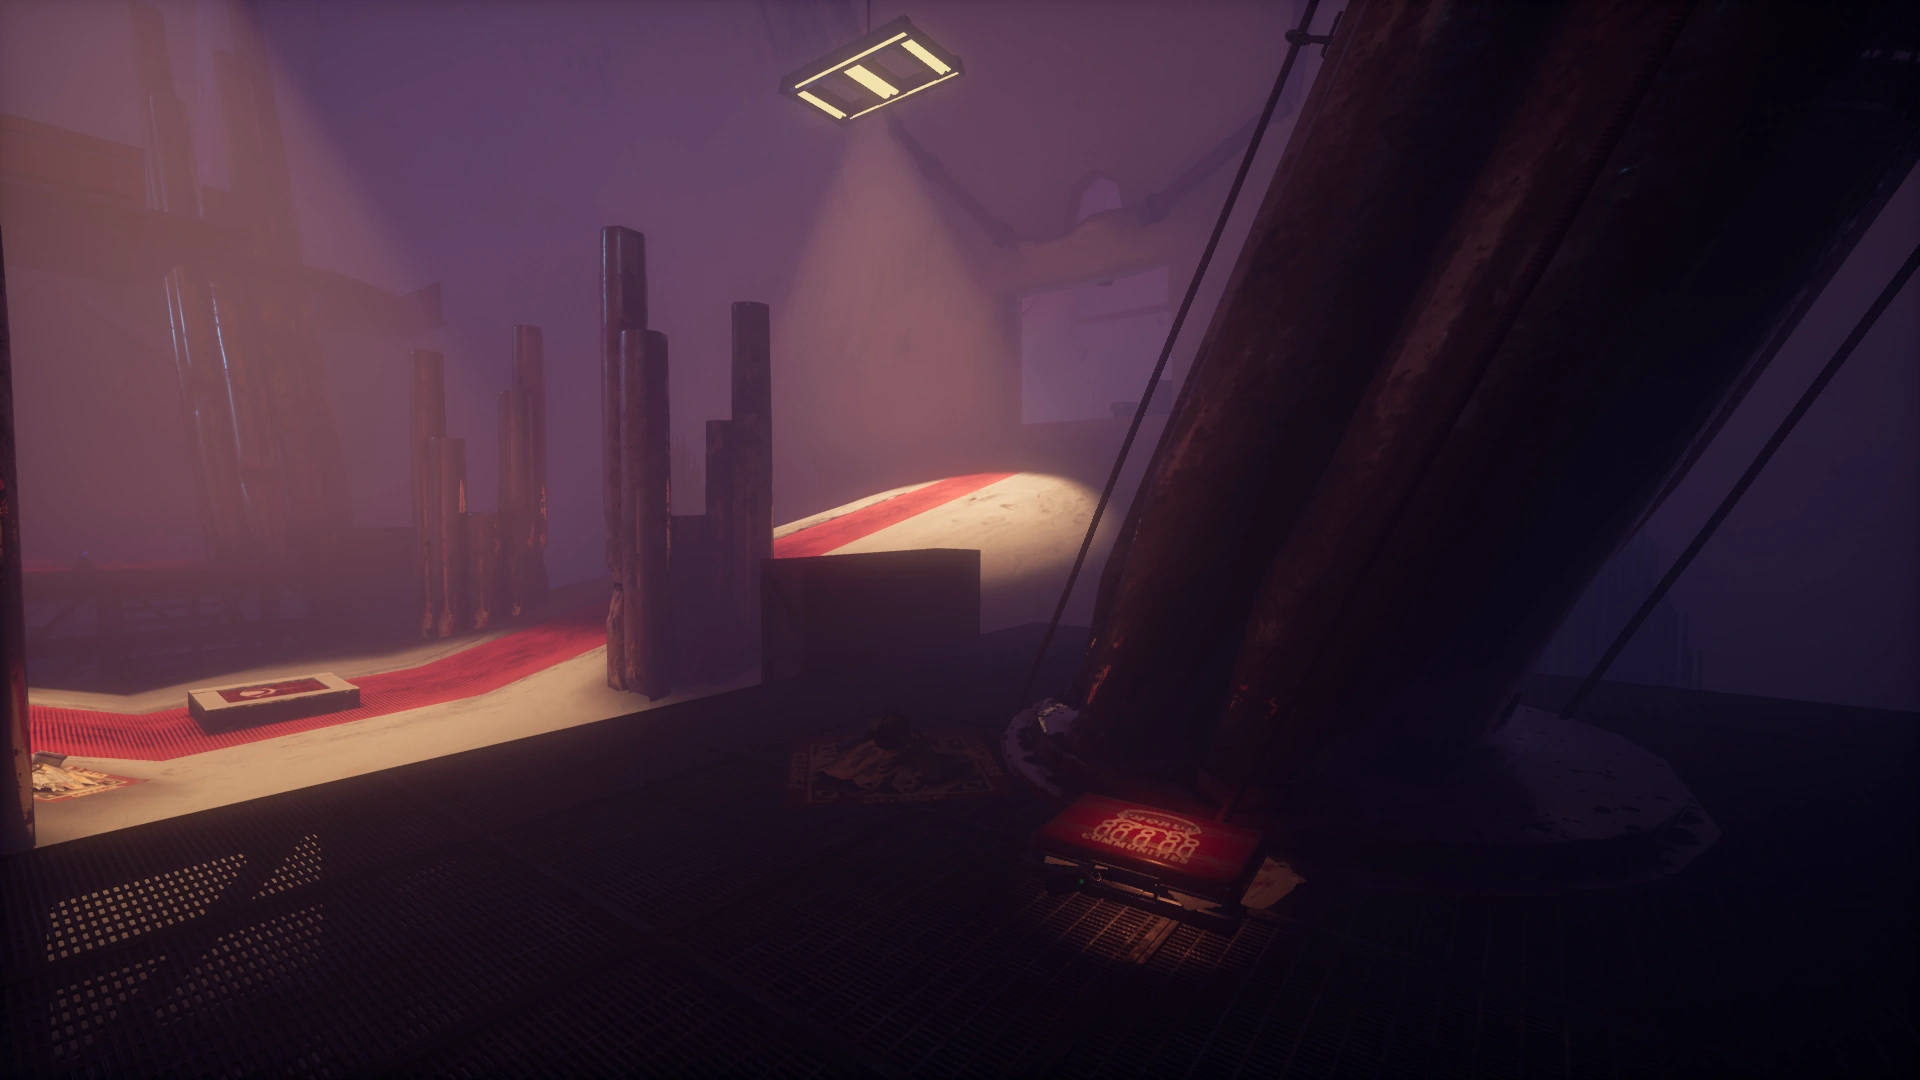
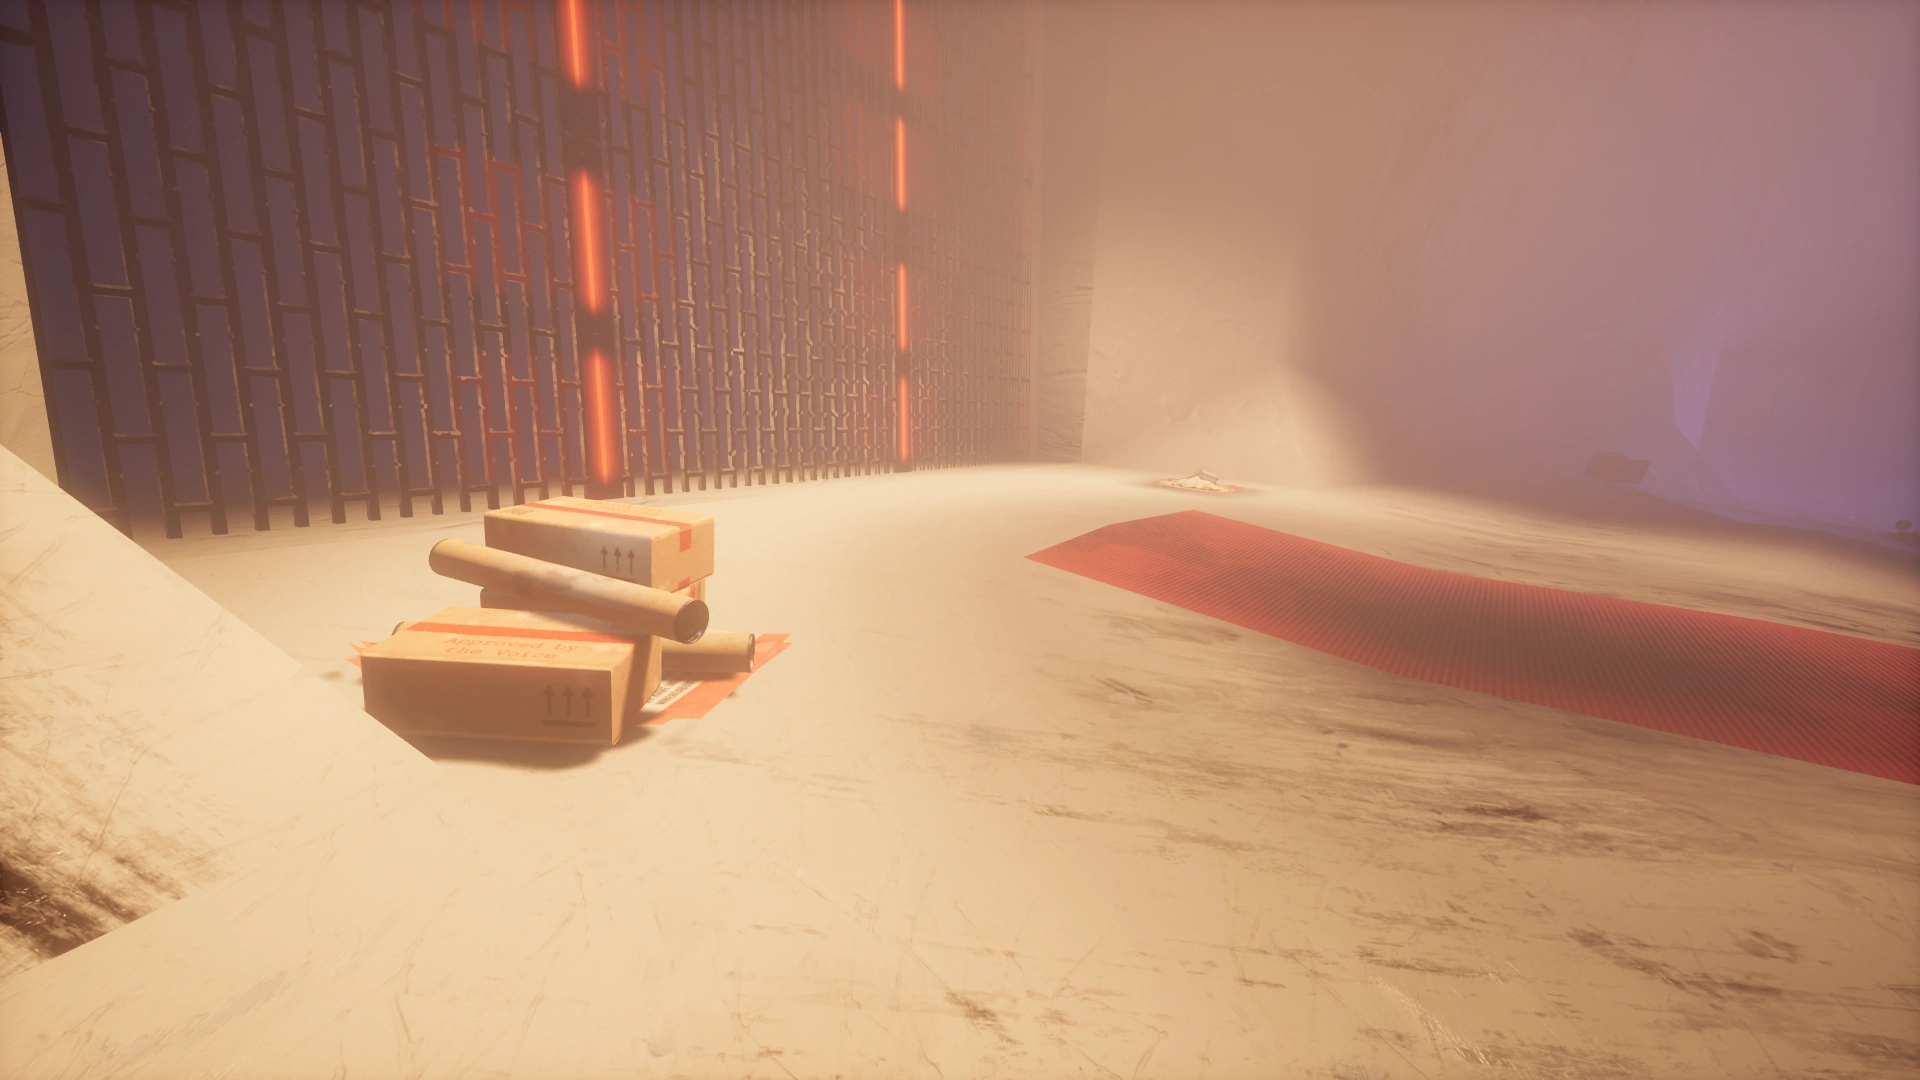
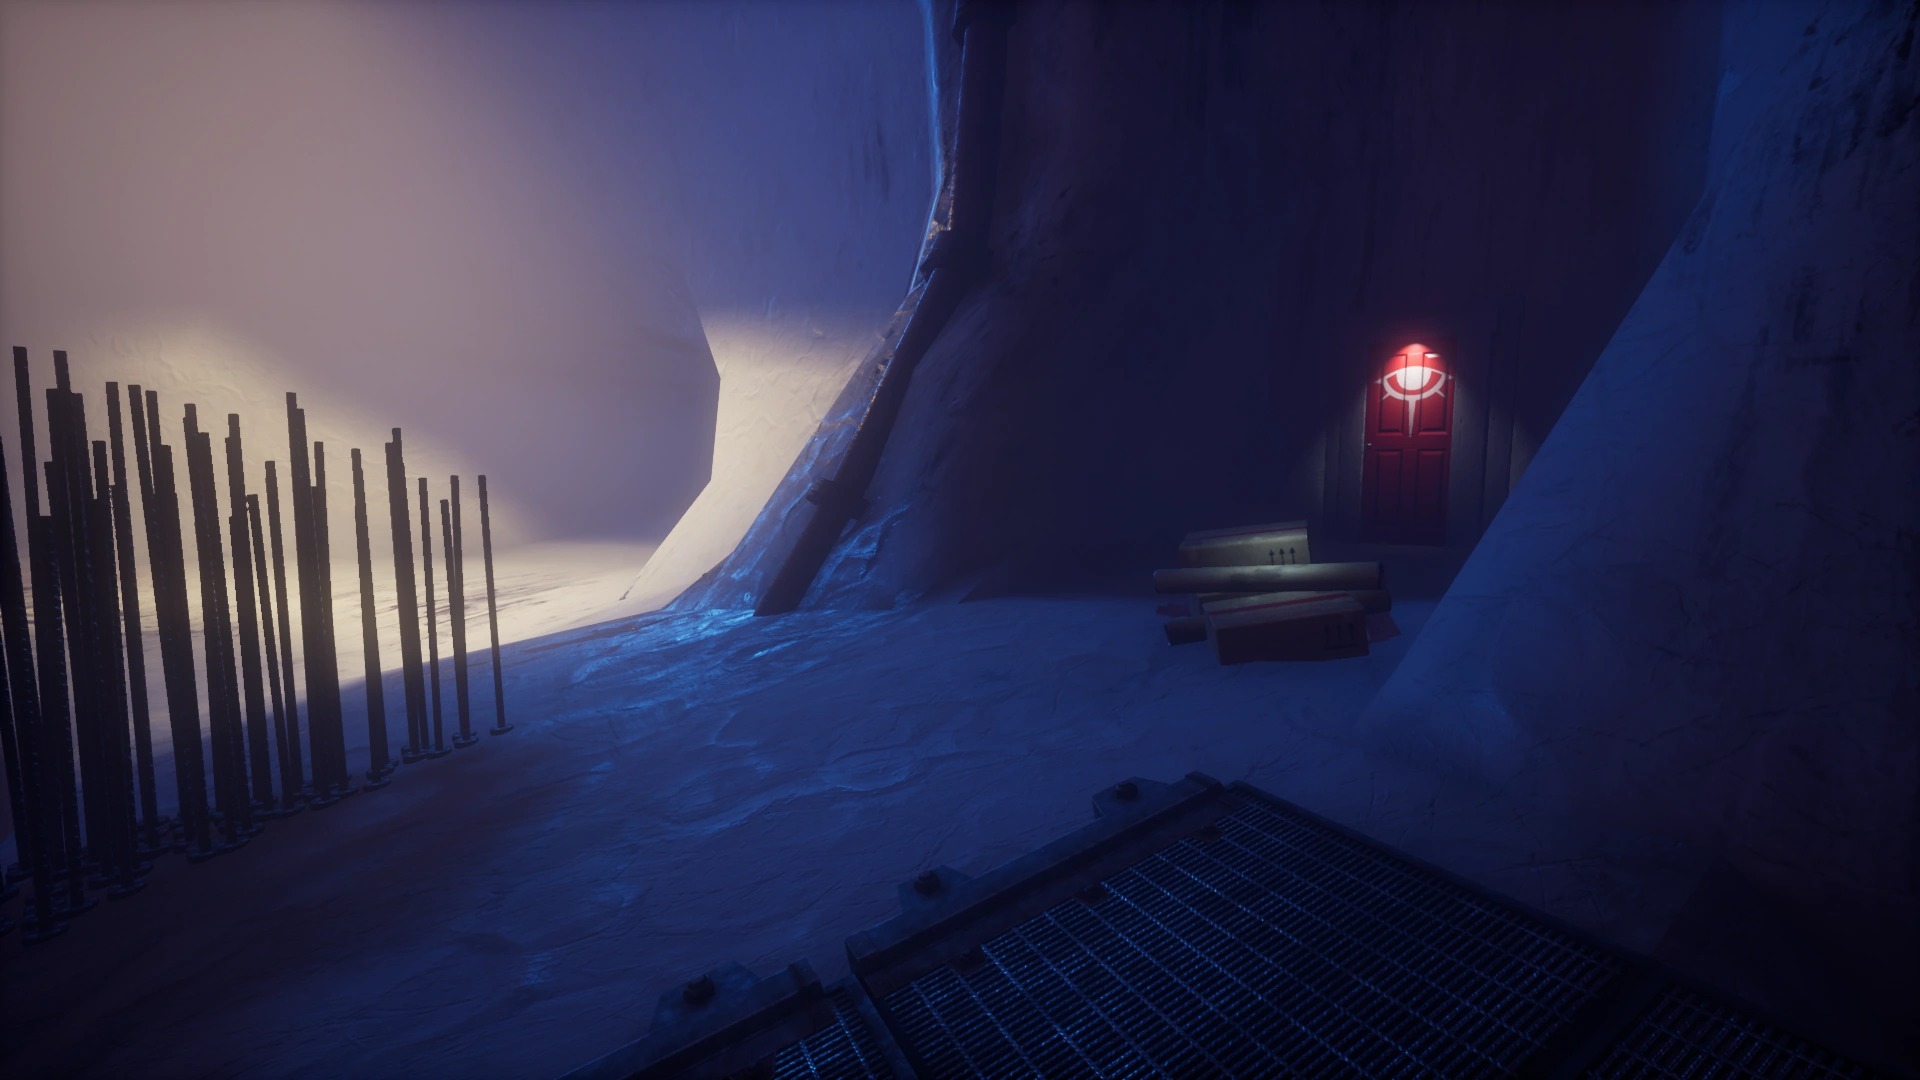
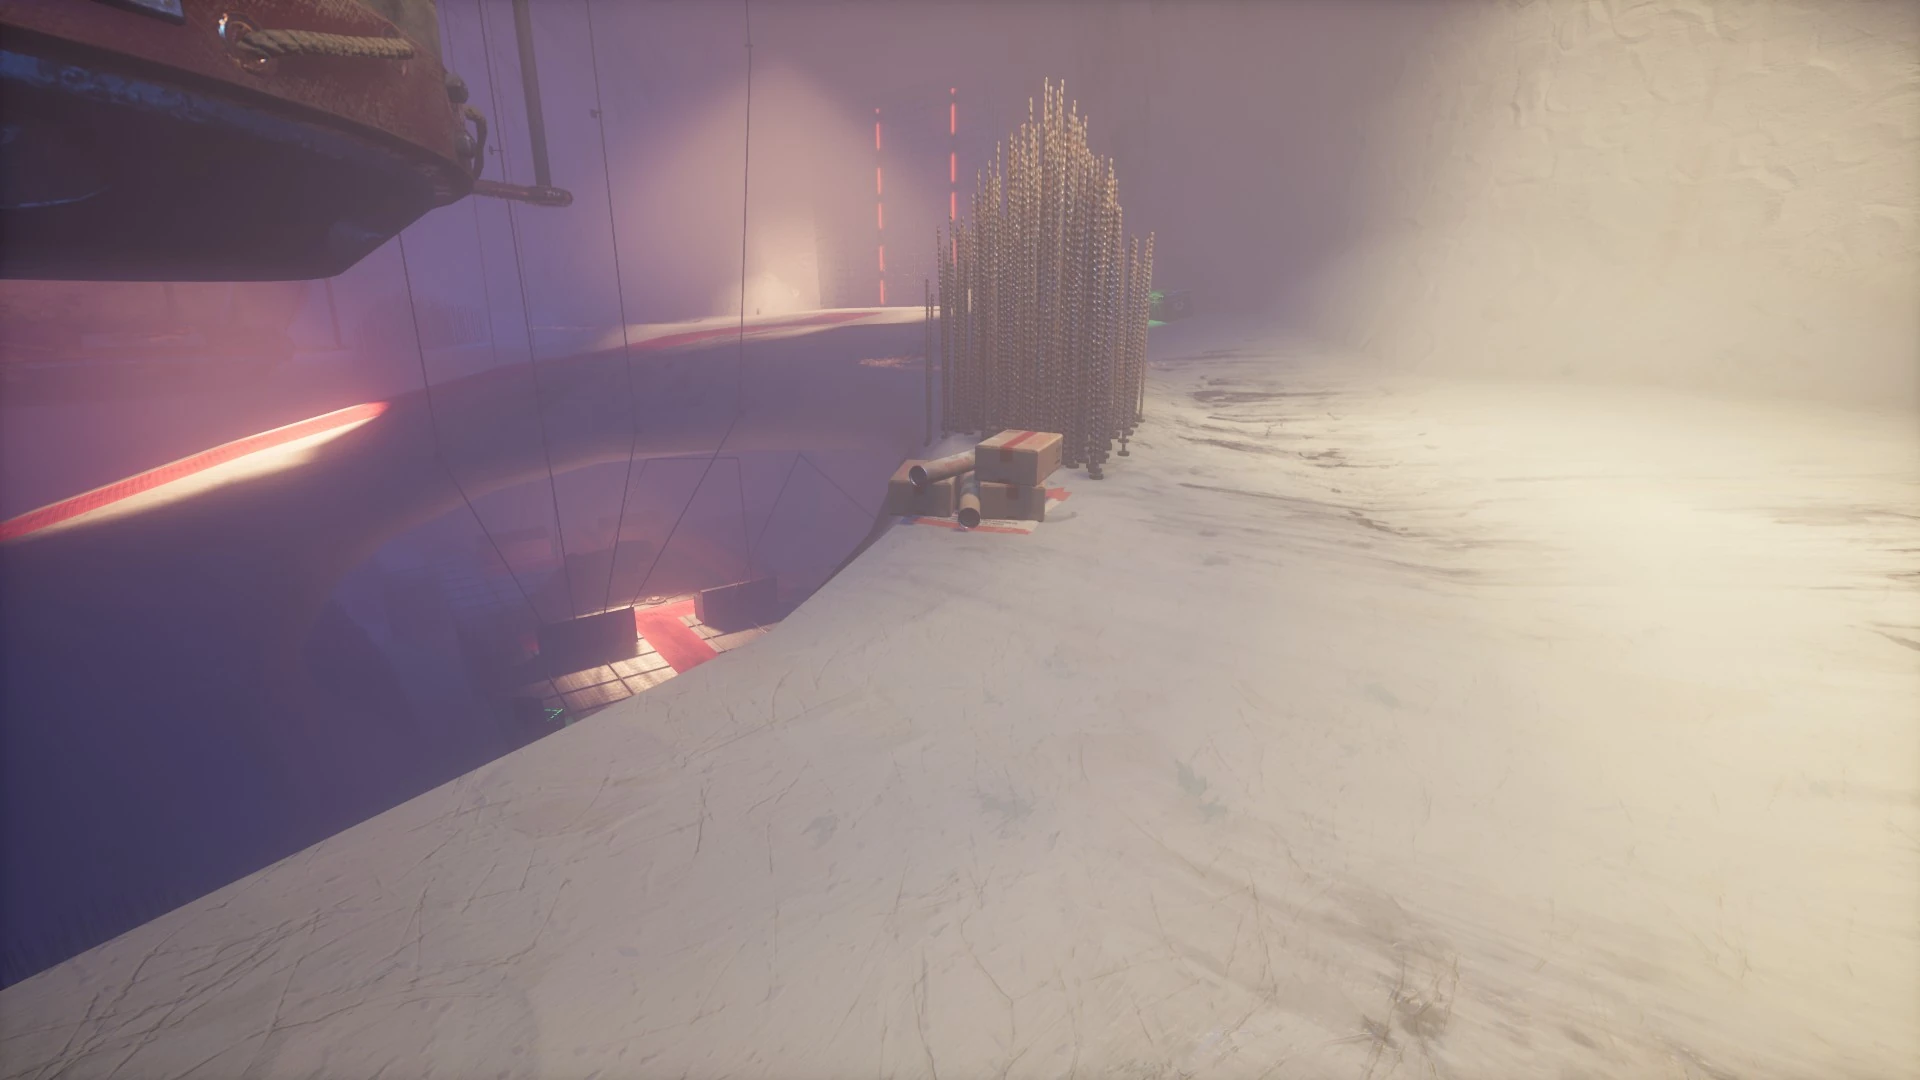
Cryptogram Library Entrance — Boxes and Tubes
(Occasional)Near Red Door — Poster
(Low Level: Common)
(High Level: Rare)
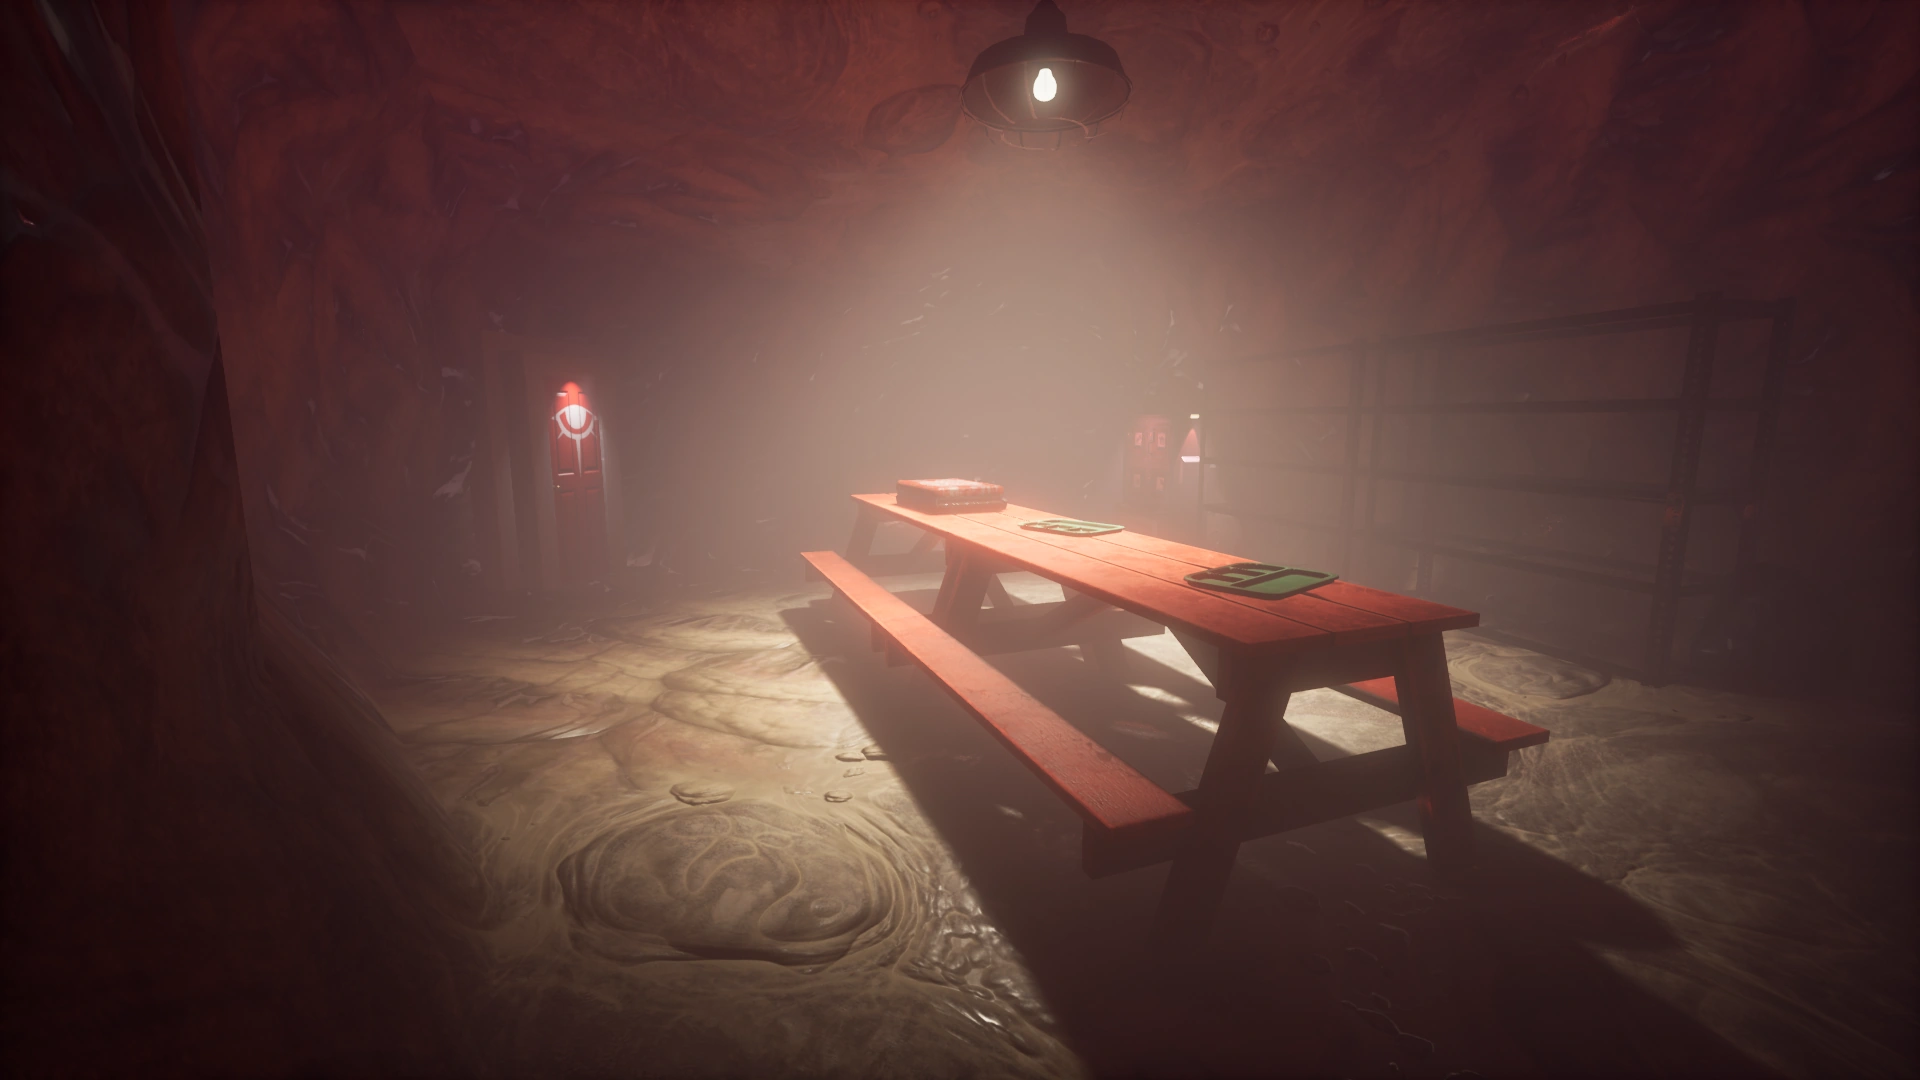
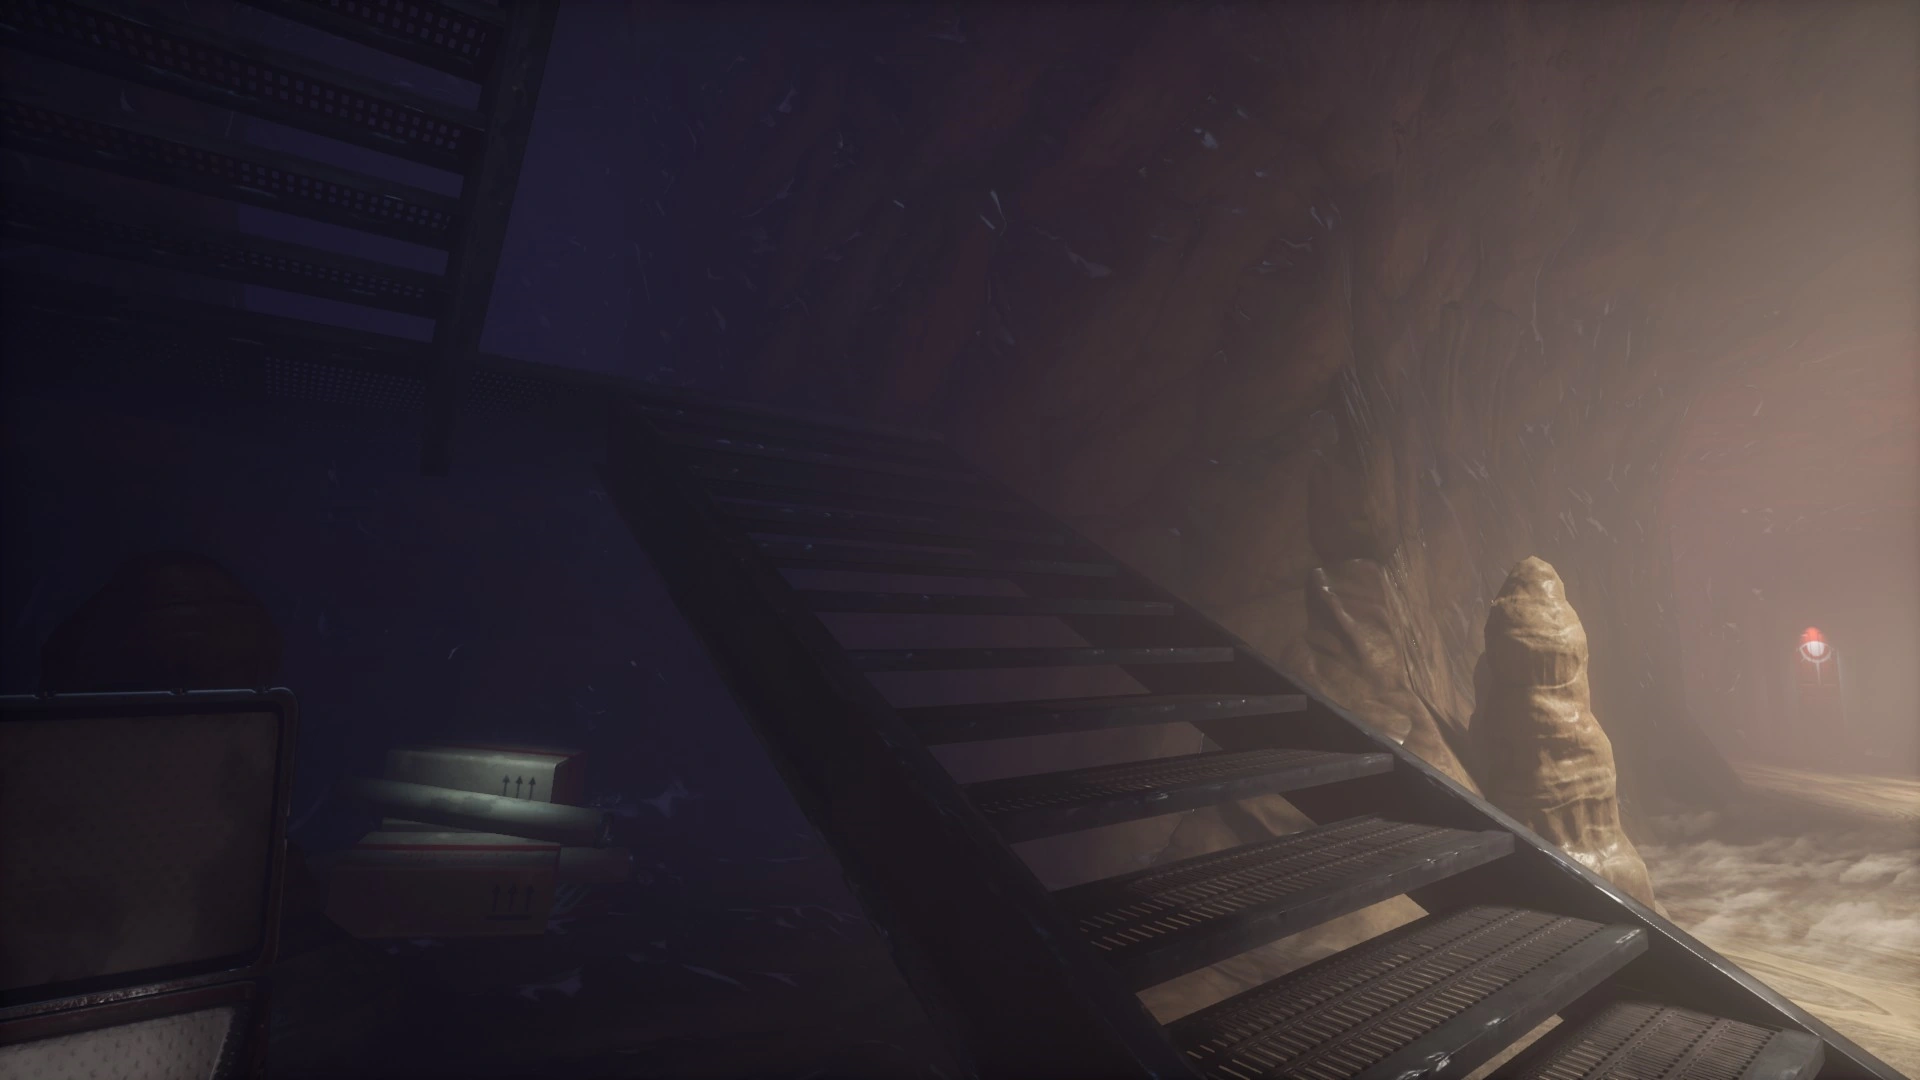
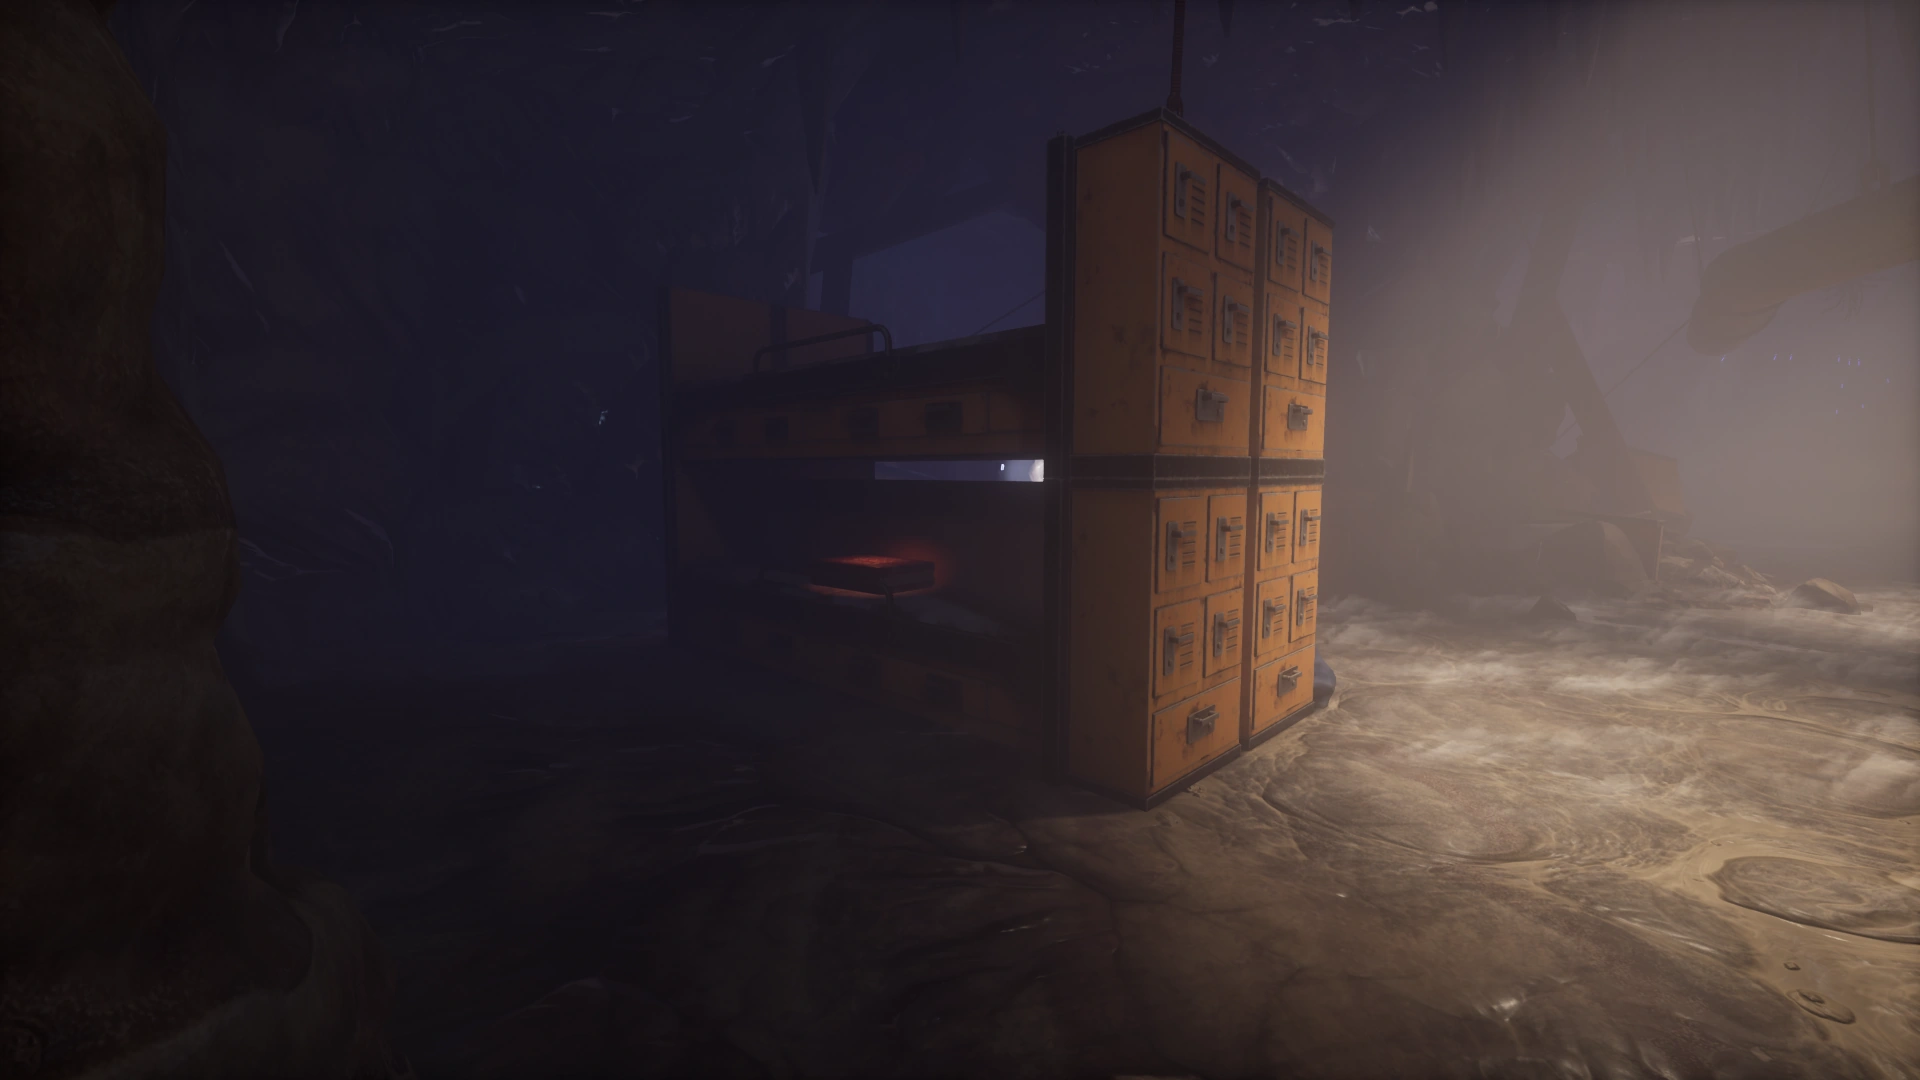
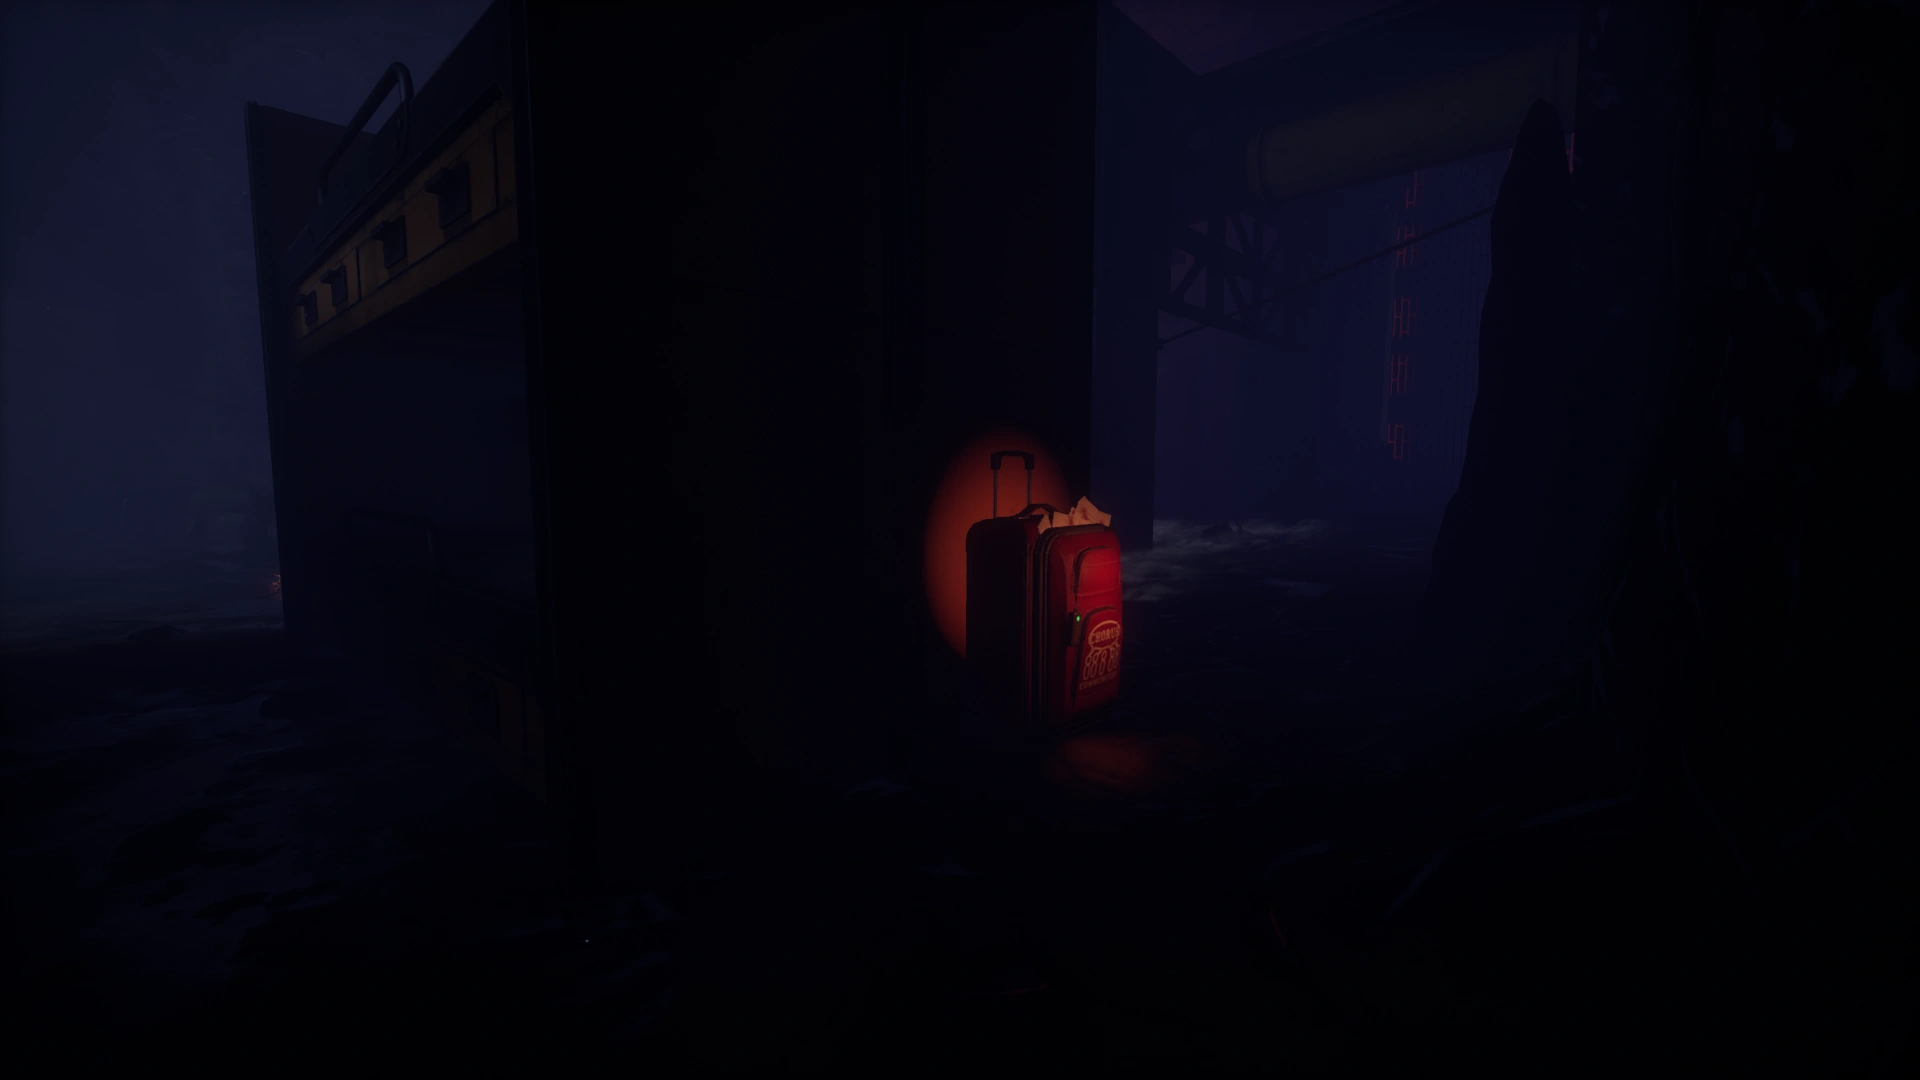
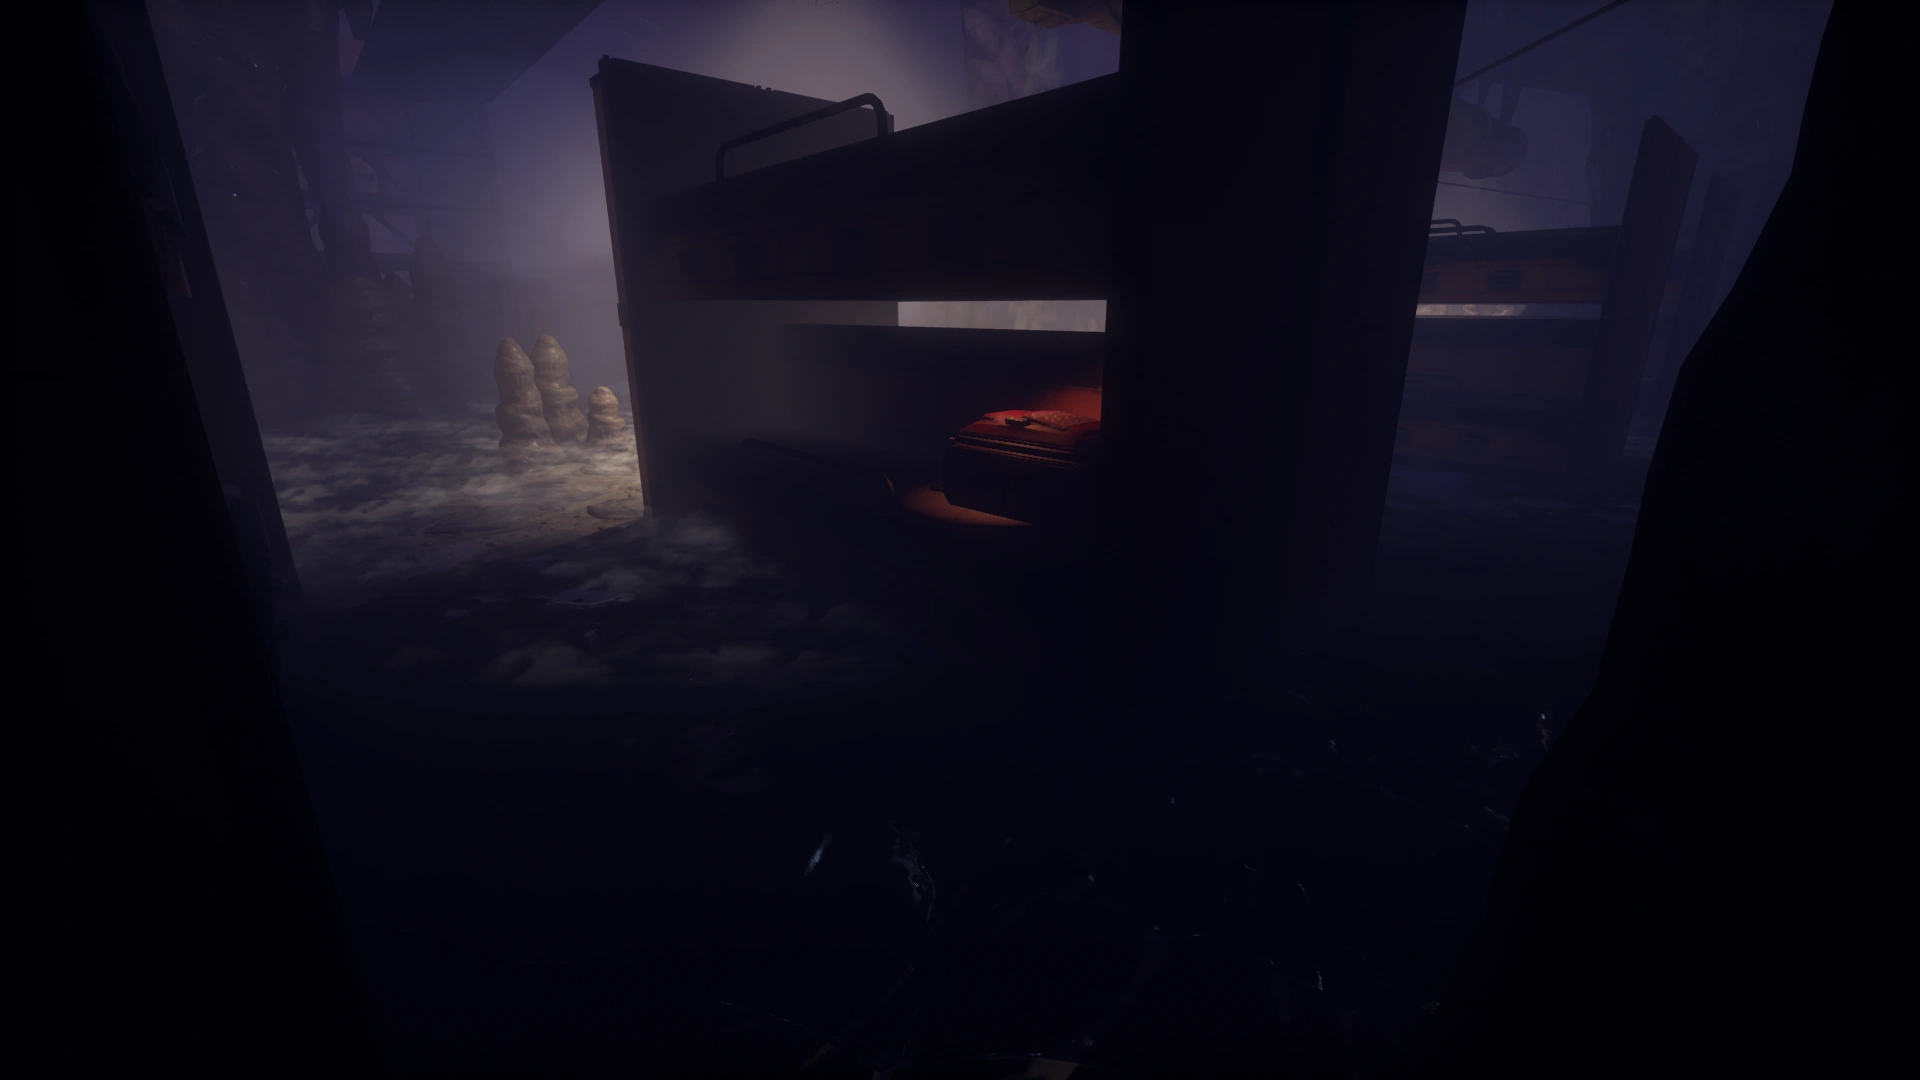
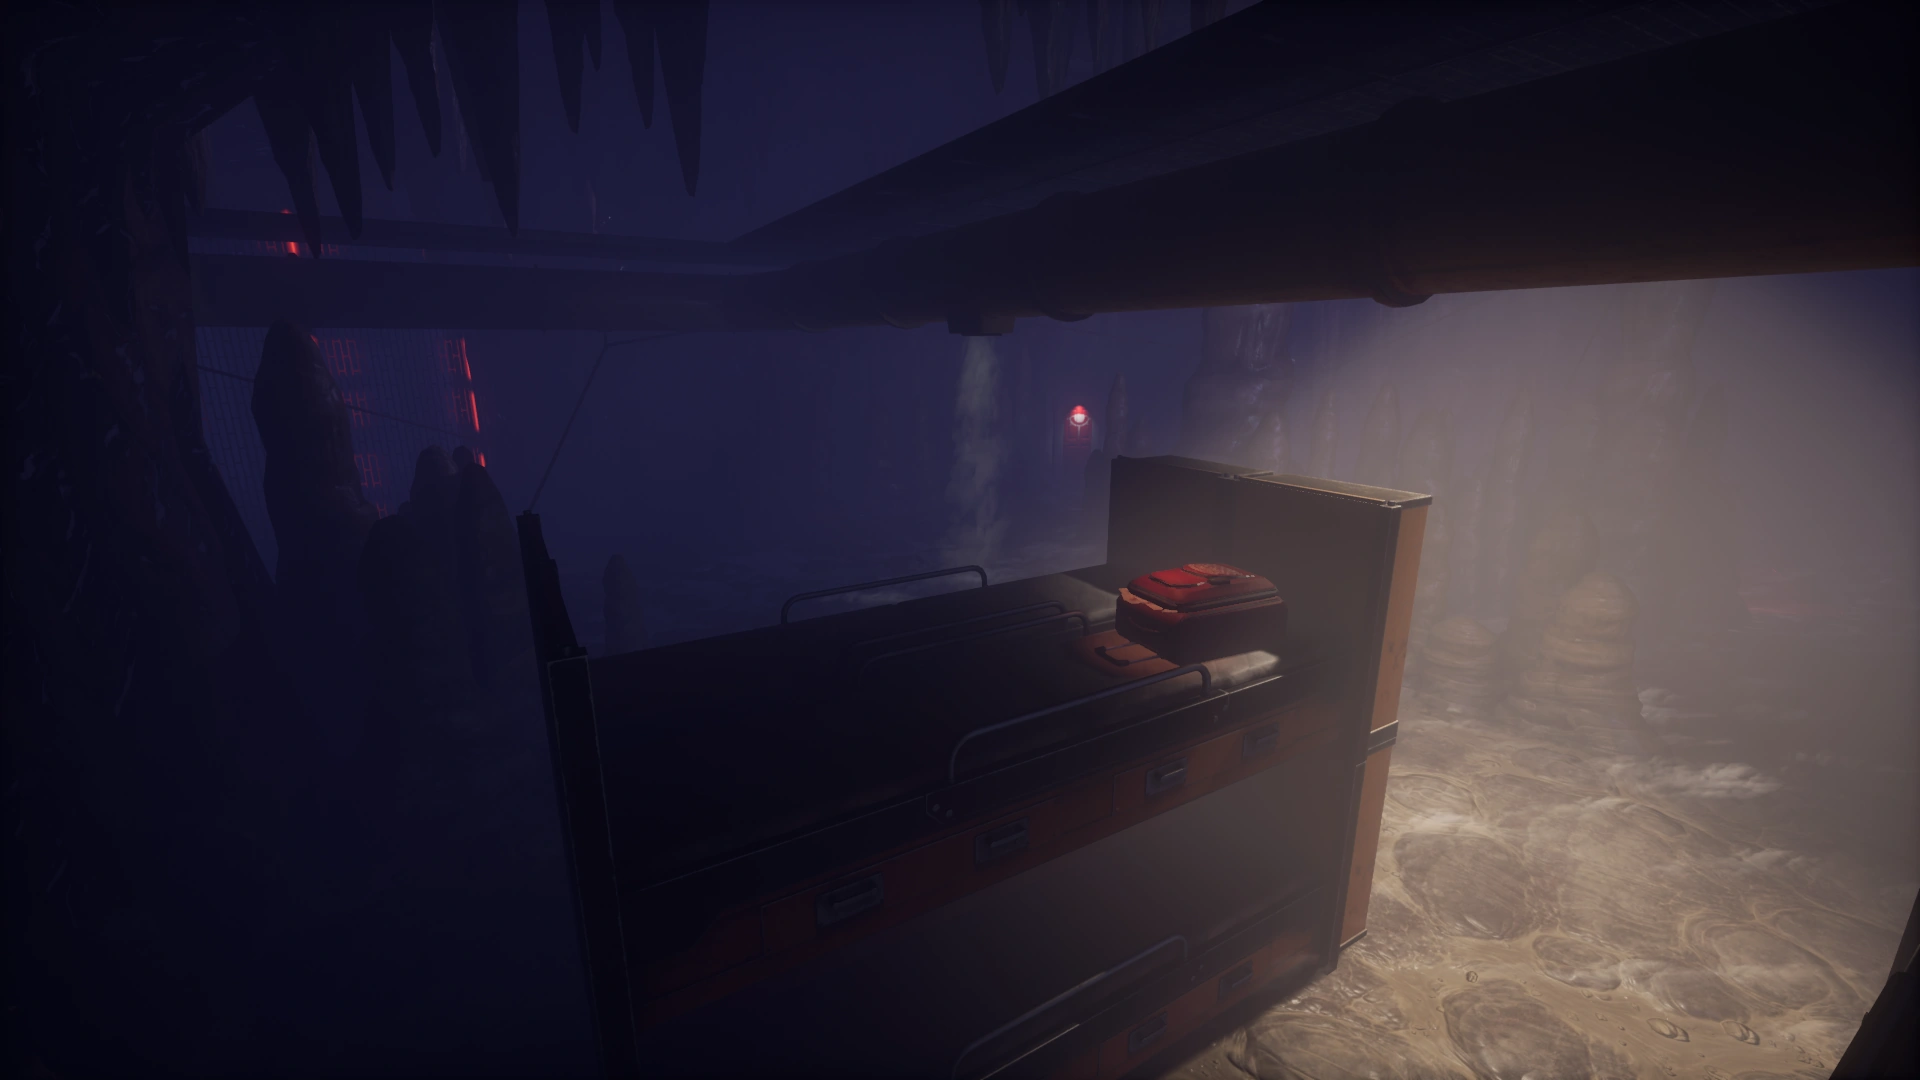
The Barracks[ | ]
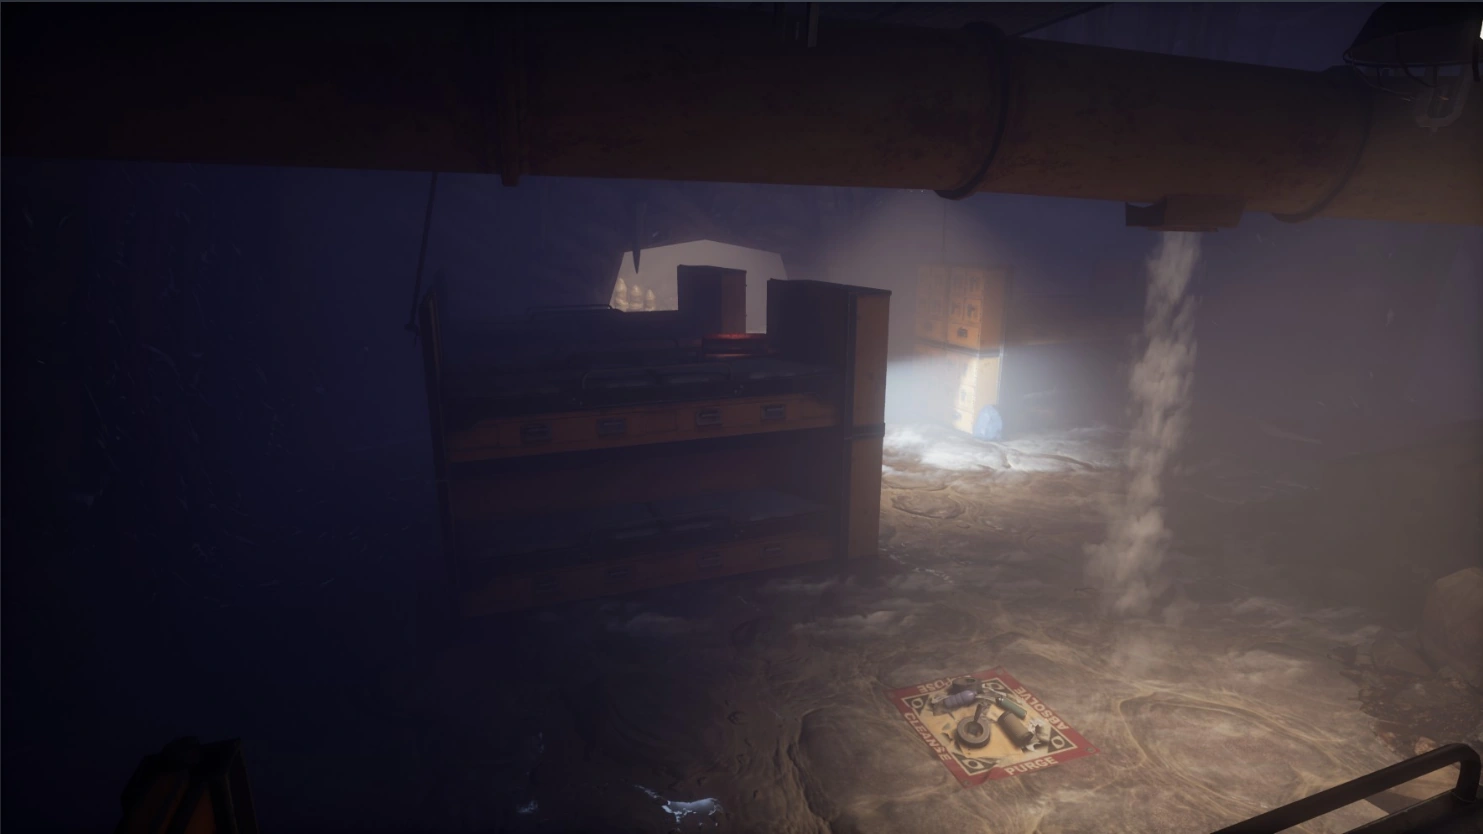
Picnic Table — Briefcase
(Common)Under Stairwell (Near The Well) — Boxes And Tubes
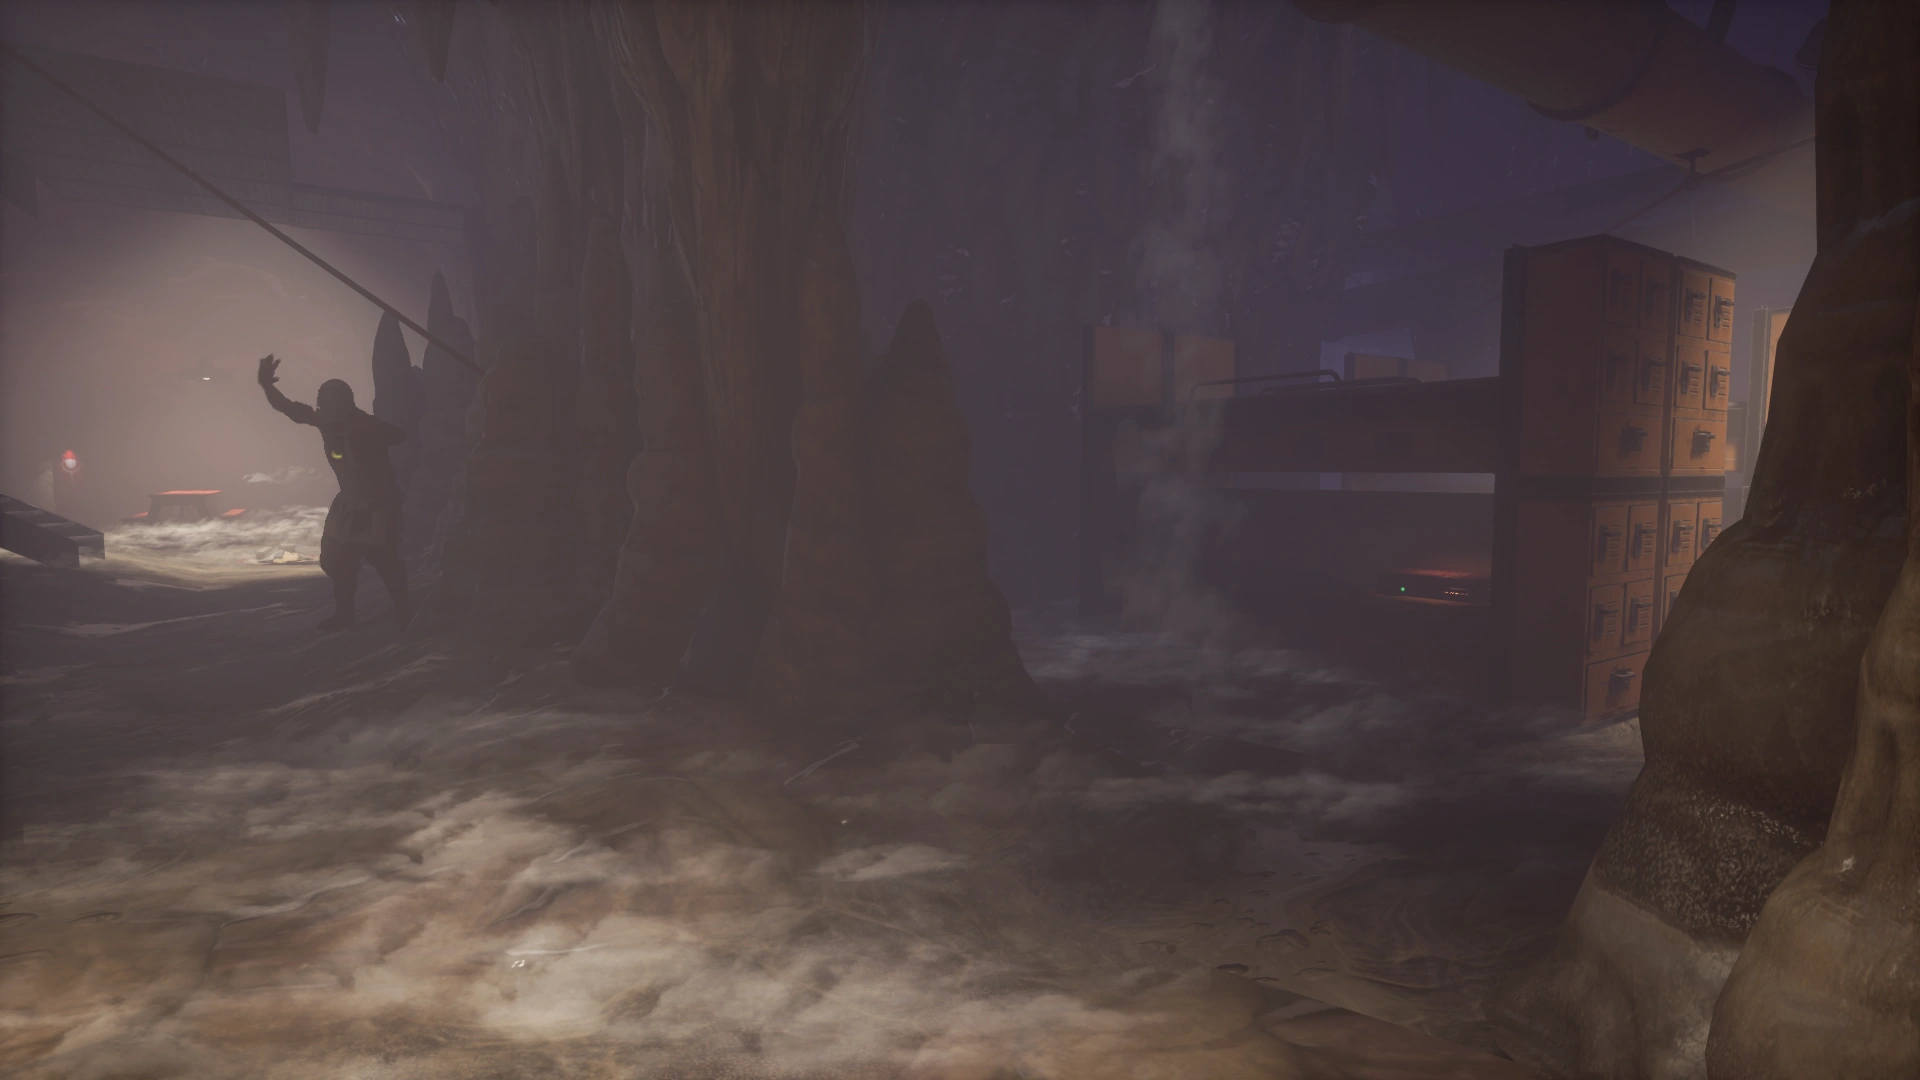
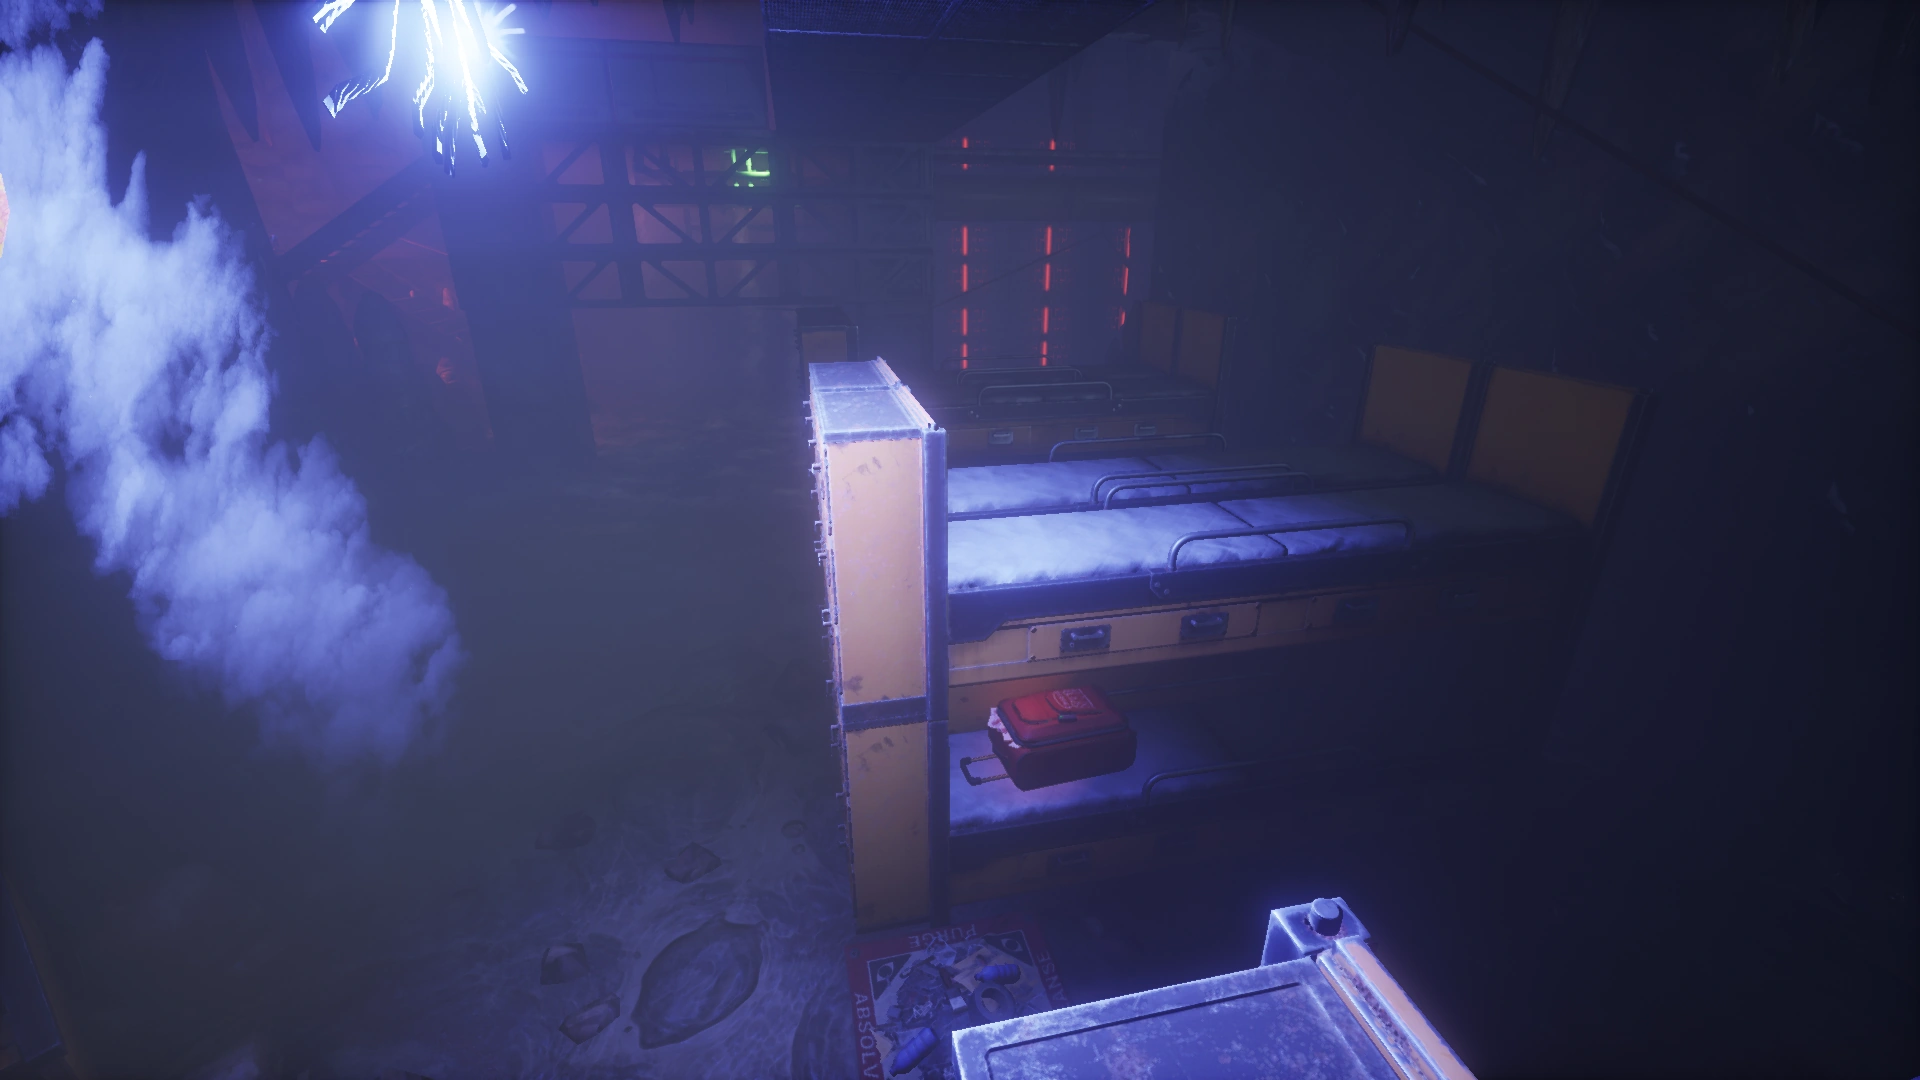
(Rare)Bunk Bed (Near The Well) — Briefcase
(Rare)Bunk Bed (Near Rubble Pile) — Briefcase
(Rare)Bunk Bed (Near the entrance to the Plexus) — Briefcase
(Rare)Rubble Pile — Suitcase
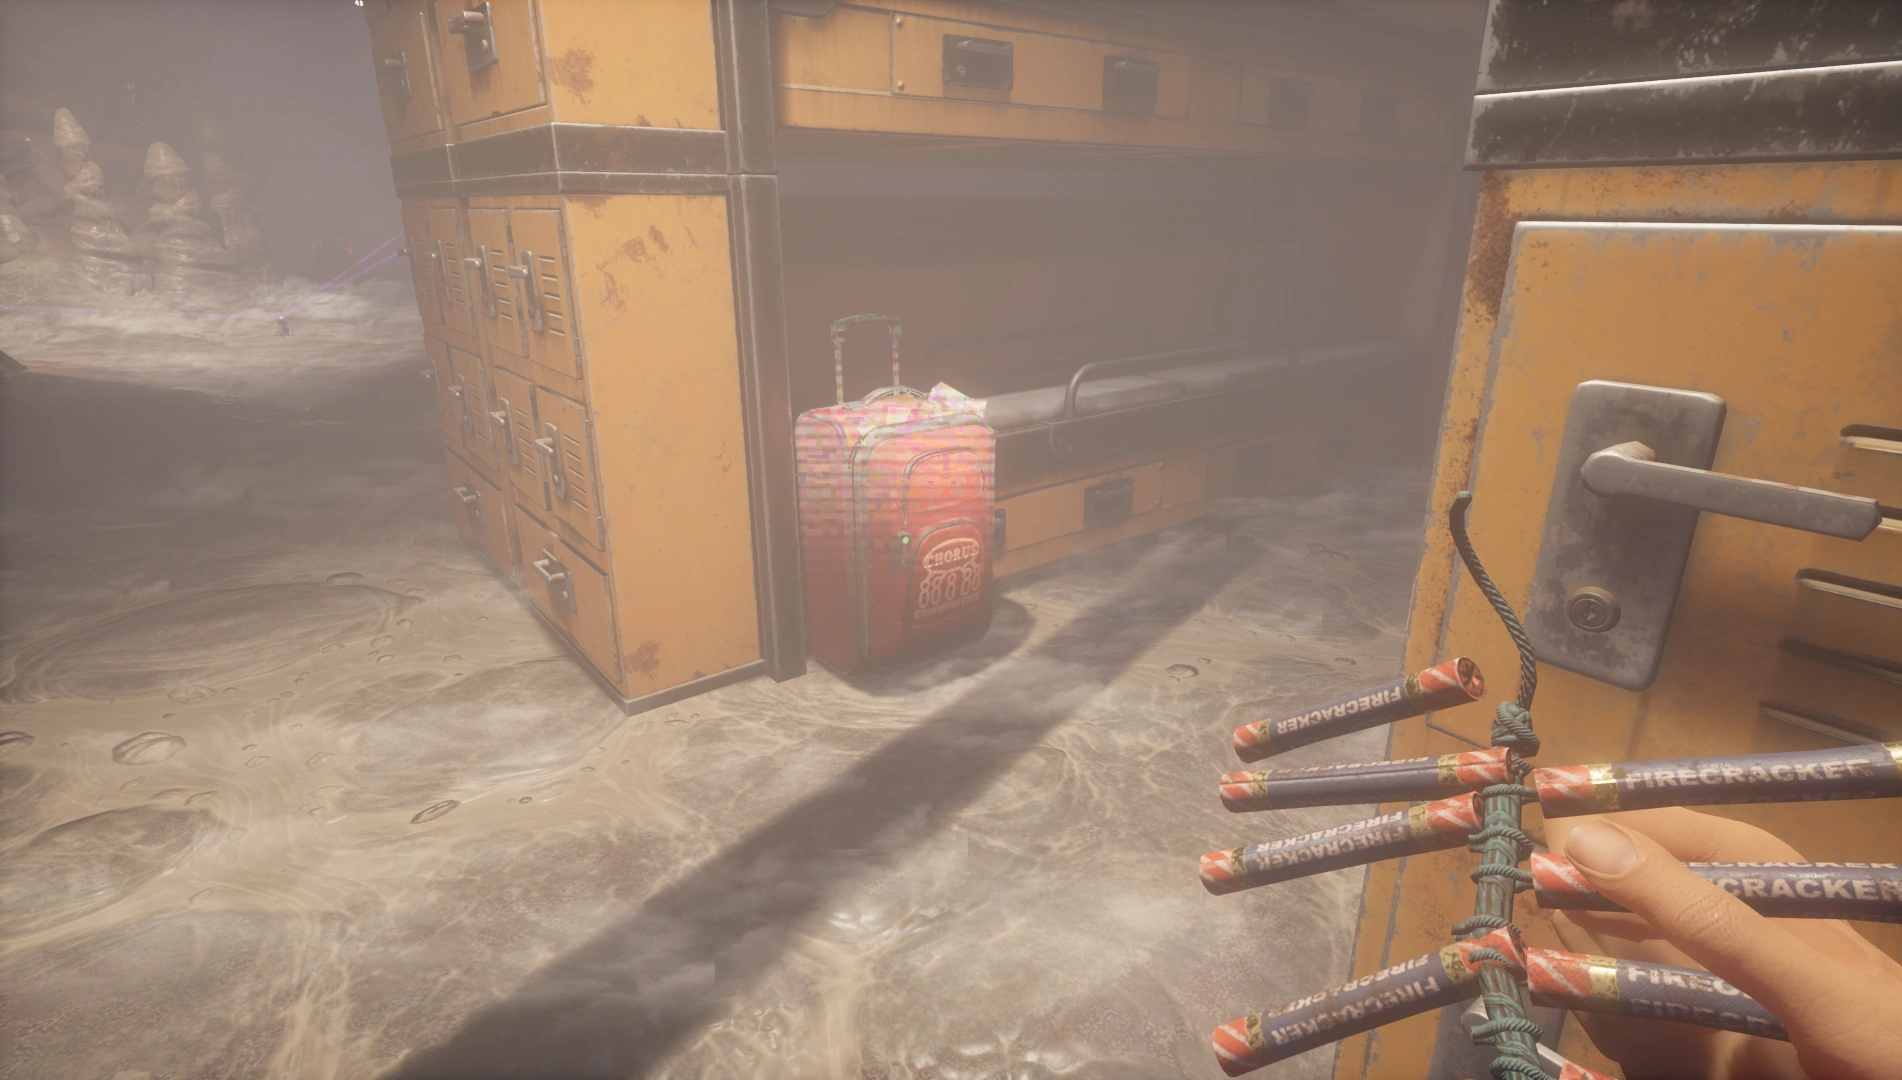
(Occasional)Bunk Bed (Near Rubble Pile) — Suitcase
(Rare)Bunk Bed — Suitcase
(Rare)Near Elevator — Suitcase
(Common)Near Red Ladder — Boxes and Tubes
(Occasional)Bunk Bed (Near The Well) — Suitcase
(Rare)Bunk Bed (Near Elevator) — Suitcase
(Rare)

Cryptogram Library[ | ]
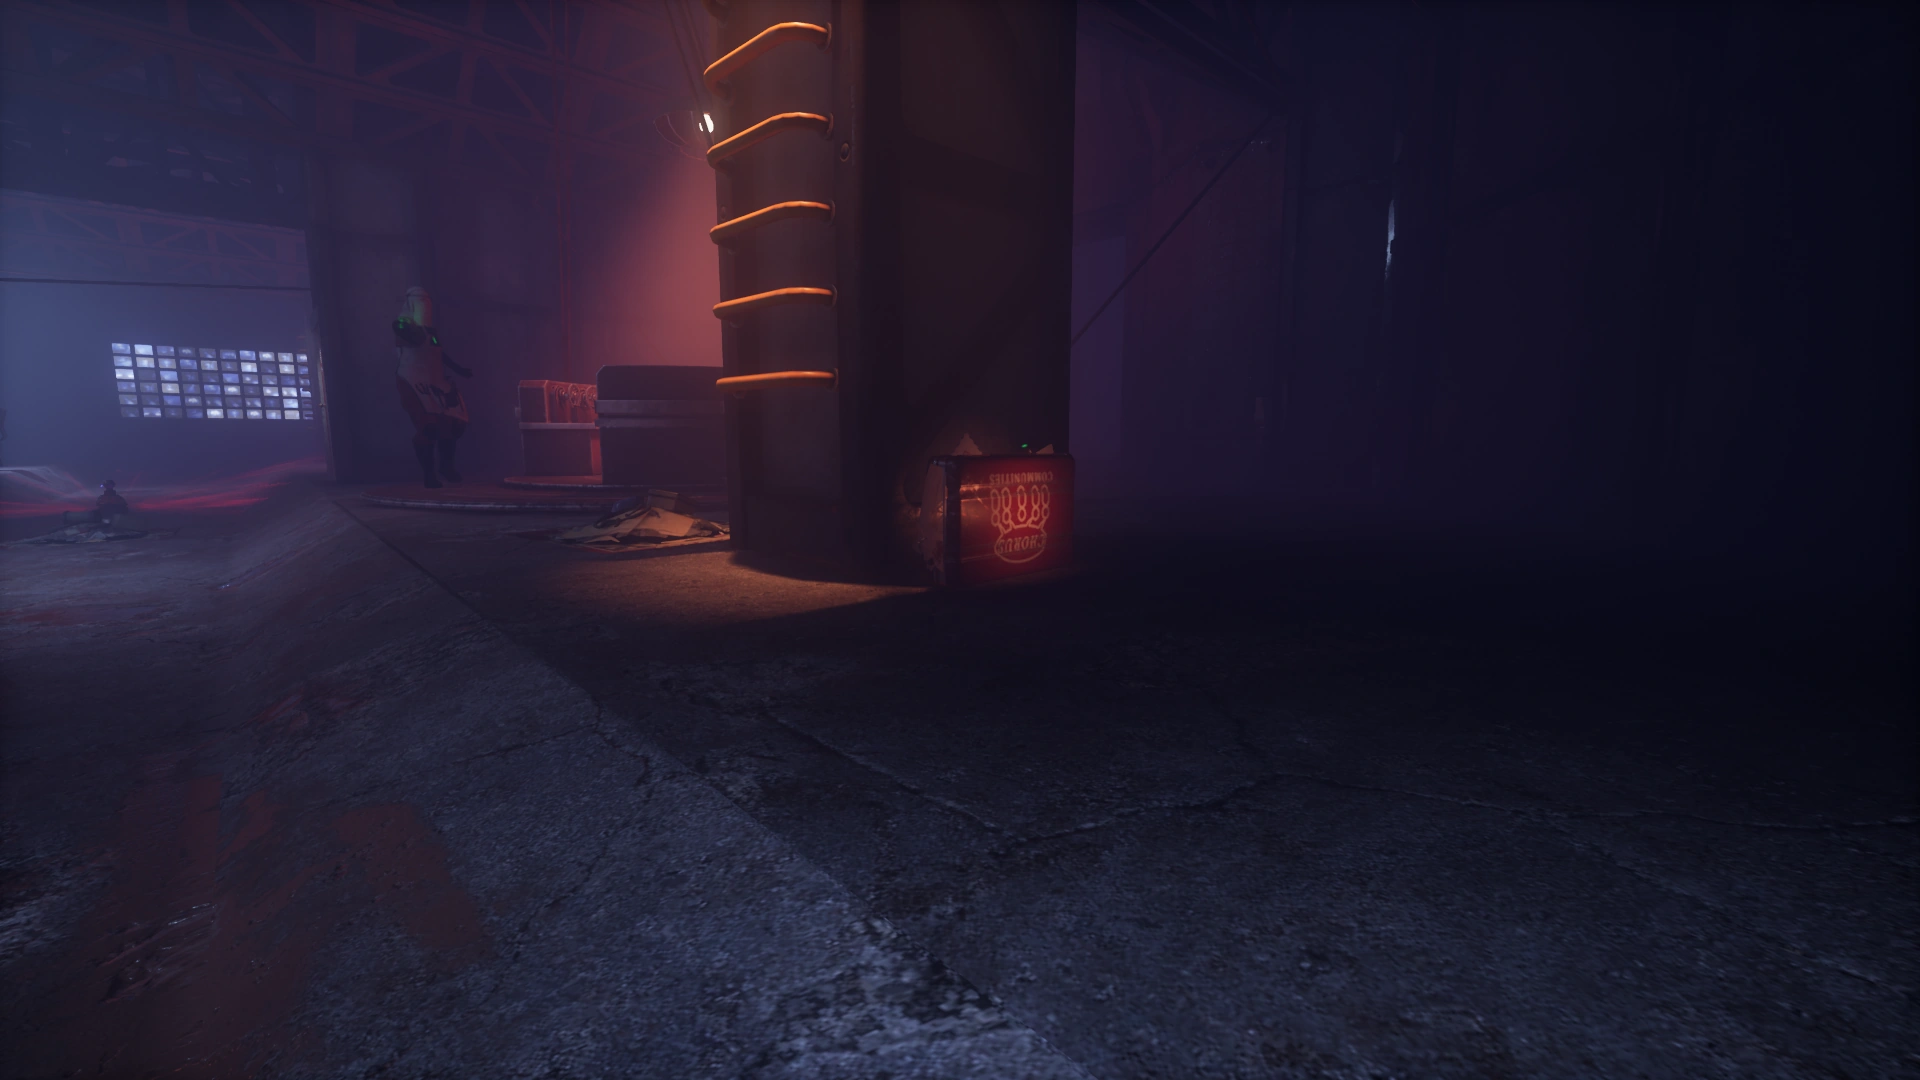
Central Pillar (Ground Floor) — Poster
(Occasional)Under Stairs (Ground Floor) — Boxes and Tubes
(Low Level: Common)
(High Level: Rare)Central Pillar (Mid-Level) — Poster
(Low Level: Common)
(High Level: Rare)Central Pillar (Upper Level) — Boxes and Tubes
(Low Level: Occasional)
(High Level: Rare)Central Pillar (Upper Level) — Poster
(Occasional)Hut (Blue Side) — Poster
(Rare)Hut (Blue Side) — Boxes and Tubes
(Occasional)Wall (Blue Side) — Poster
(Occasional)Floating Room (Upper Level) (Blue Side) — Poster
(Rare)
Elevator (Lower West Hoadly)[ | ]
Elevator Wall — Poster
(Occasional)

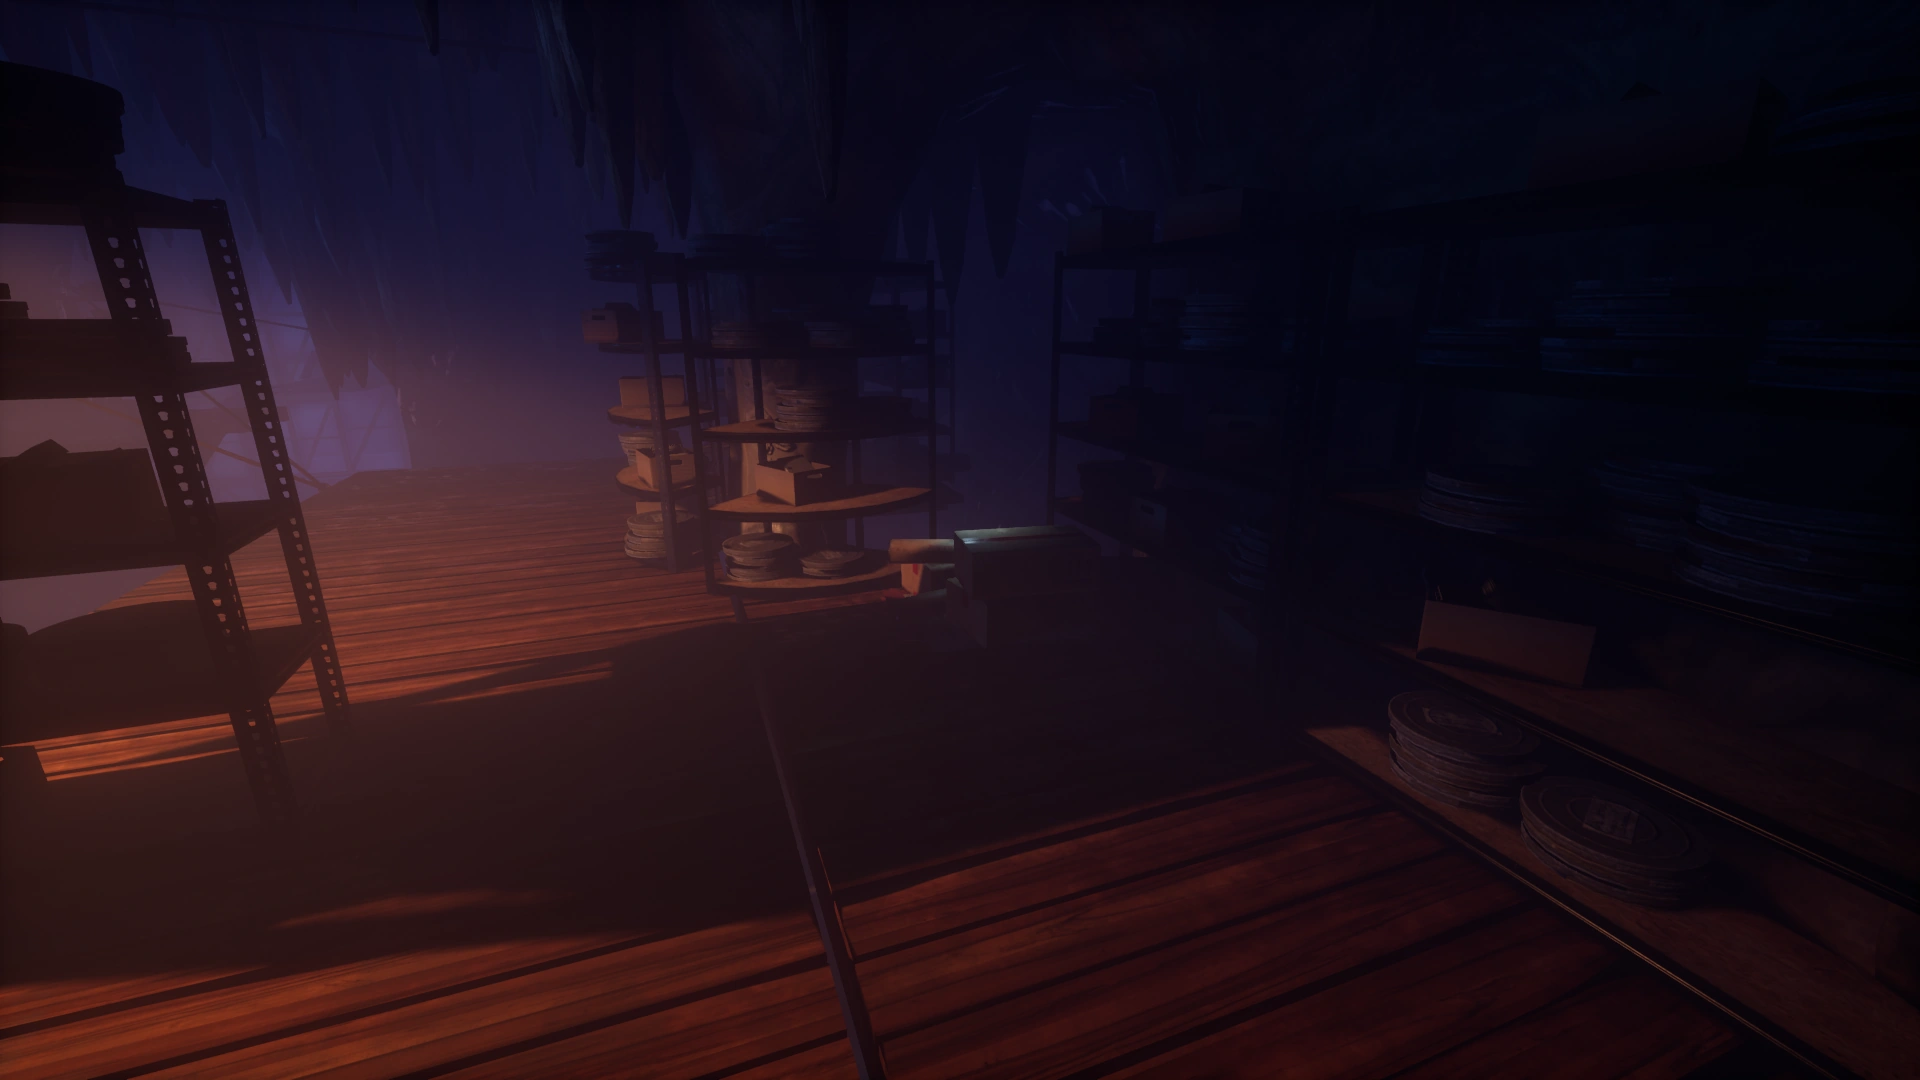
Film Archives[ | ]
Below The Platform — Poster
(Low Level: Occasional)
(High Level: Rare)Well Entrance — Poster
(Low Level: Occasional)
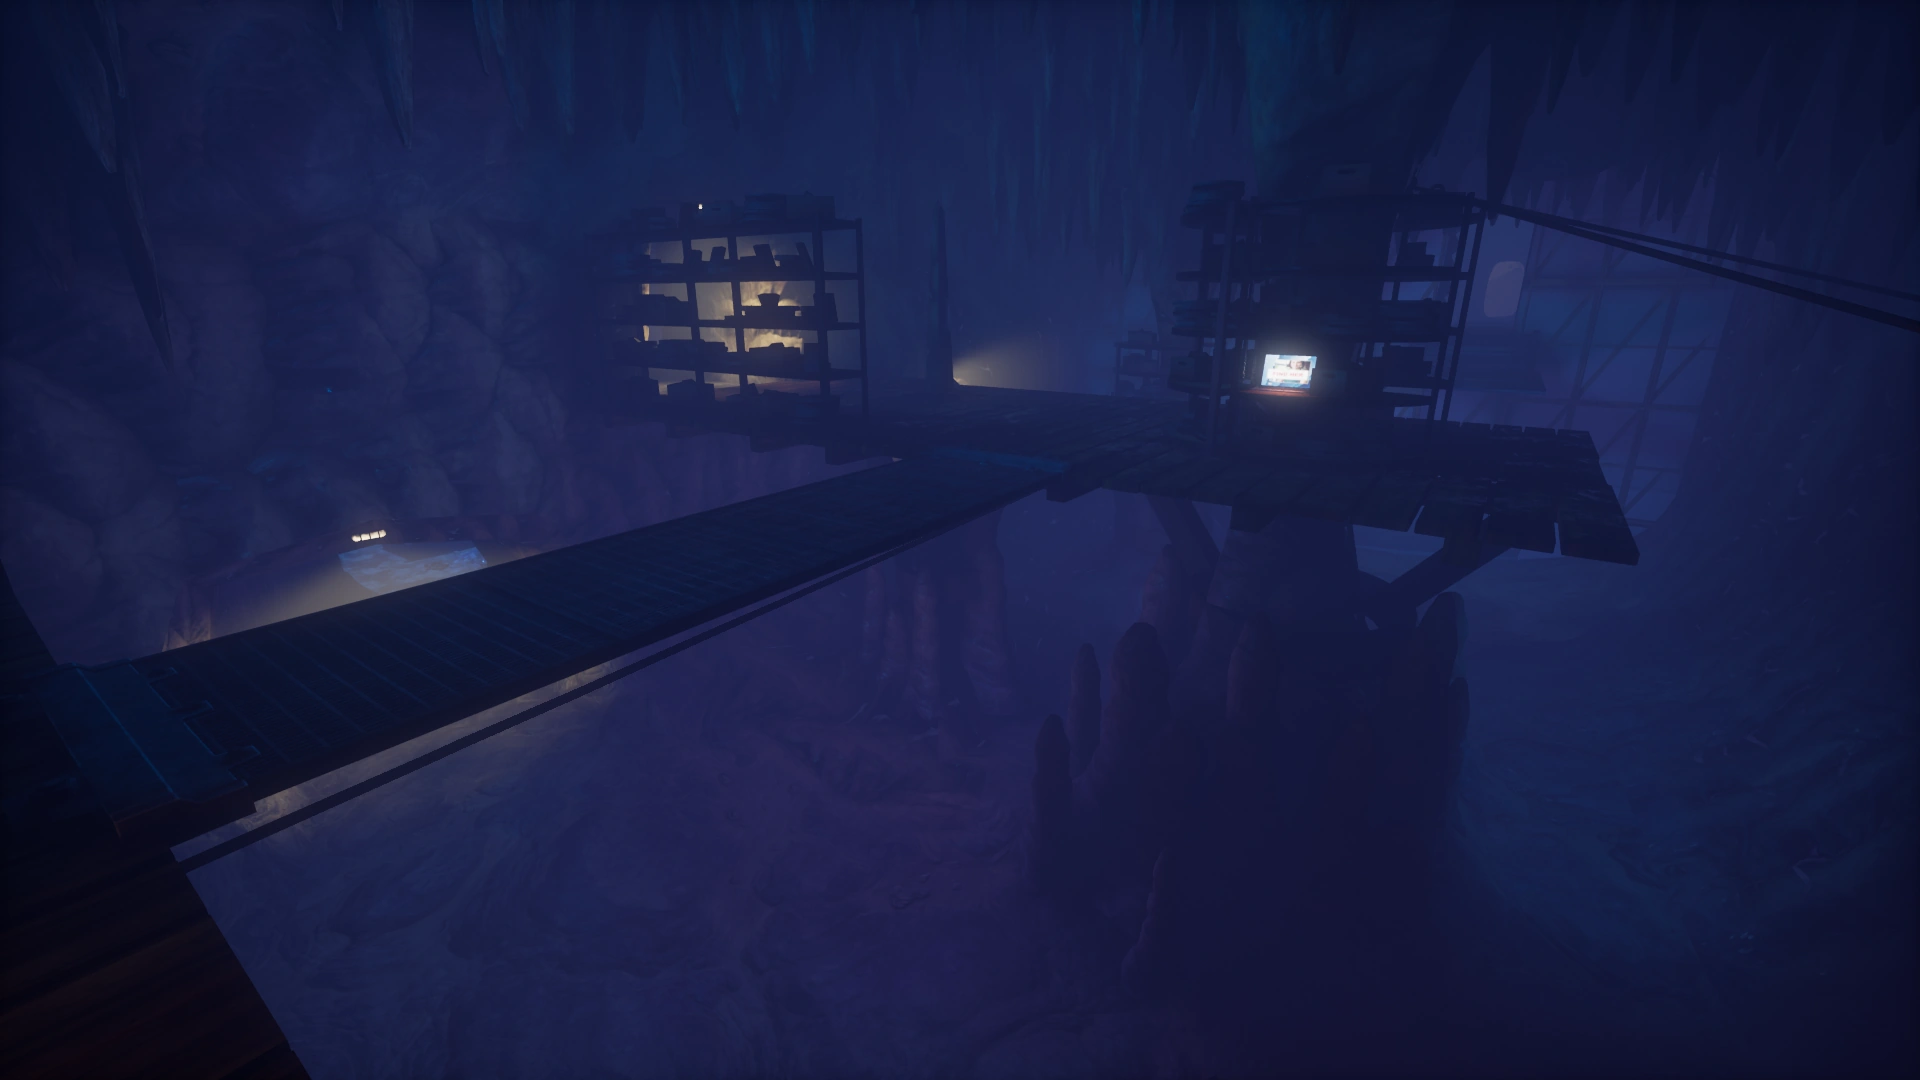
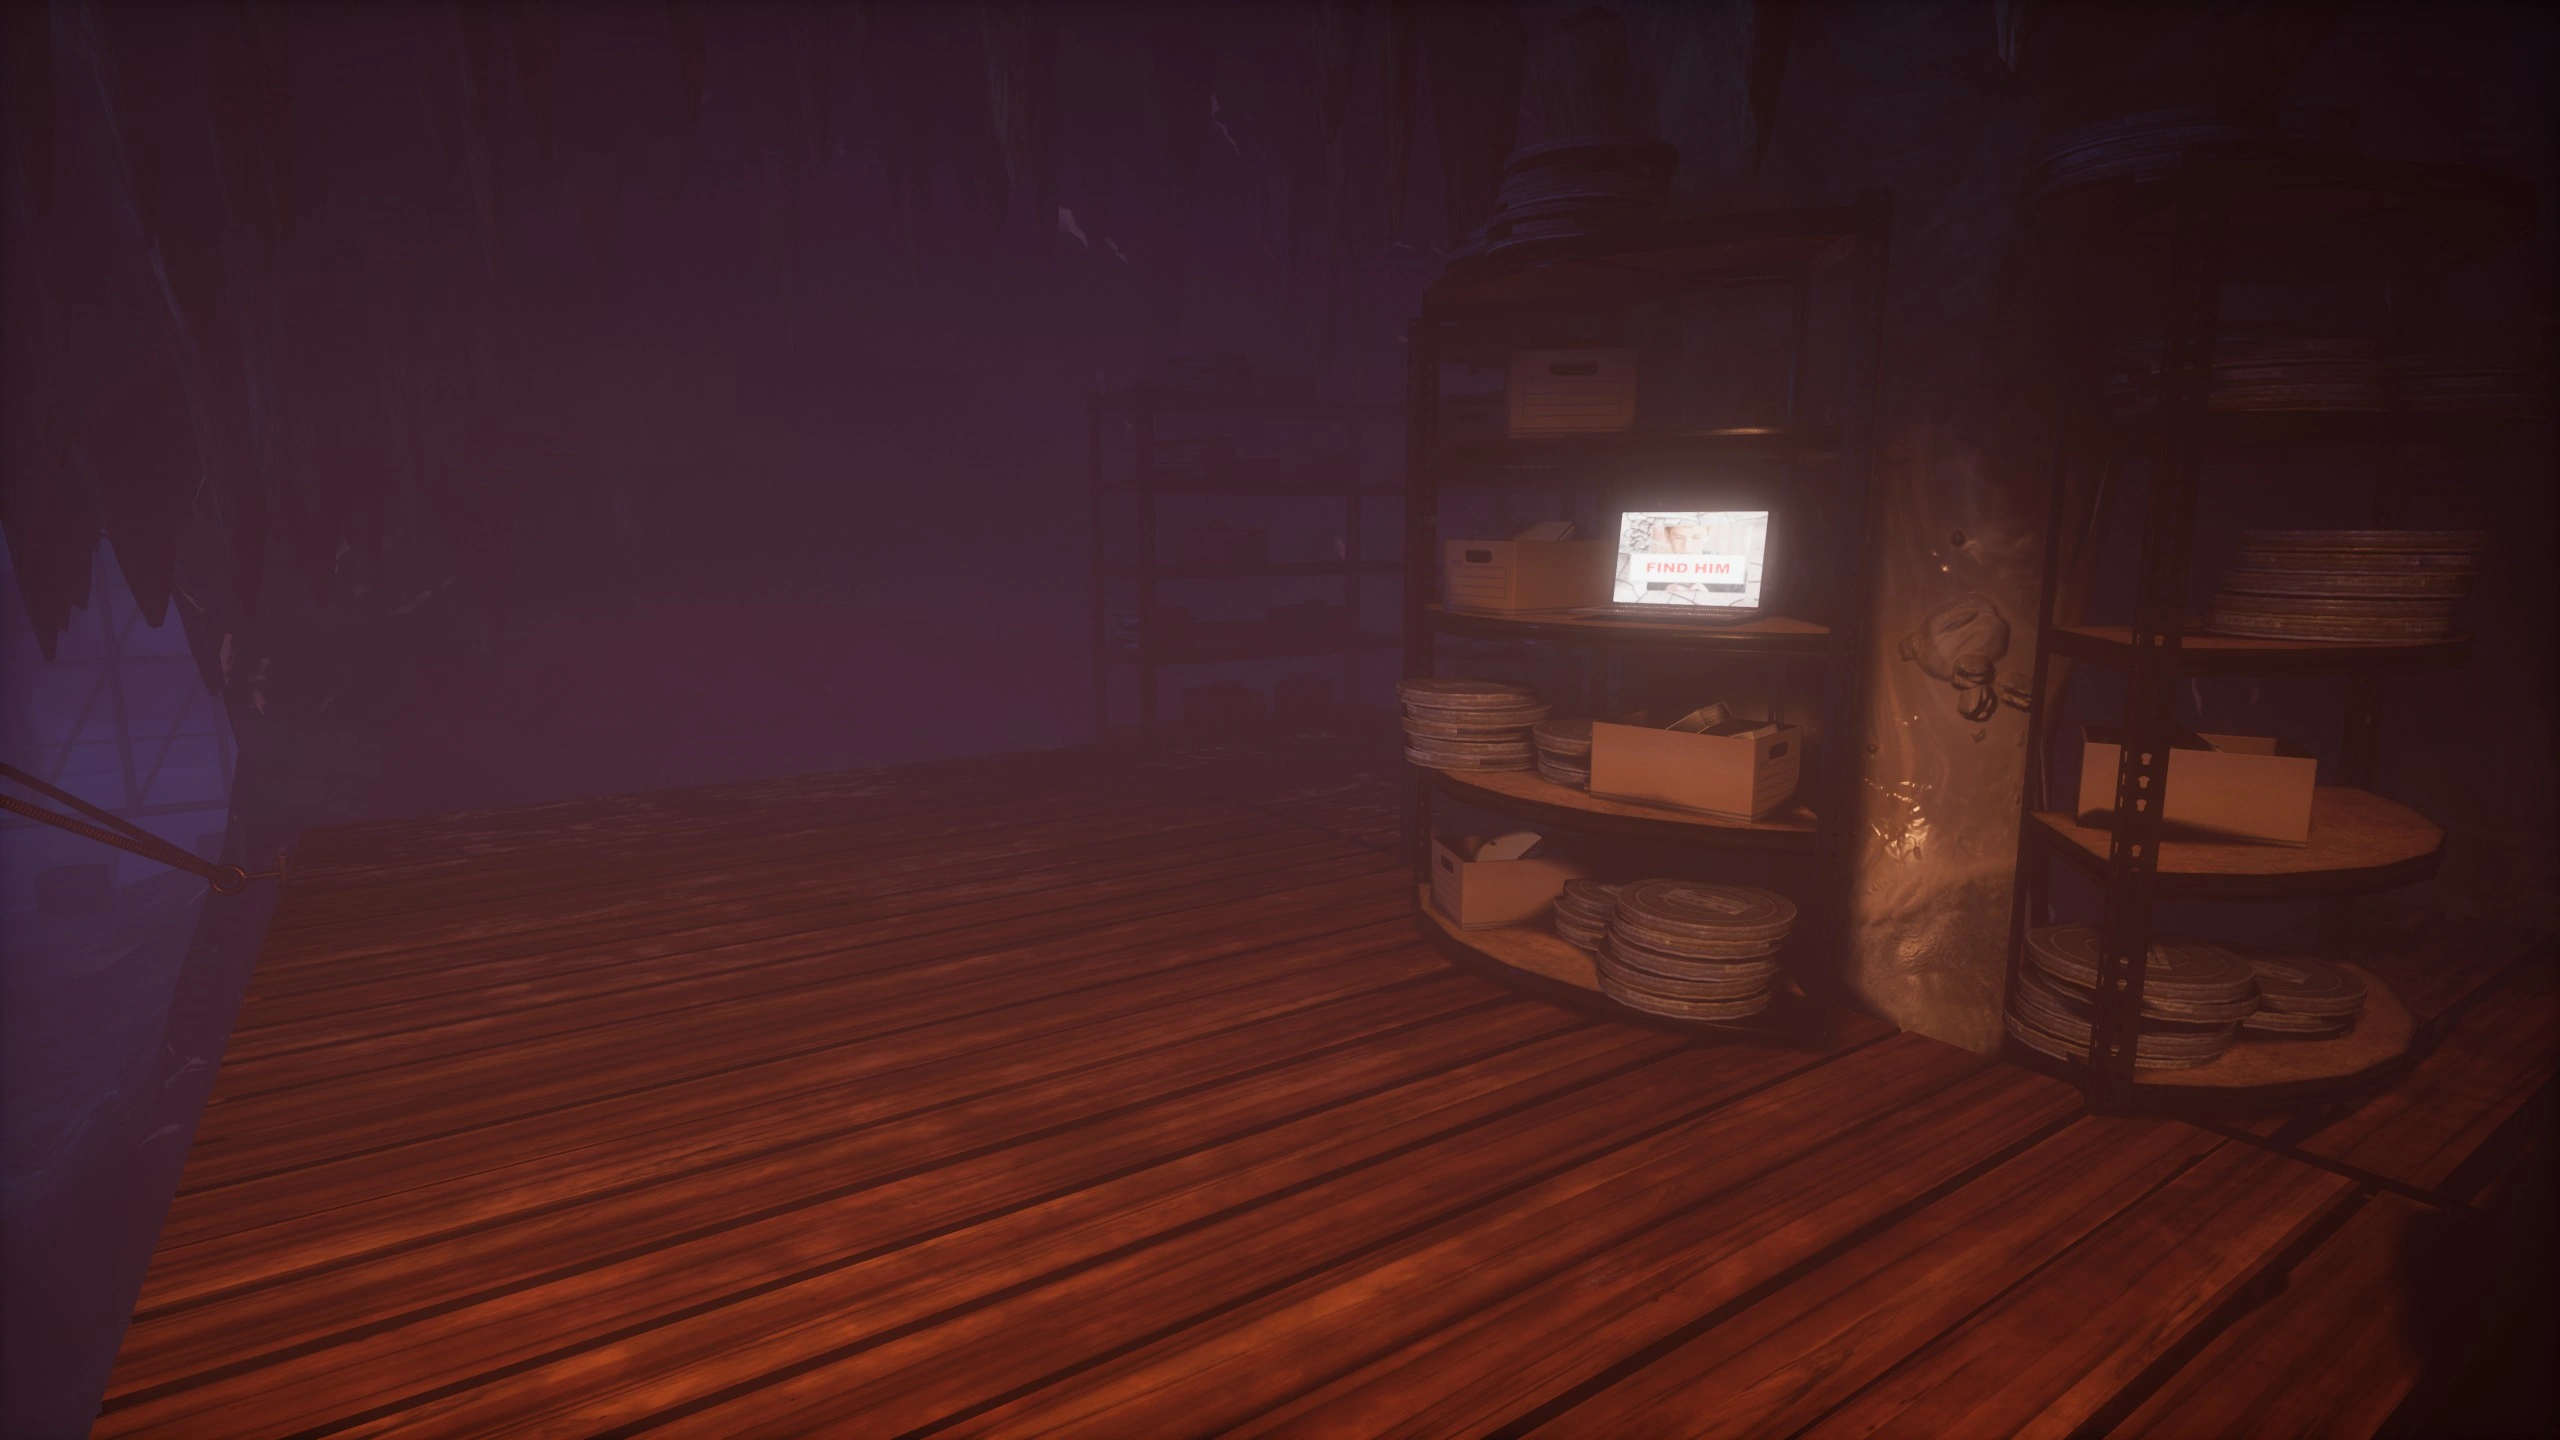
(High Level: Rare)Subliminal Media Entrance Shelf — Laptop
(Rare)Well Entrance Shelf — Laptop
(Occasional)Well Entrance Shelf — Boxes and Tubes
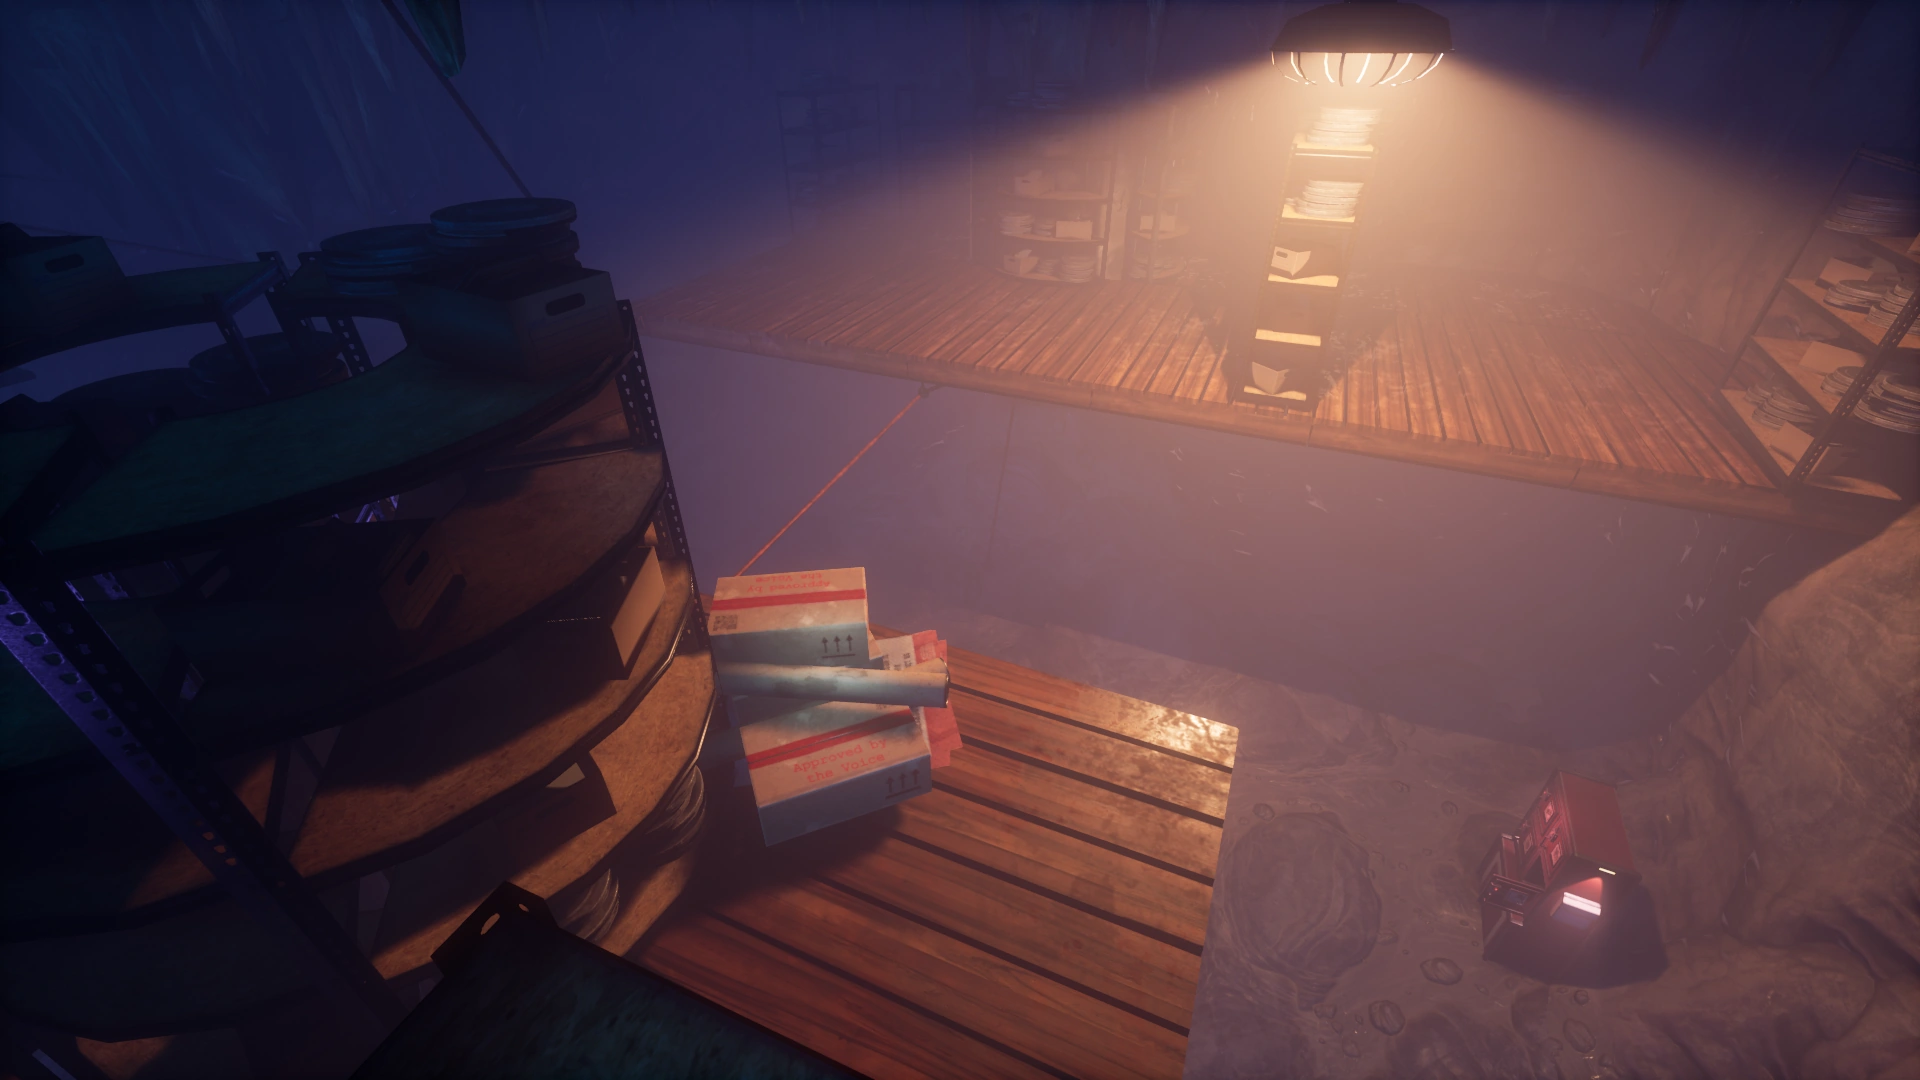
(Rare)Center of Room — Laptop
(Rare)Center of Room — Boxes and Tubes
(Low Level: Occasional)
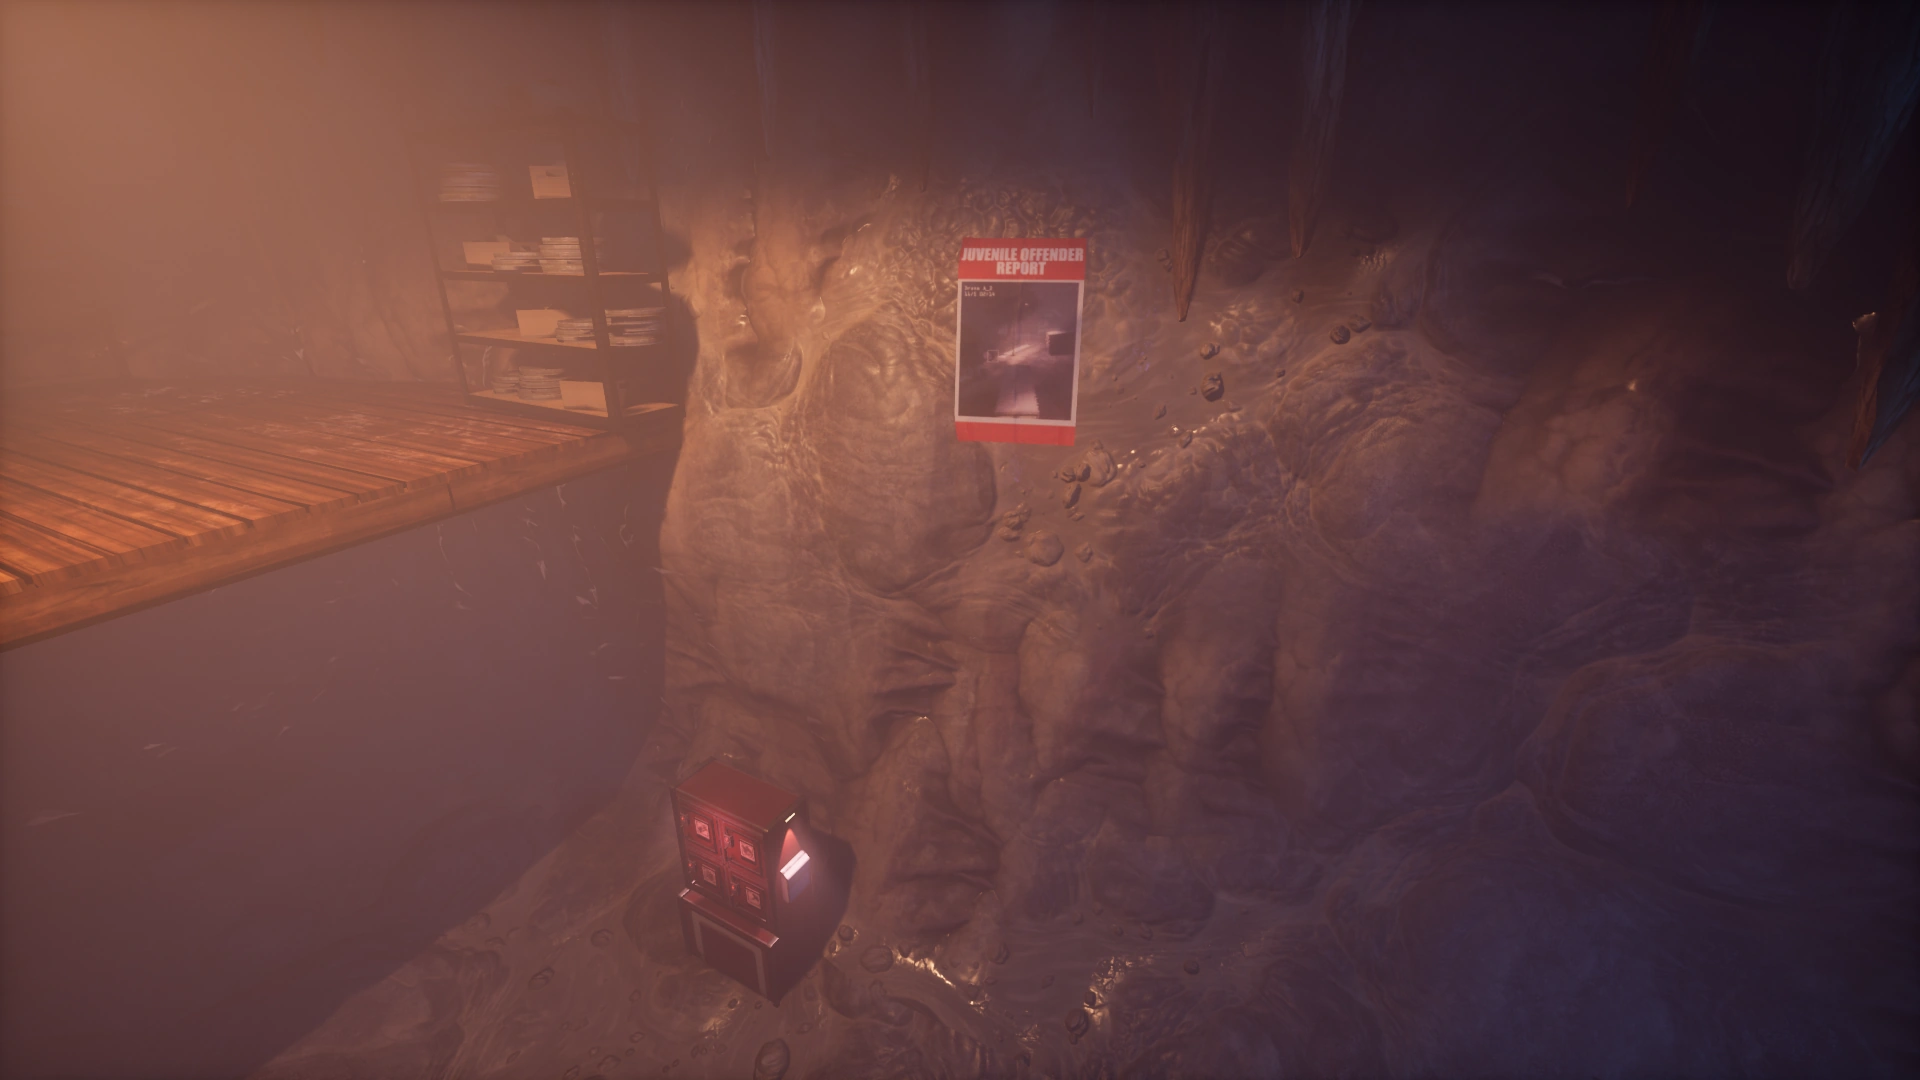
(High Level: Rare)Back of Room — Poster
(Occasional)Back of Room — Laptop
(Rare)Back of Room — Boxes and Tubes
(Common)

Host Conditioning[ | ]
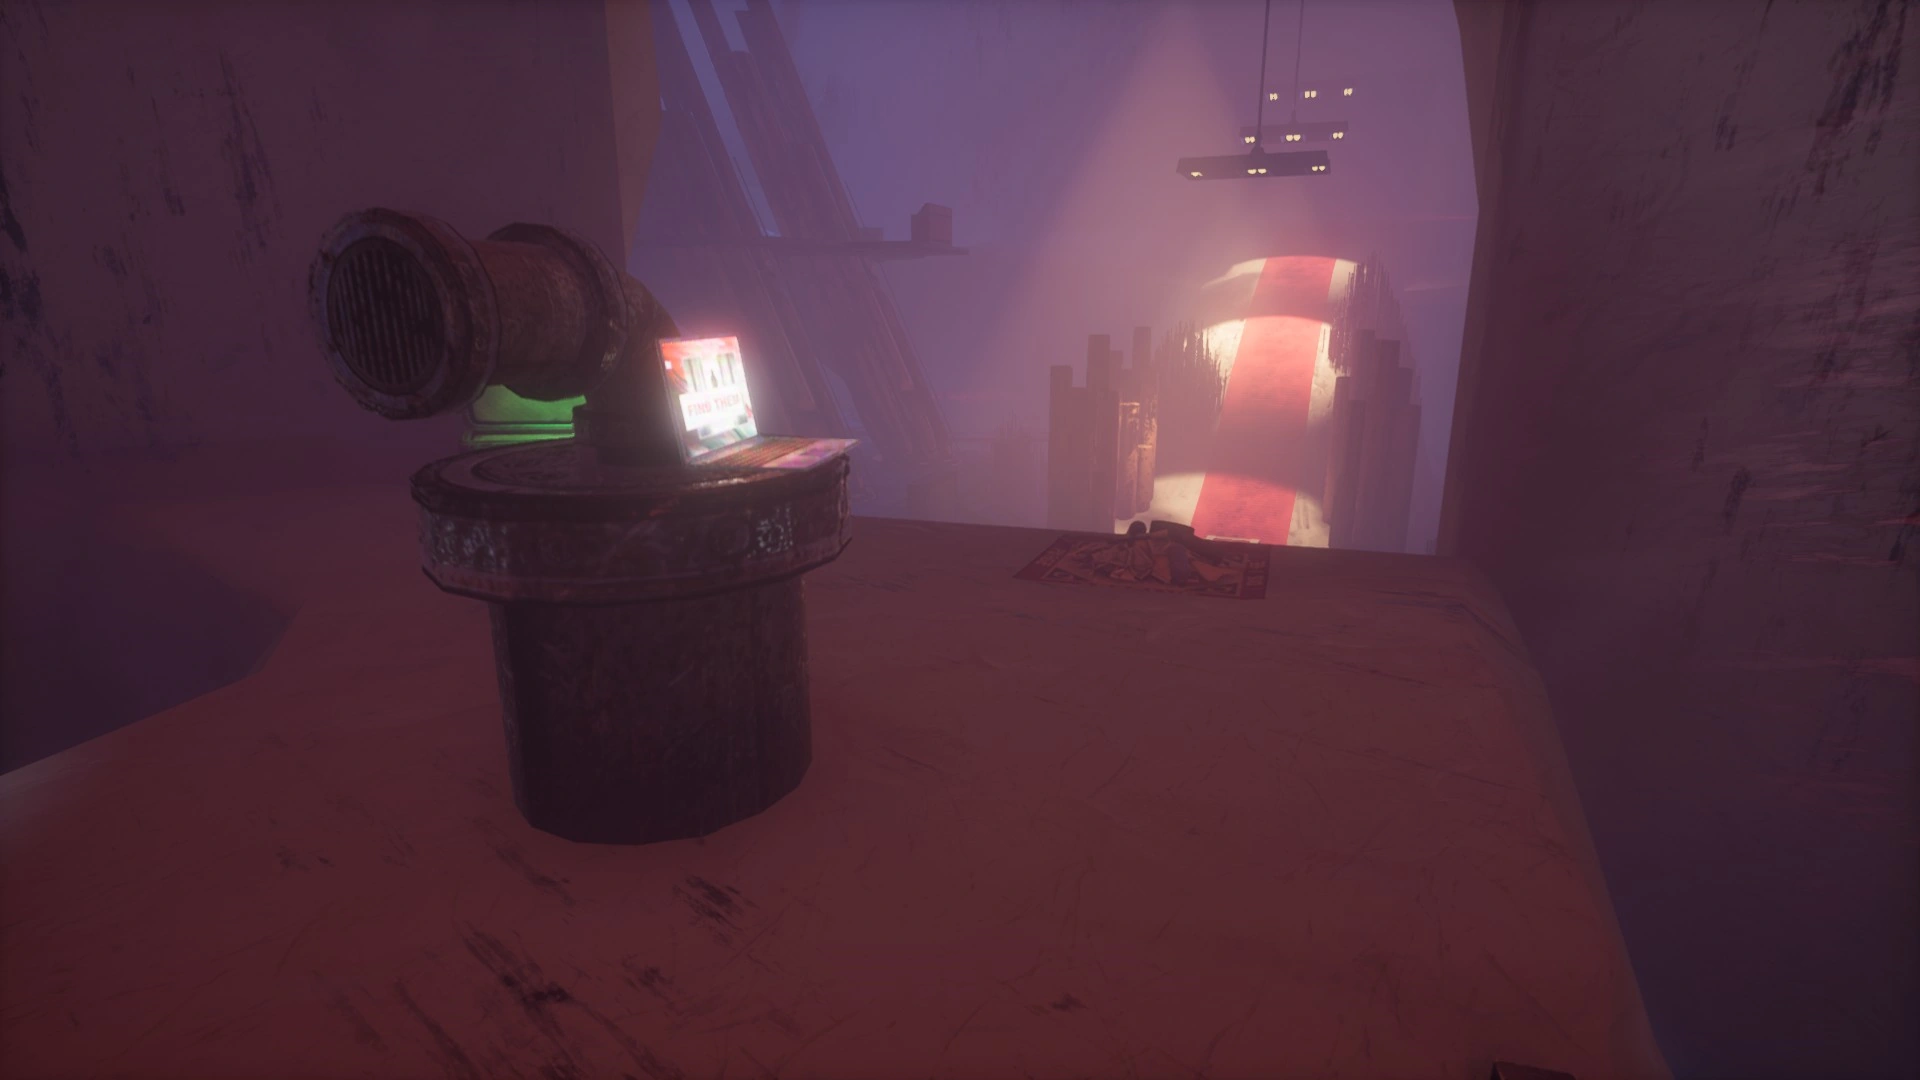
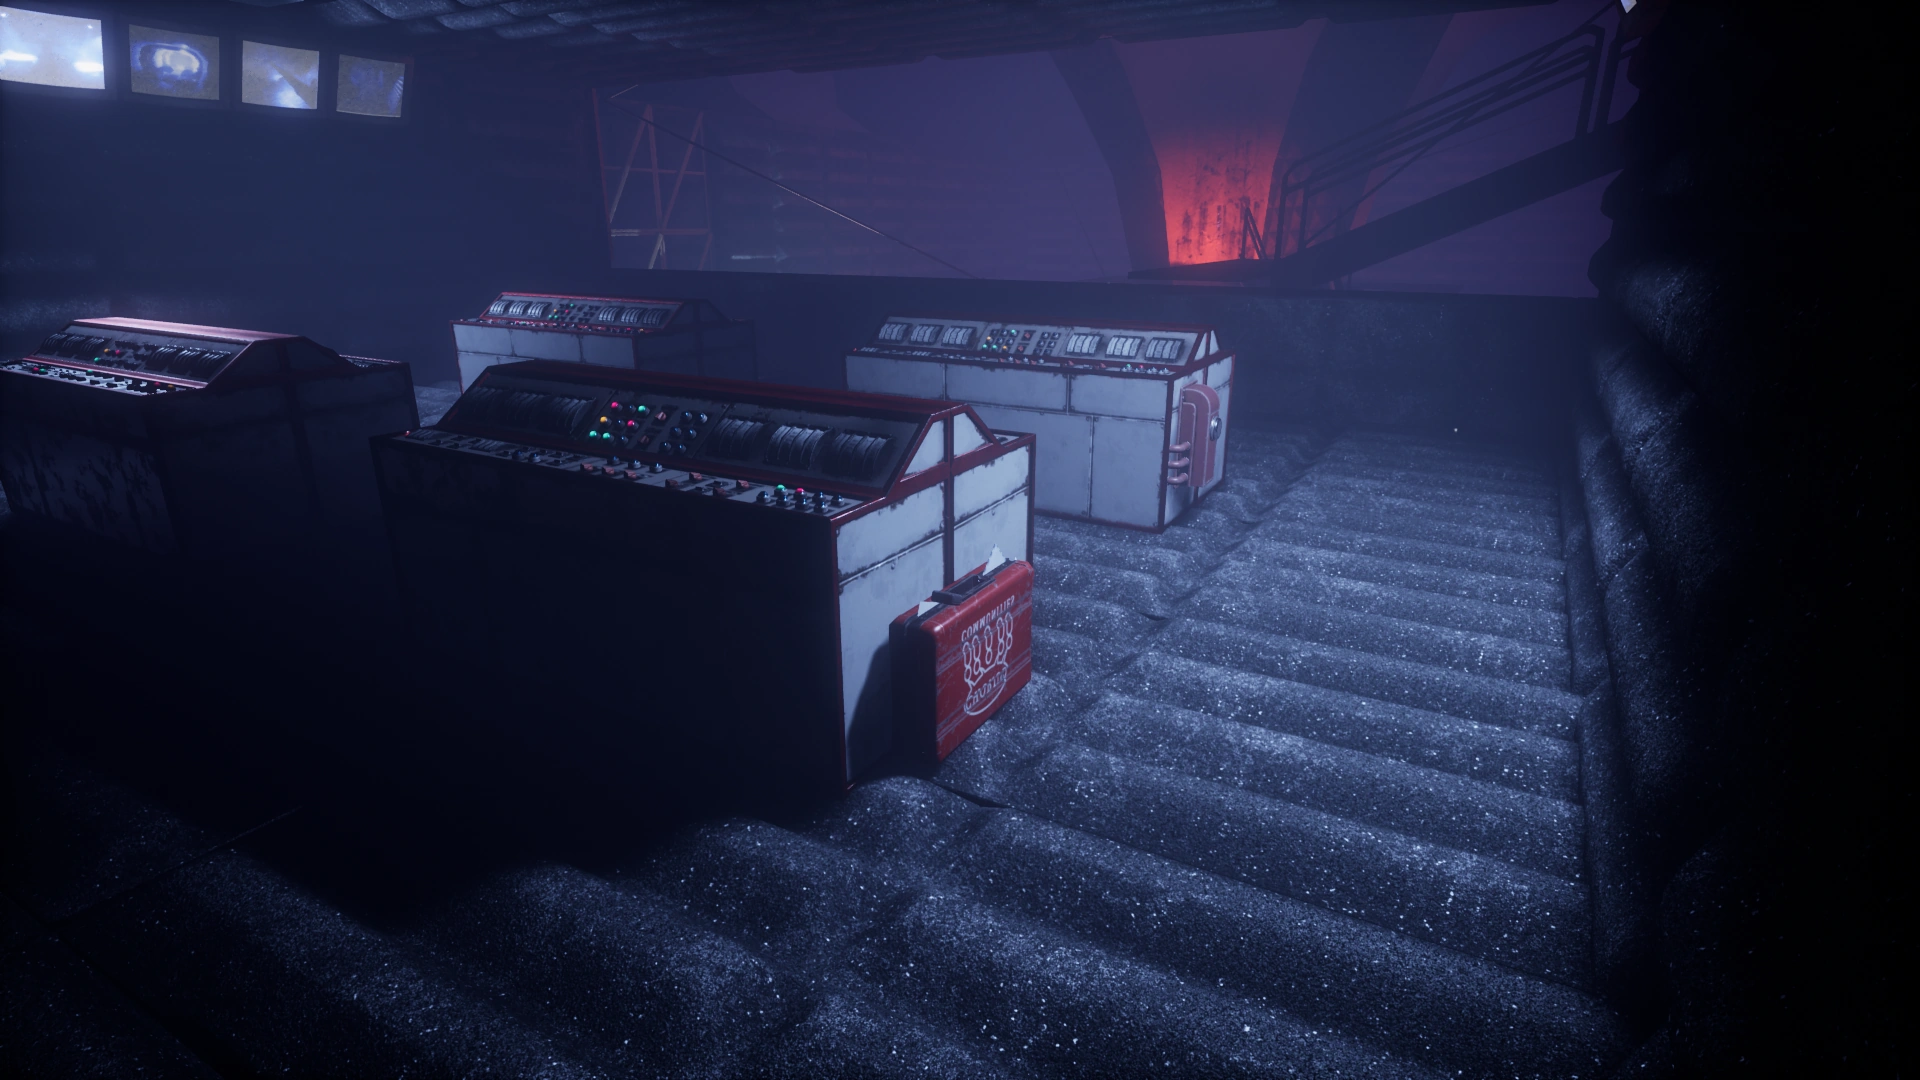
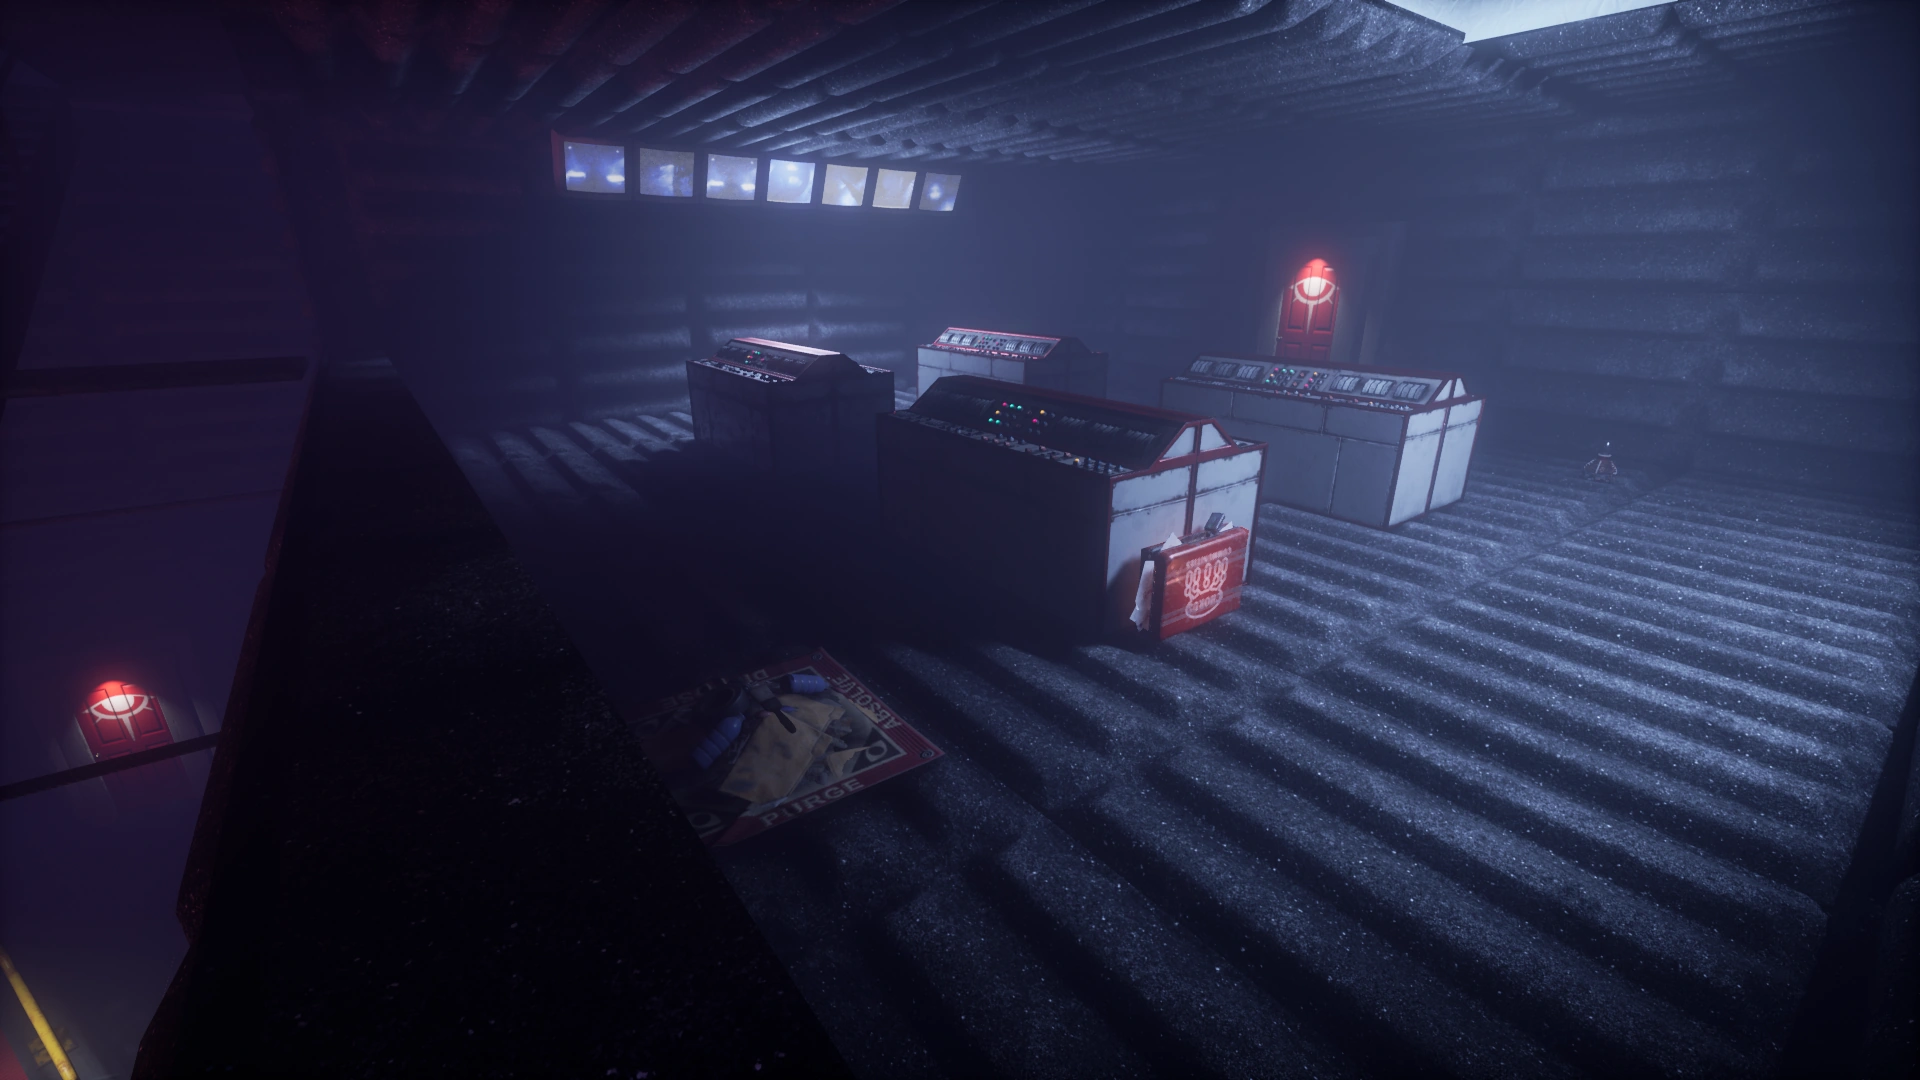
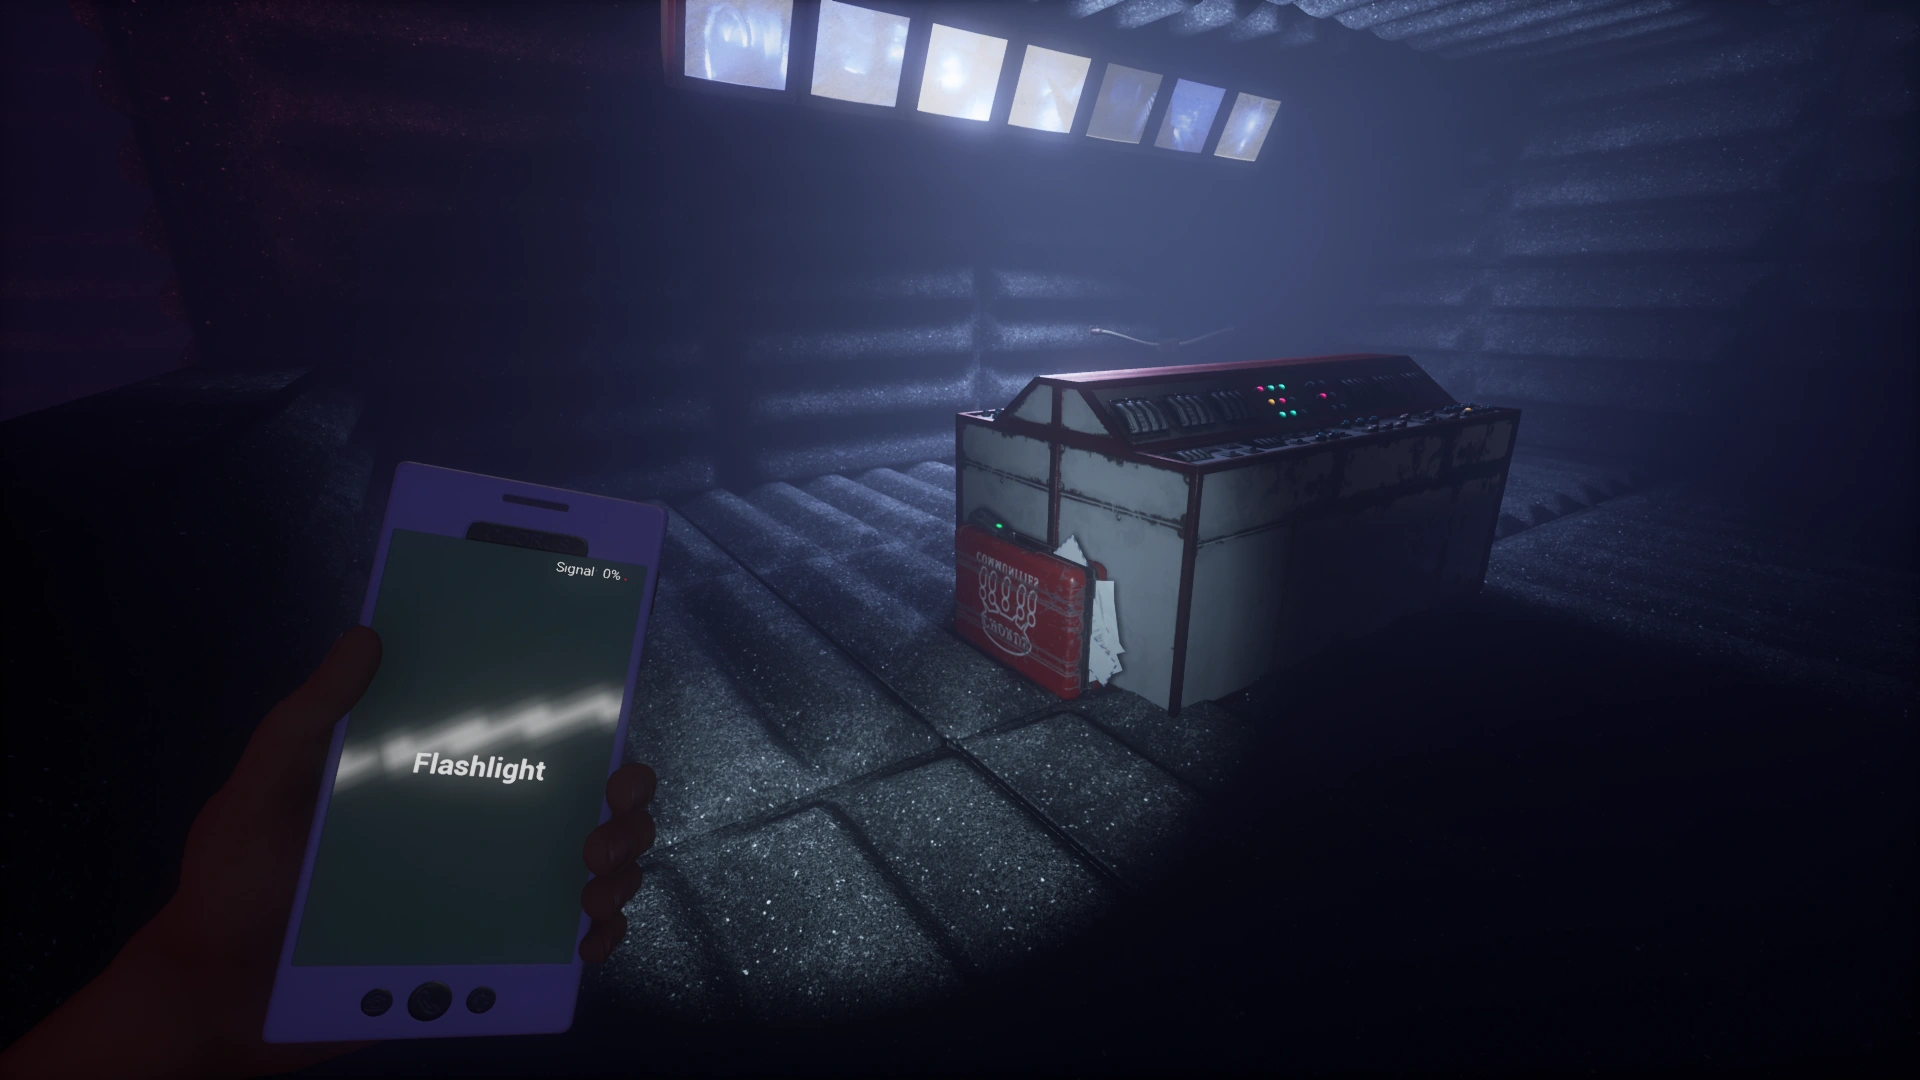
Instrument Console — Laptop
(Rare)
Ingestion[ | ]
Sleeper Lockers Wall — Poster
(Low Level: Occasional)
(High Level: Rare)

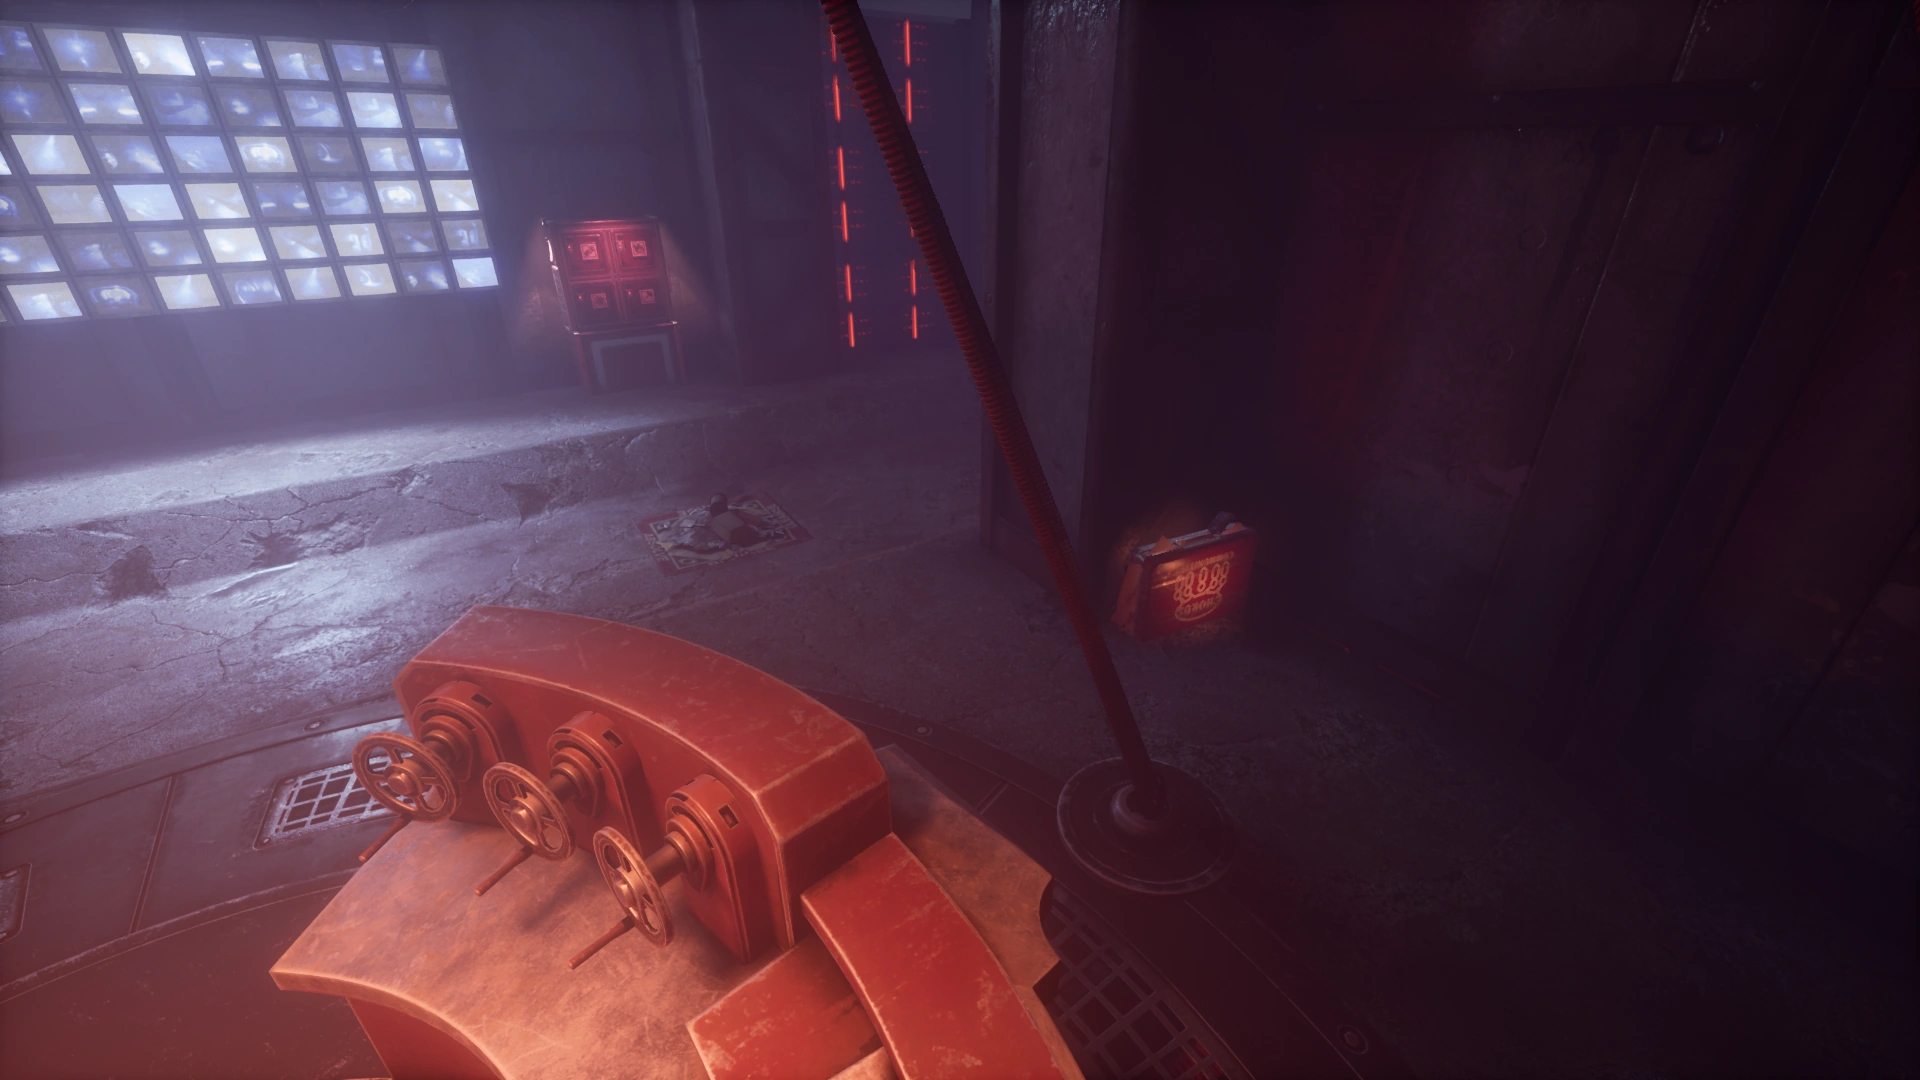
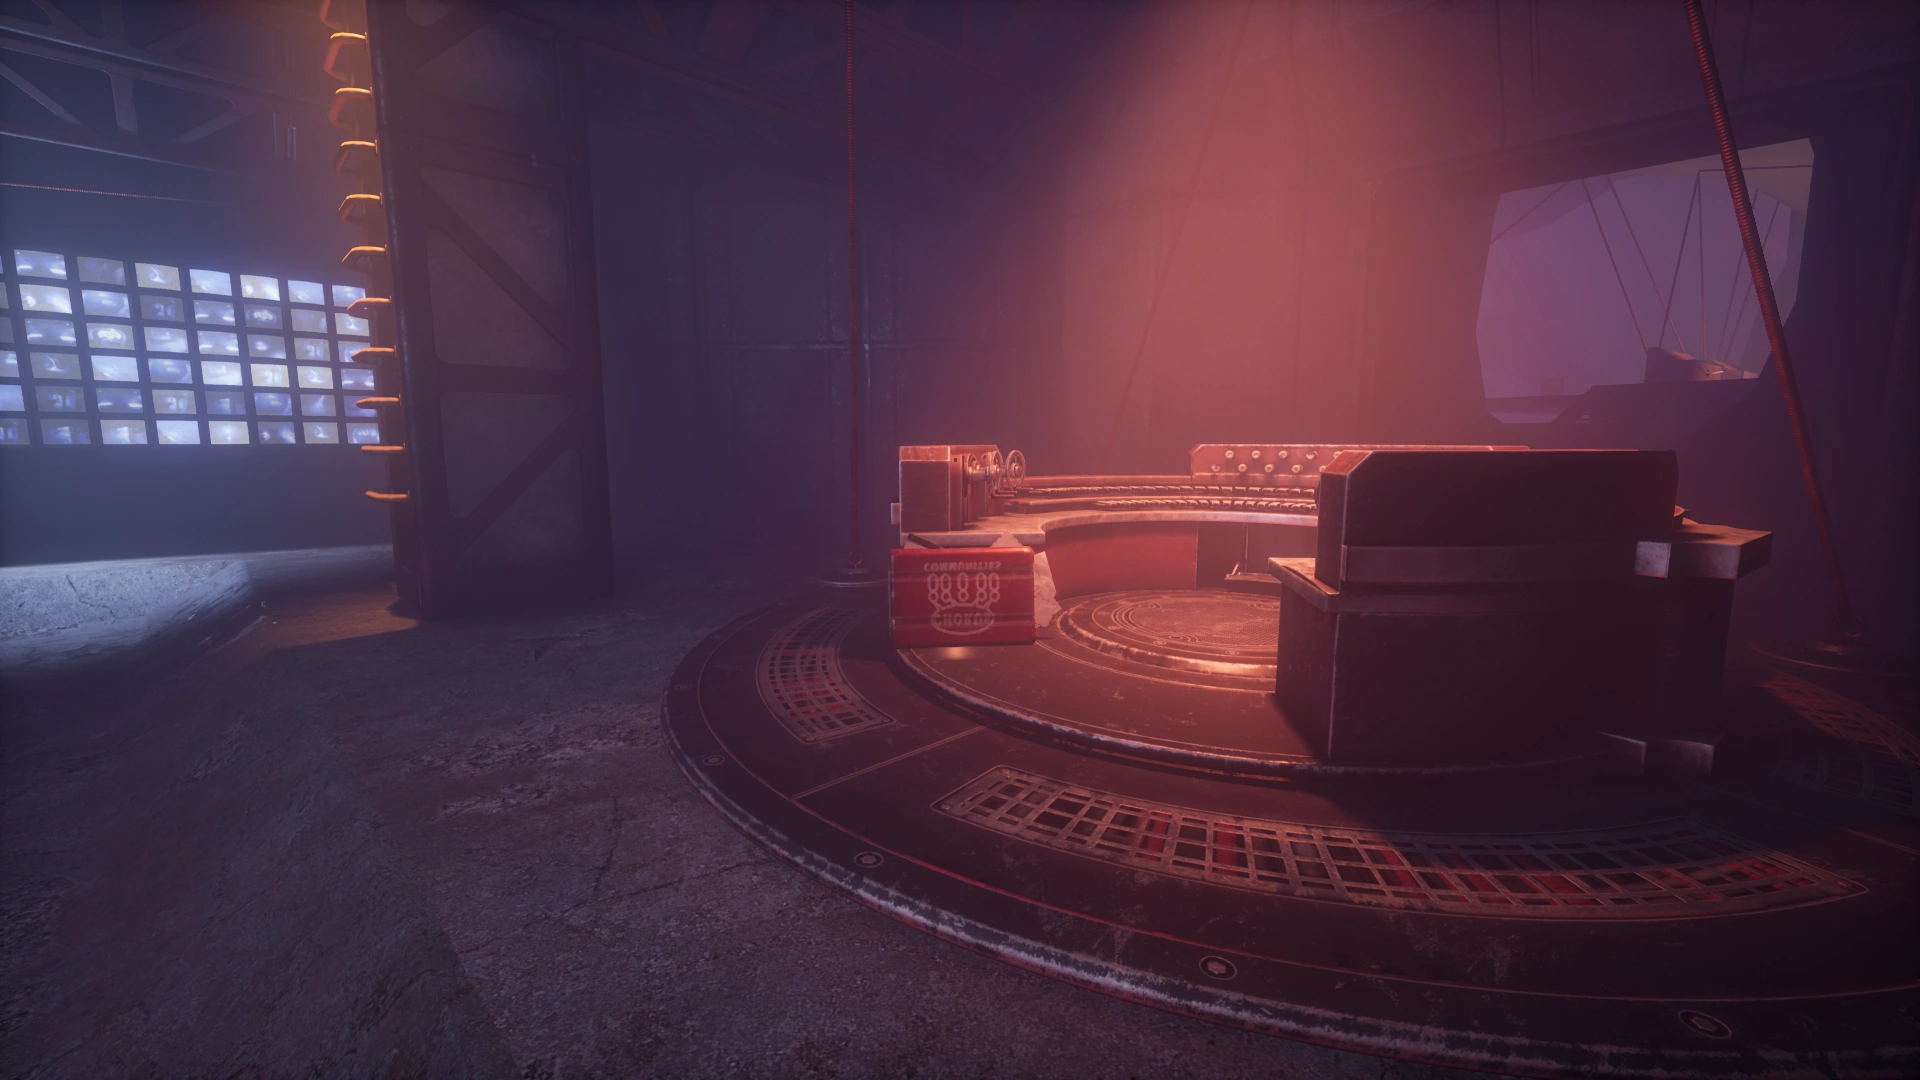
Instrument Supply[ | ]
Center of Room — Boxes and Tubes
(Low Level: Occasional)
(High Level: Rare)Ingestion Entrance — Wall
(Low Level: Common)
(High Level: Rare)Cryptogram Entrance — Poster
(Low Level: Common)
(High Level: Occasional)Spindle near Red Door — Briefcase
(Rare)Middle Shelf By Stairs — Laptop
(Low Level: Common)
(High Level: Rare)Top Level — Briefcase
(Rare)

Nerve Center[ | ]
Main Level — Laptop
(Rare)Main Level (The Airway) — Poster
(Low Level: Common)
(High Level: Occasional)Main Level (Ingestion) — Poster
(Low Level: Common)
(High Level: Occasional)Lower Level — Poster
(Occasional)
New Growth[ | ]
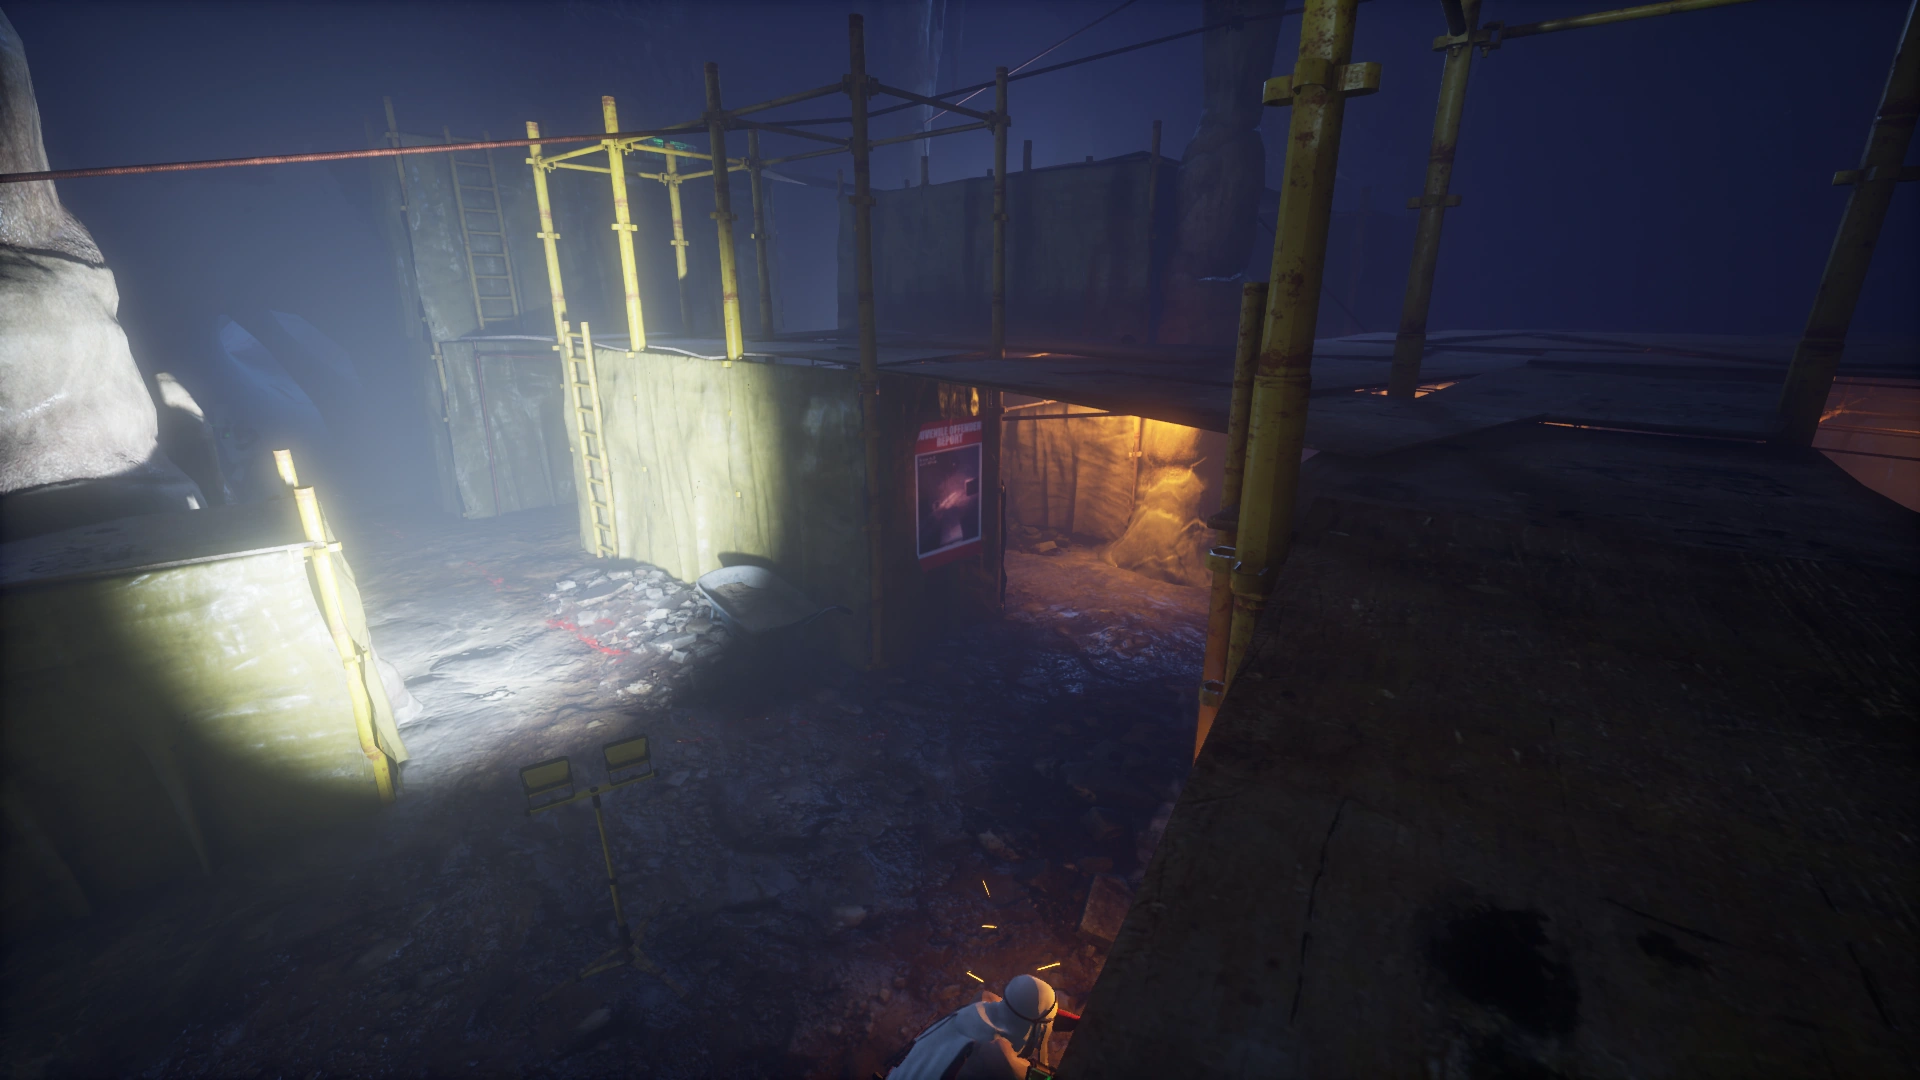
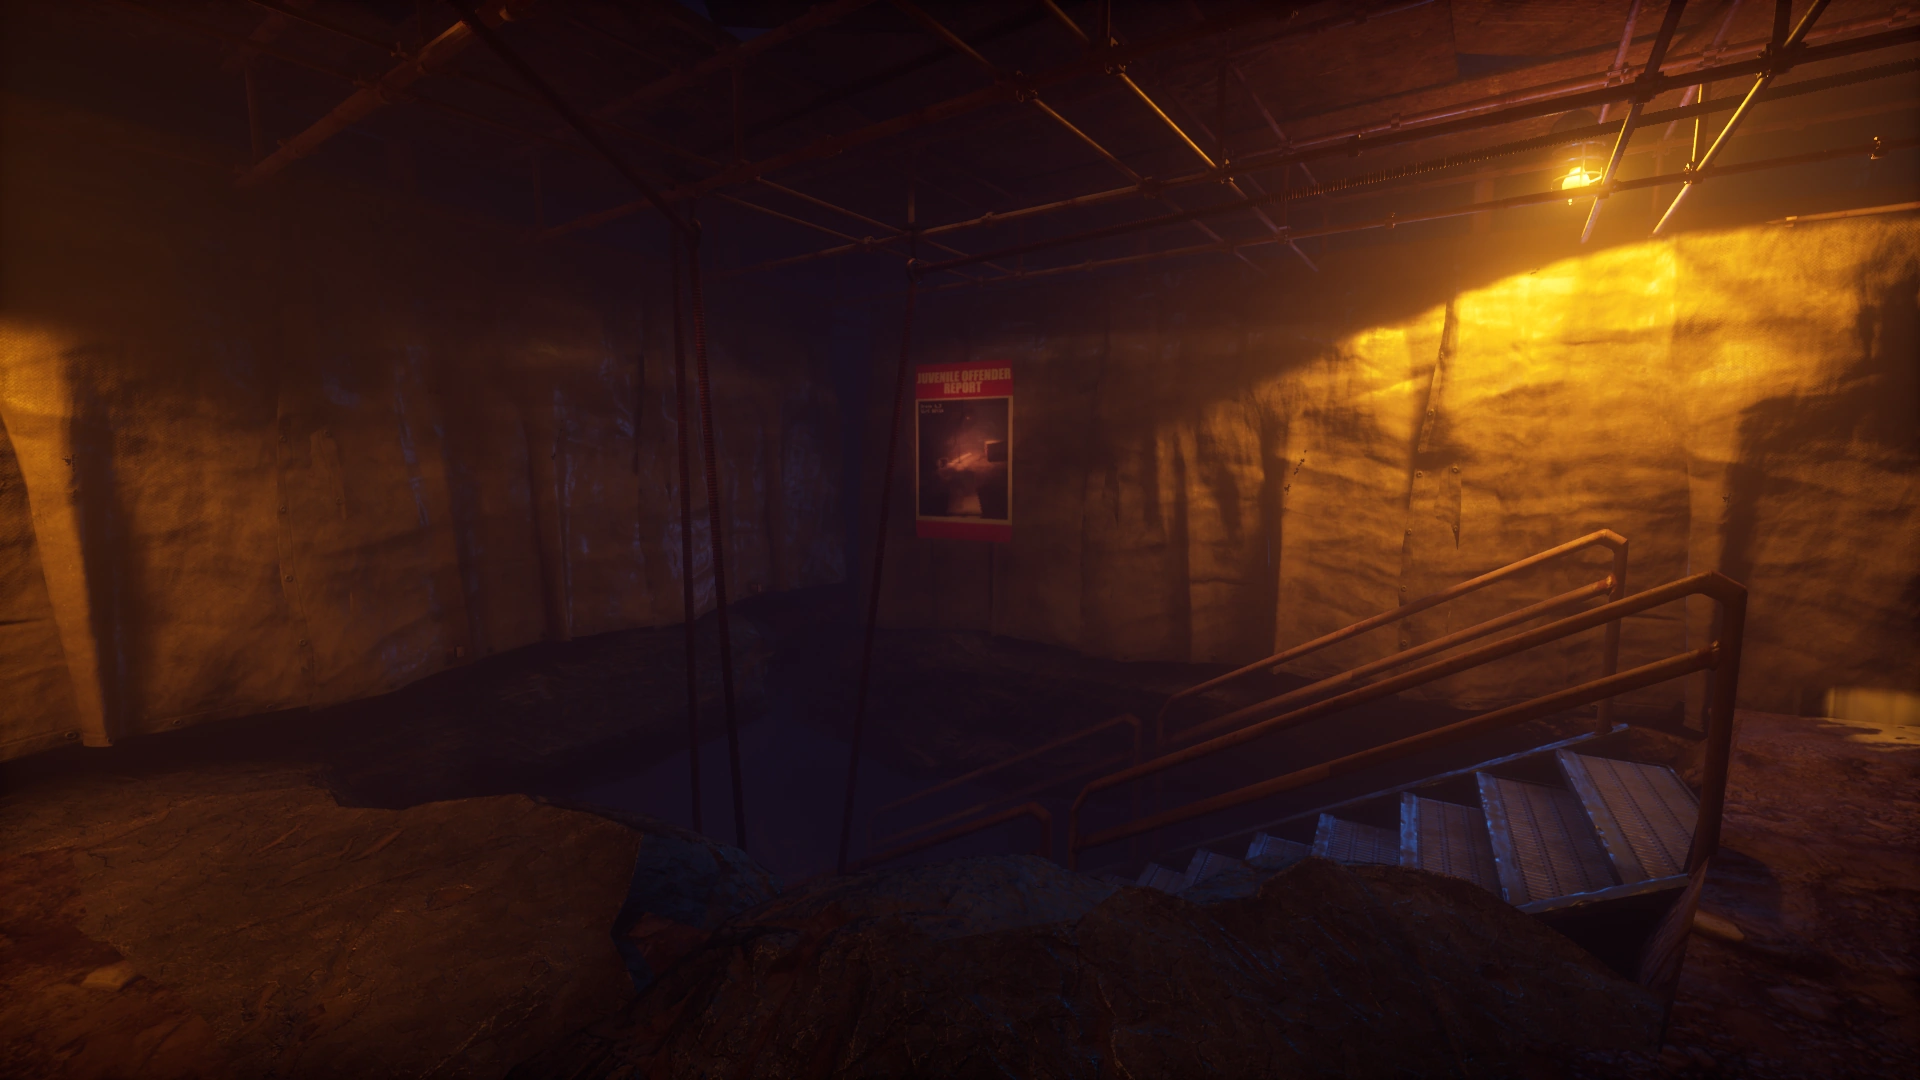
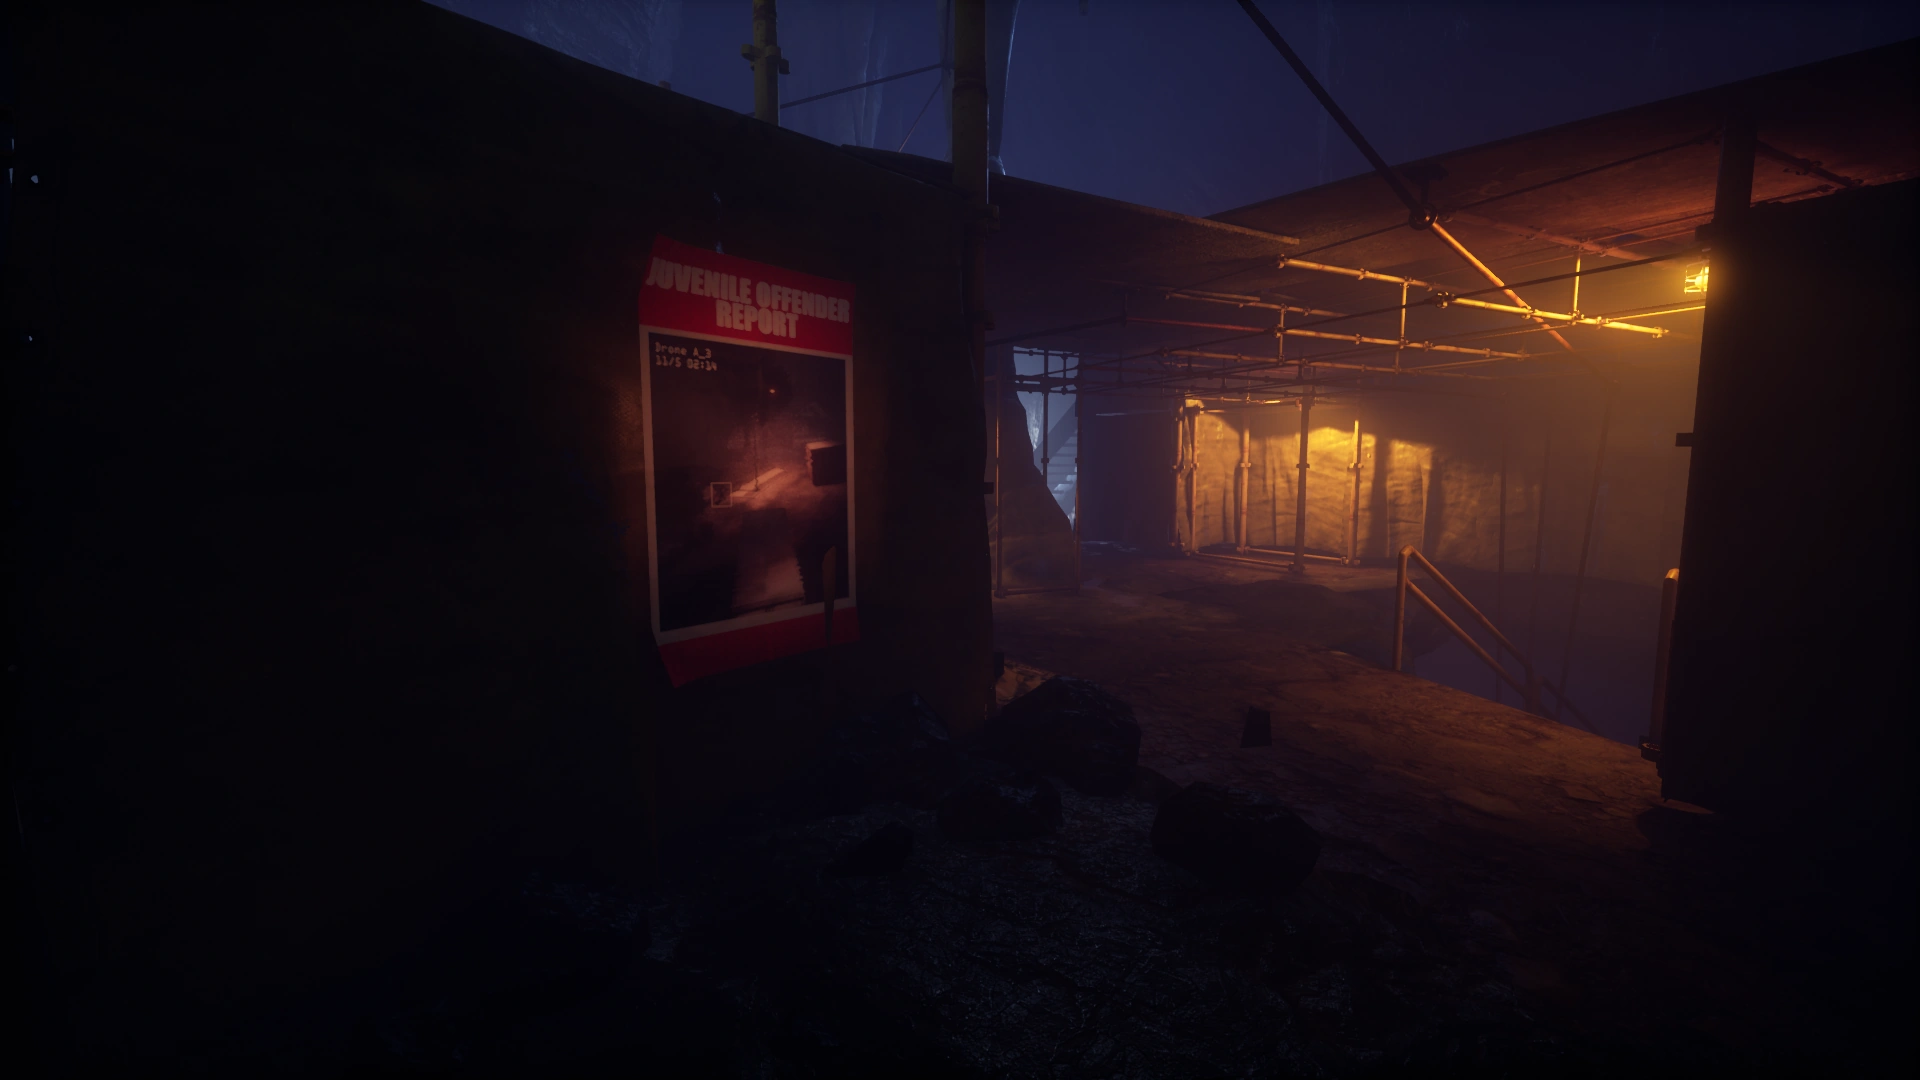
Scaffolding Wall (Near Red Door) — Poster
(Occasional)Scaffolding Wall (Near Stairs) — Poster
(Low Level: Occasional)
(High Level: Rare)Stairs — Poster
(Occasional)Near Stairs — Poster
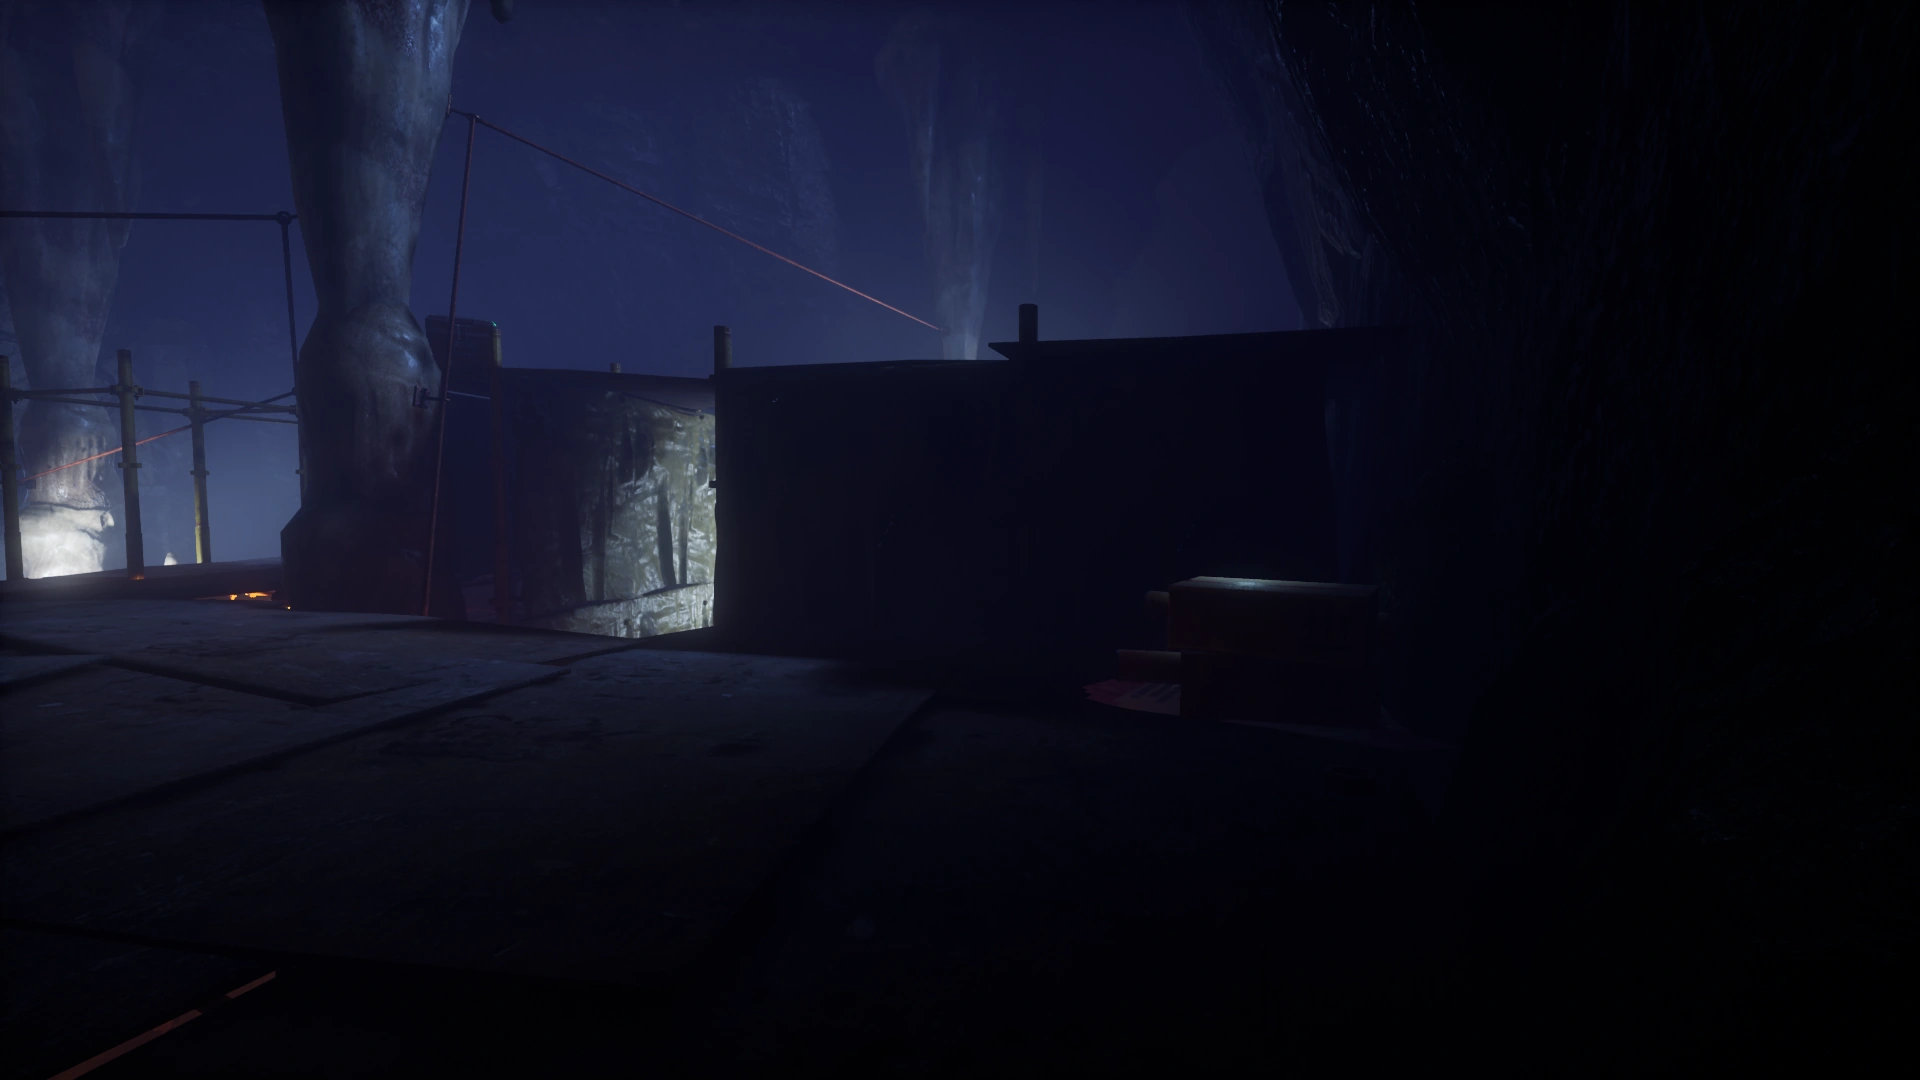
(Occasional)Upper Level — Boxes and Tubes
(Common)Table — Boxes and Tubes
(Occasional)Across From Subliminal Stairs — Boxes and Tubes
(Rare)Central Column — Poster
(Low Level: Occasional)
(High Level: Rare)
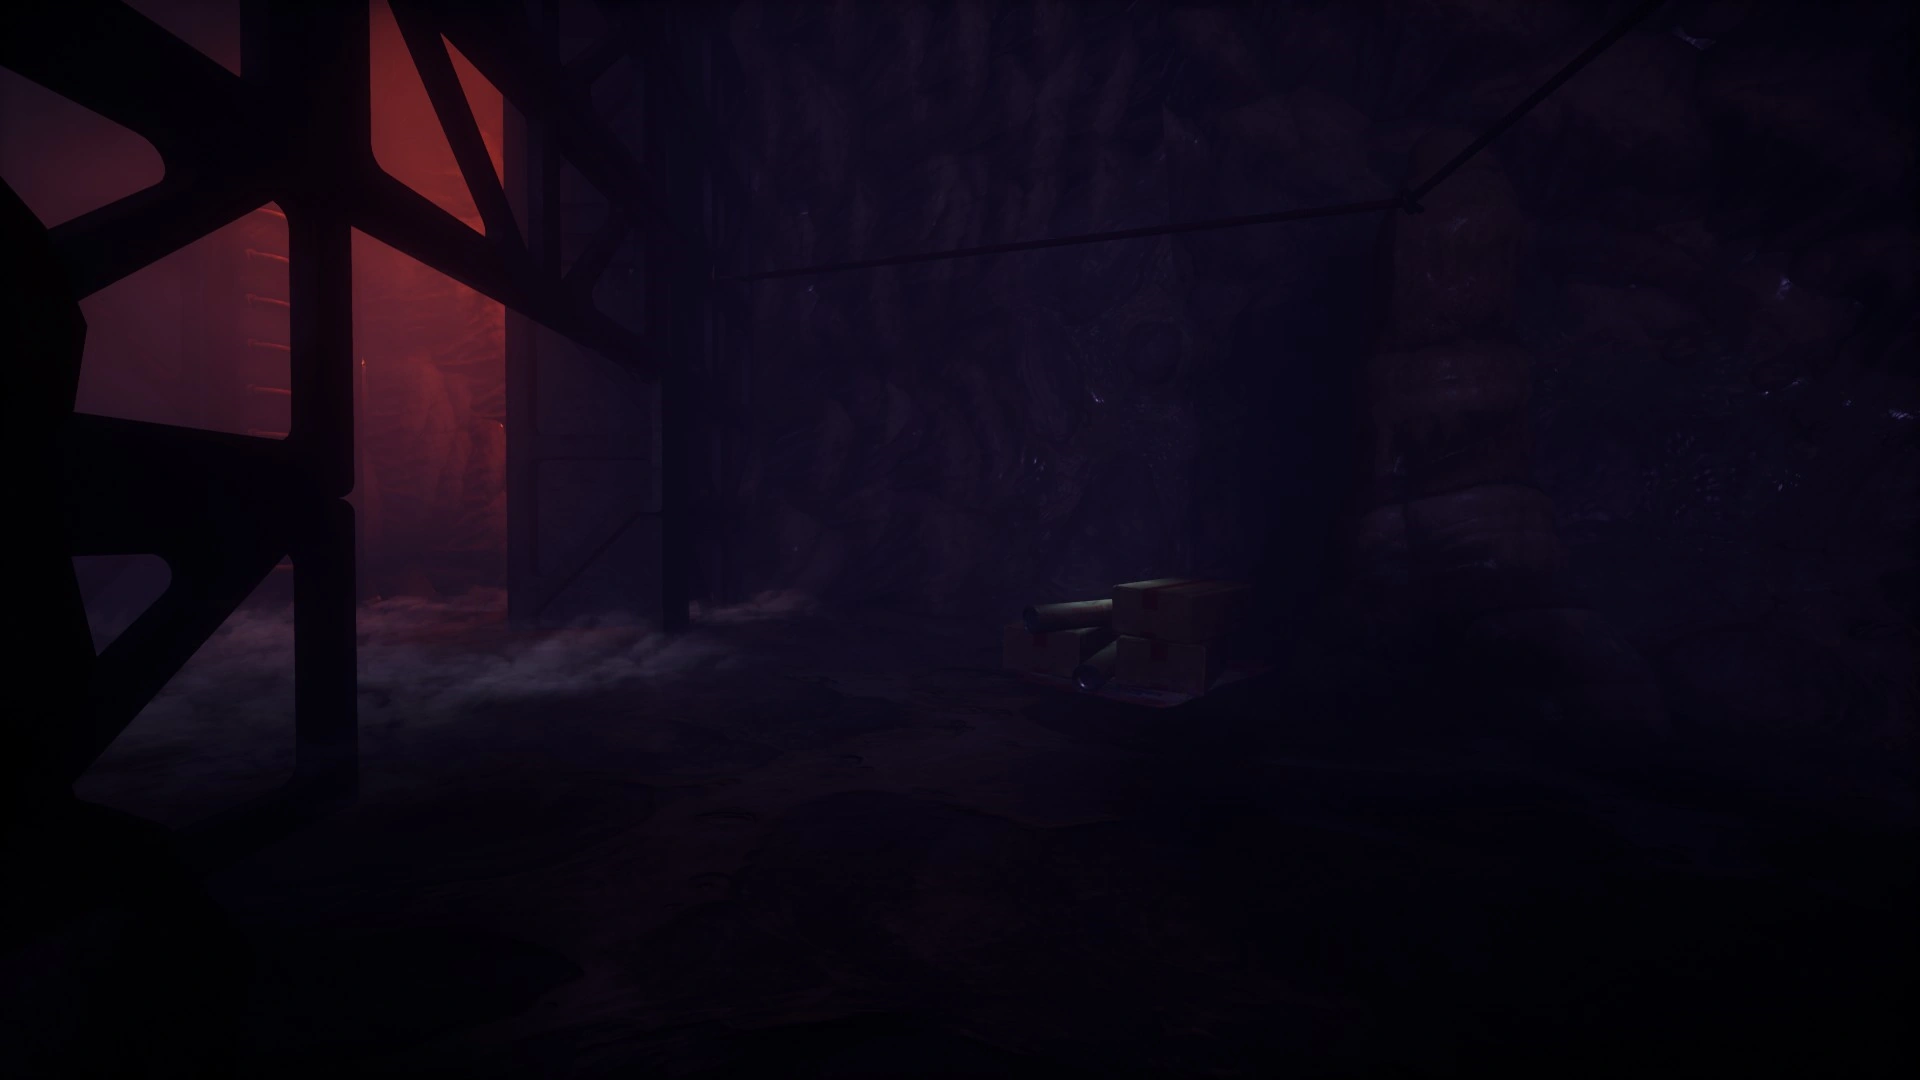
The Plexus[ | ]
Bellows Walkway Underside — Duffle Bag
(Rare)Bellows Walkway Underside — Duffle Bag
(Rare)Under Overhang (near Barracks) — Briefcase
(Rare)Instrument Console (near Signal Relay) — Briefcase
(Rare)Top of Ramp to Upper Level — Boxes and Tubes
(Occasional)Upper Level (Somniloquy With Scaffolding) — Boxes and Tubes
(Occasional)Upper Level (Somniloquy Without Scaffolding) — Boxes and Tubes
(Occasional)Upper Level (Somniloquy Without Scaffolding) — Boxes and Tubes
(Low Level: Occasional)
(High Level: Rare)

Signal Relay[ | ]
Instrument Console — Briefcase
(Occasional)Wall — Briefcase
(Occasional)Corner Near Entrance — Briefcase
(Rare)Wall Near Instrument Console — Briefcase
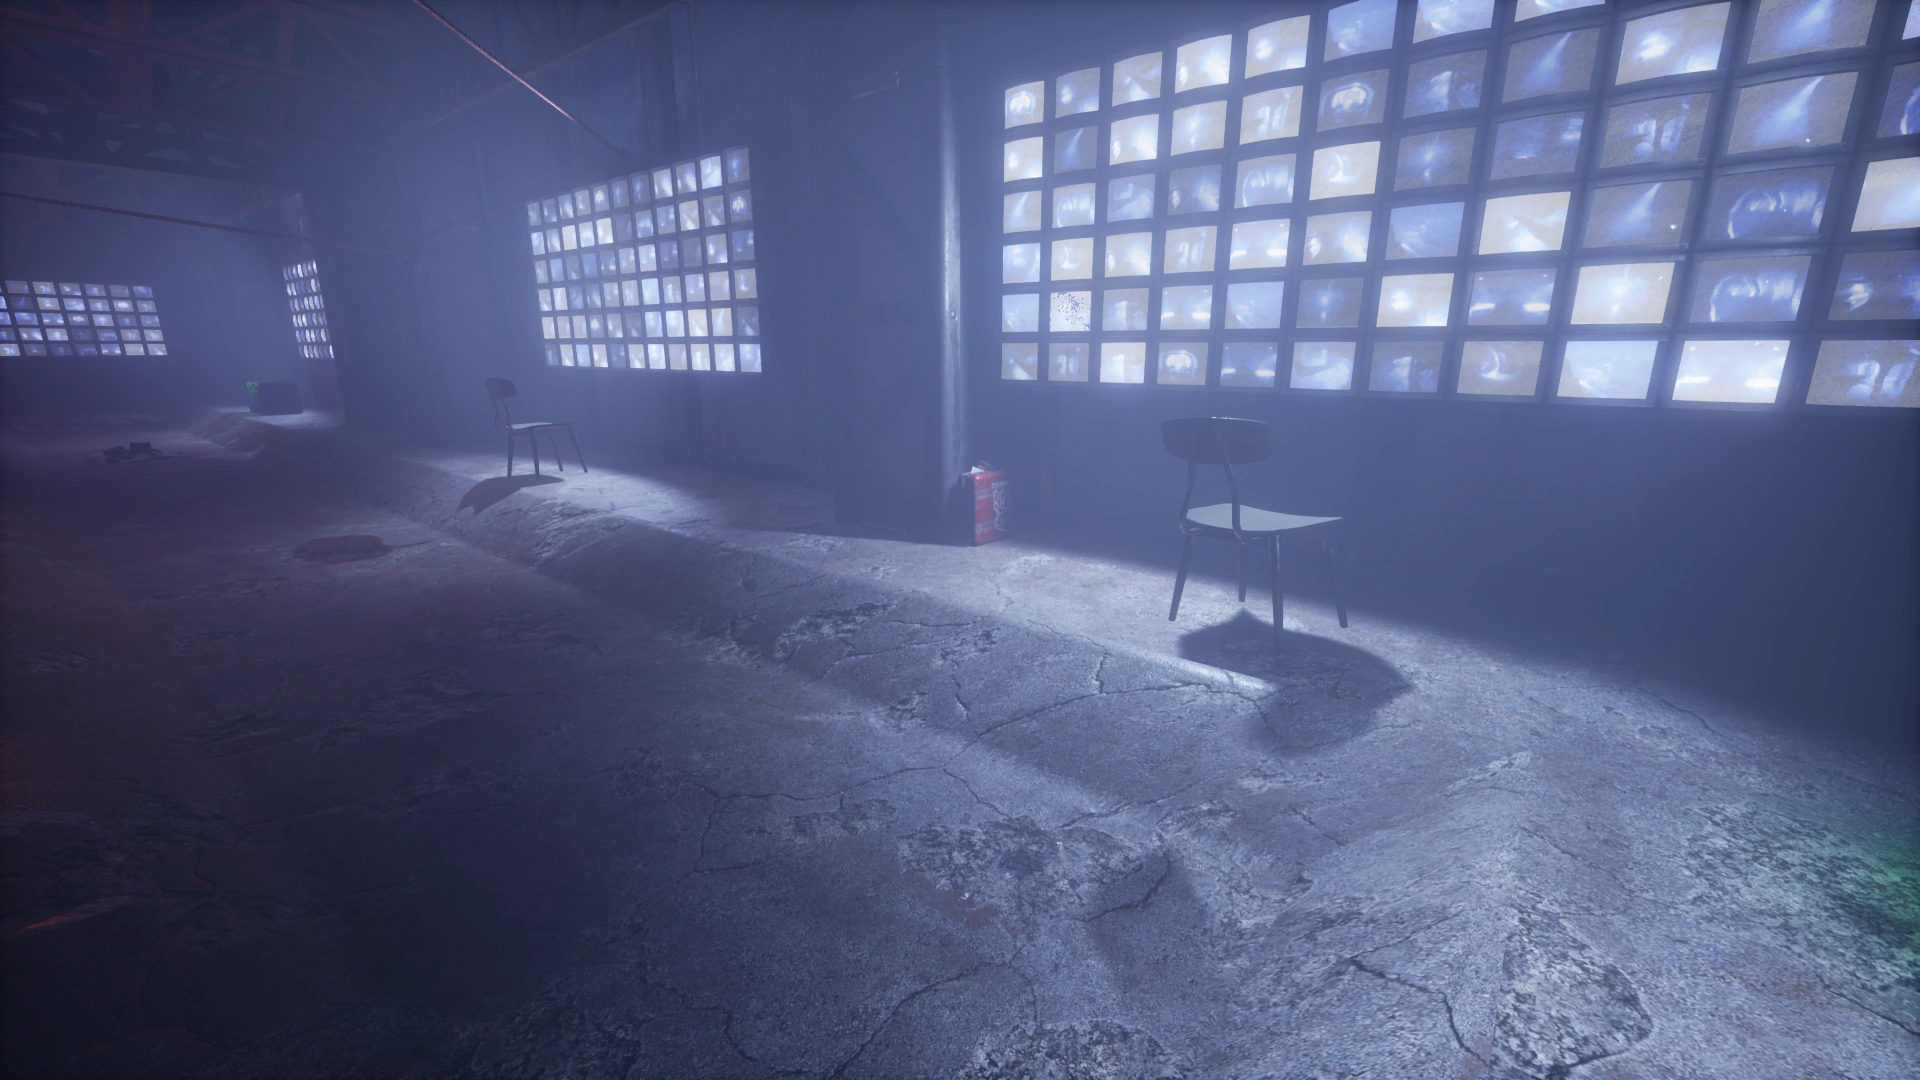
(Rare)Monitor Wall — Boxes and Tubes
(Rare)Instrument Console — Briefcase
(Rare)Corner of Monitors — Briefcase
(Occasional)Monitor Wall — Briefcase
(Occasional)Upper Crawl Space Near Gate — Boxes and Tubes
(Rare)Upper Crawl Space Near Plexus (Left Entrance) — Boxes and Tubes
(Rare)


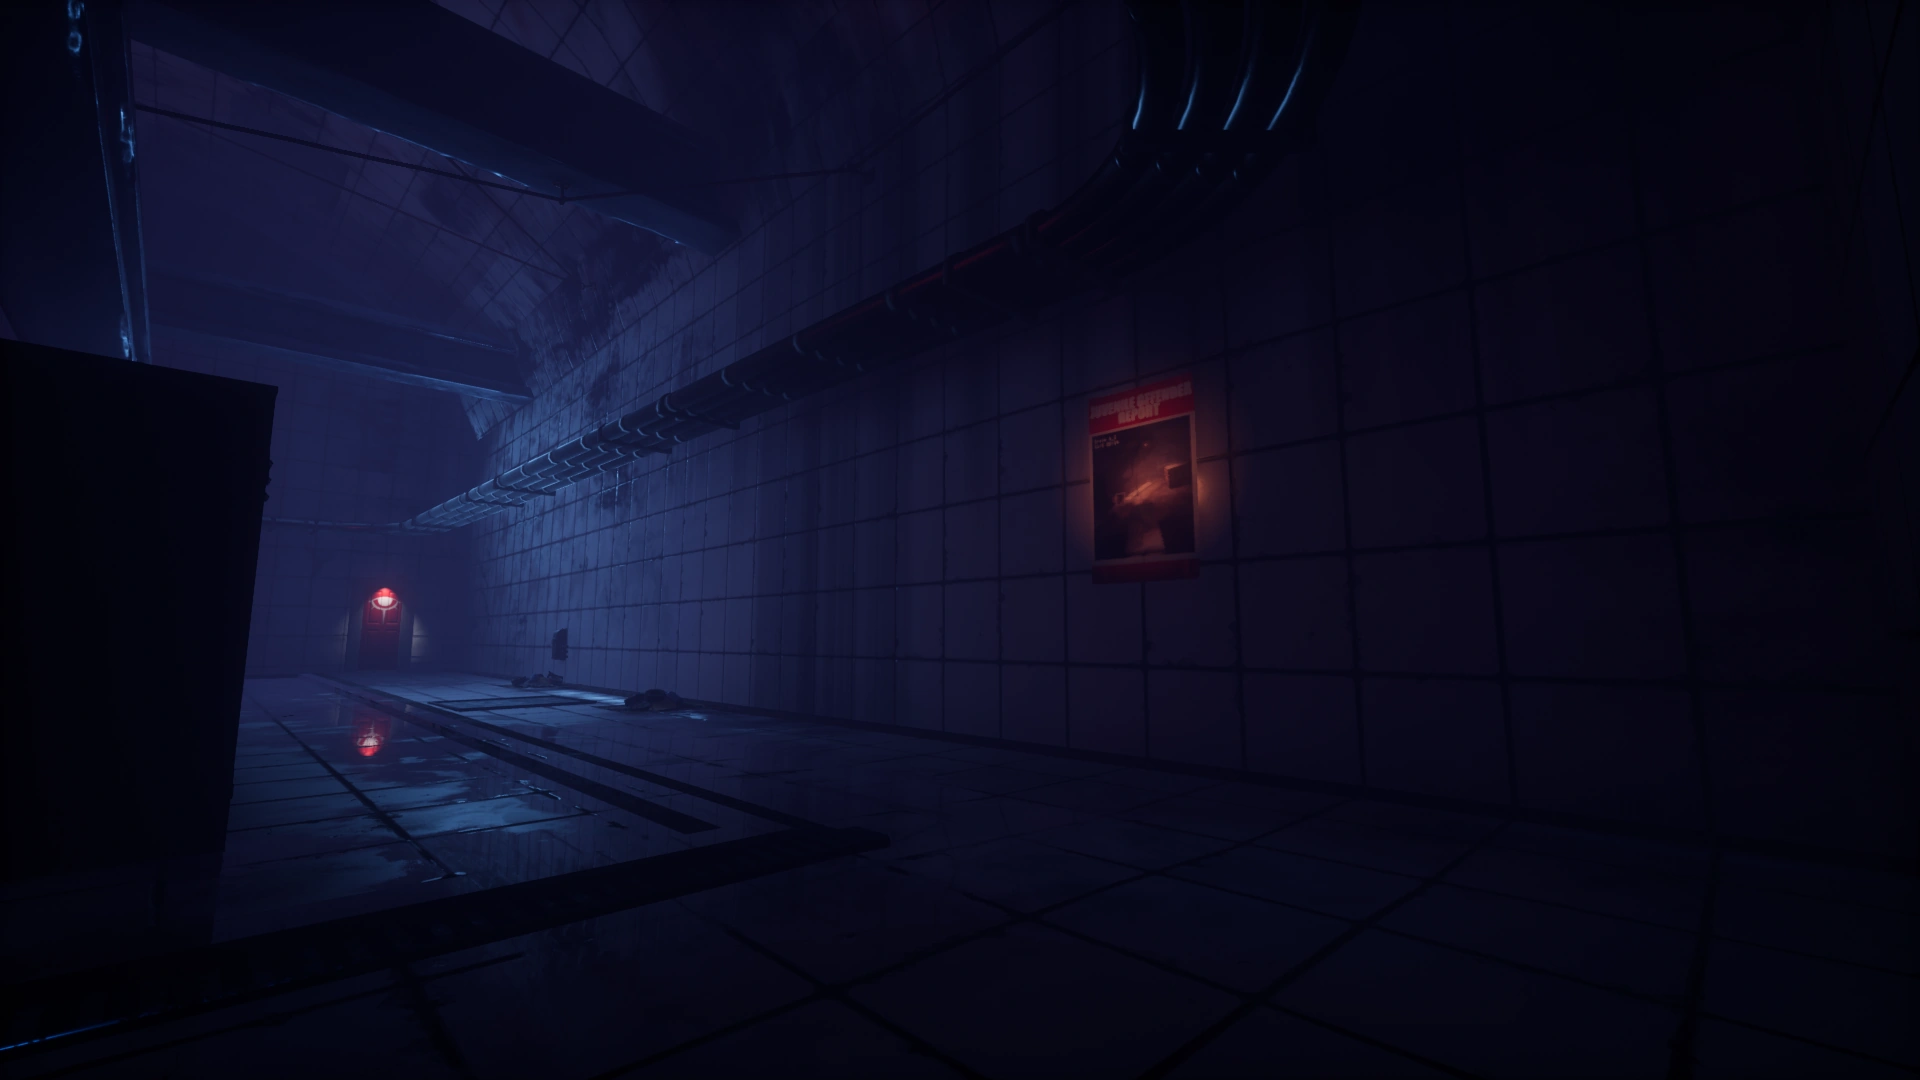
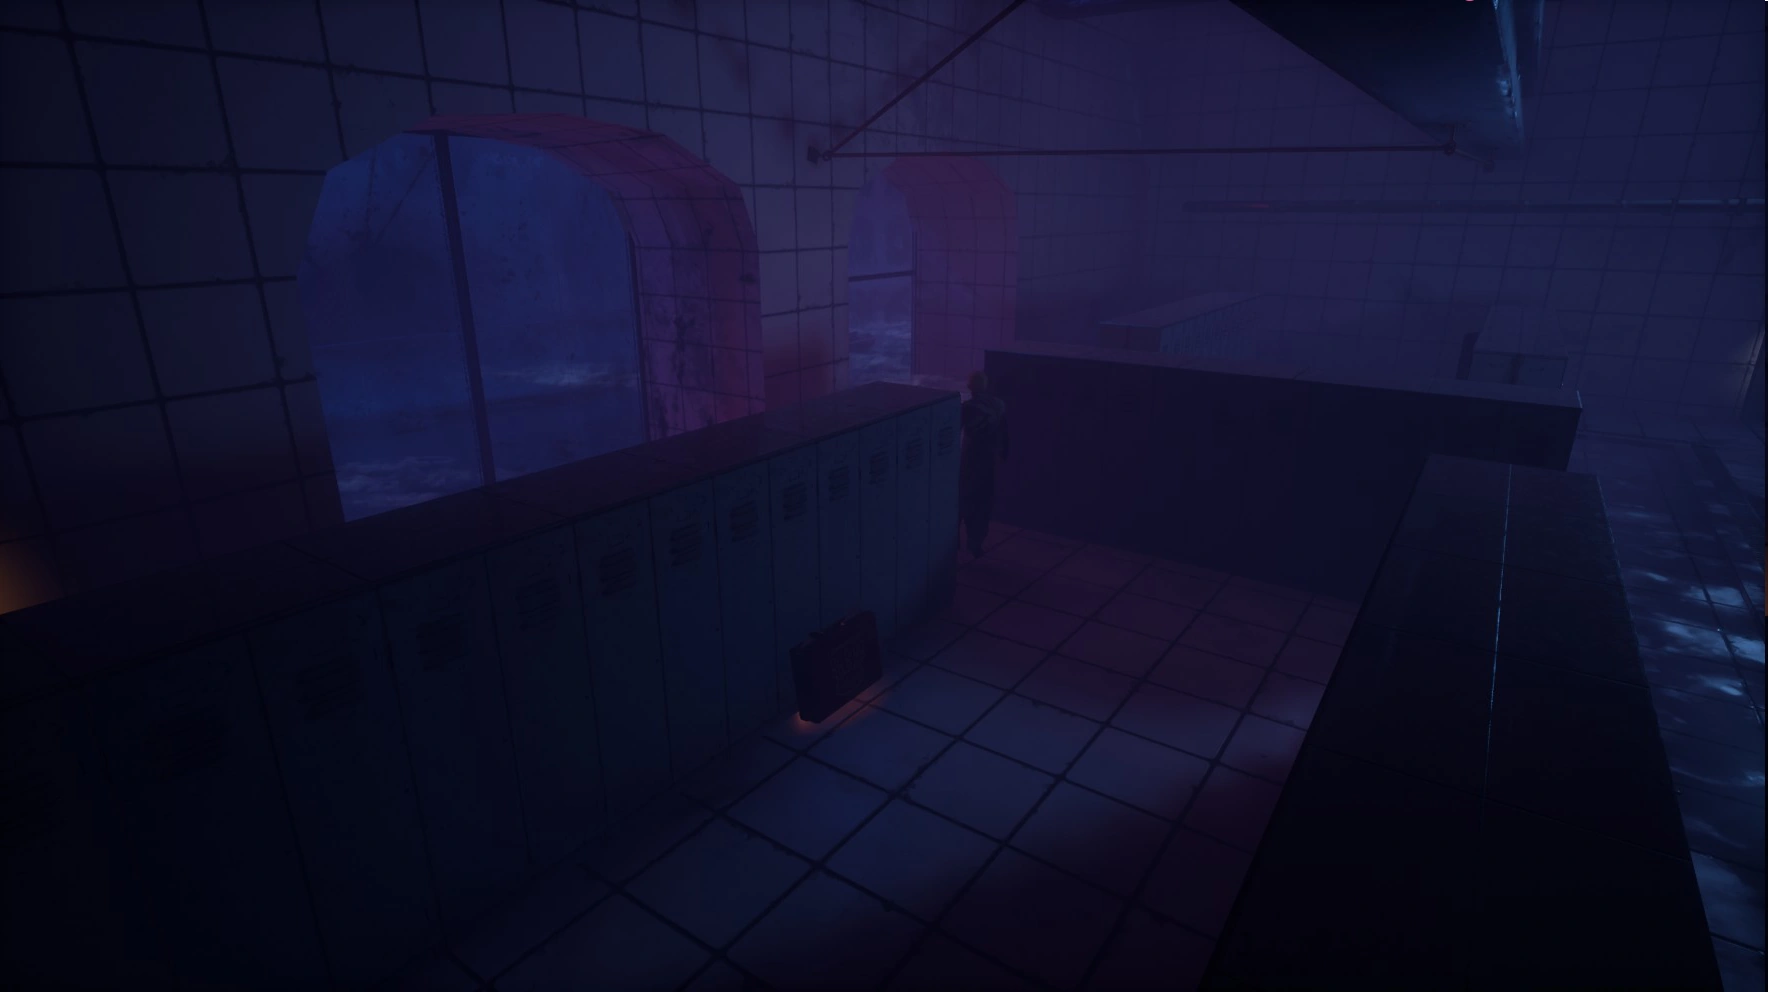
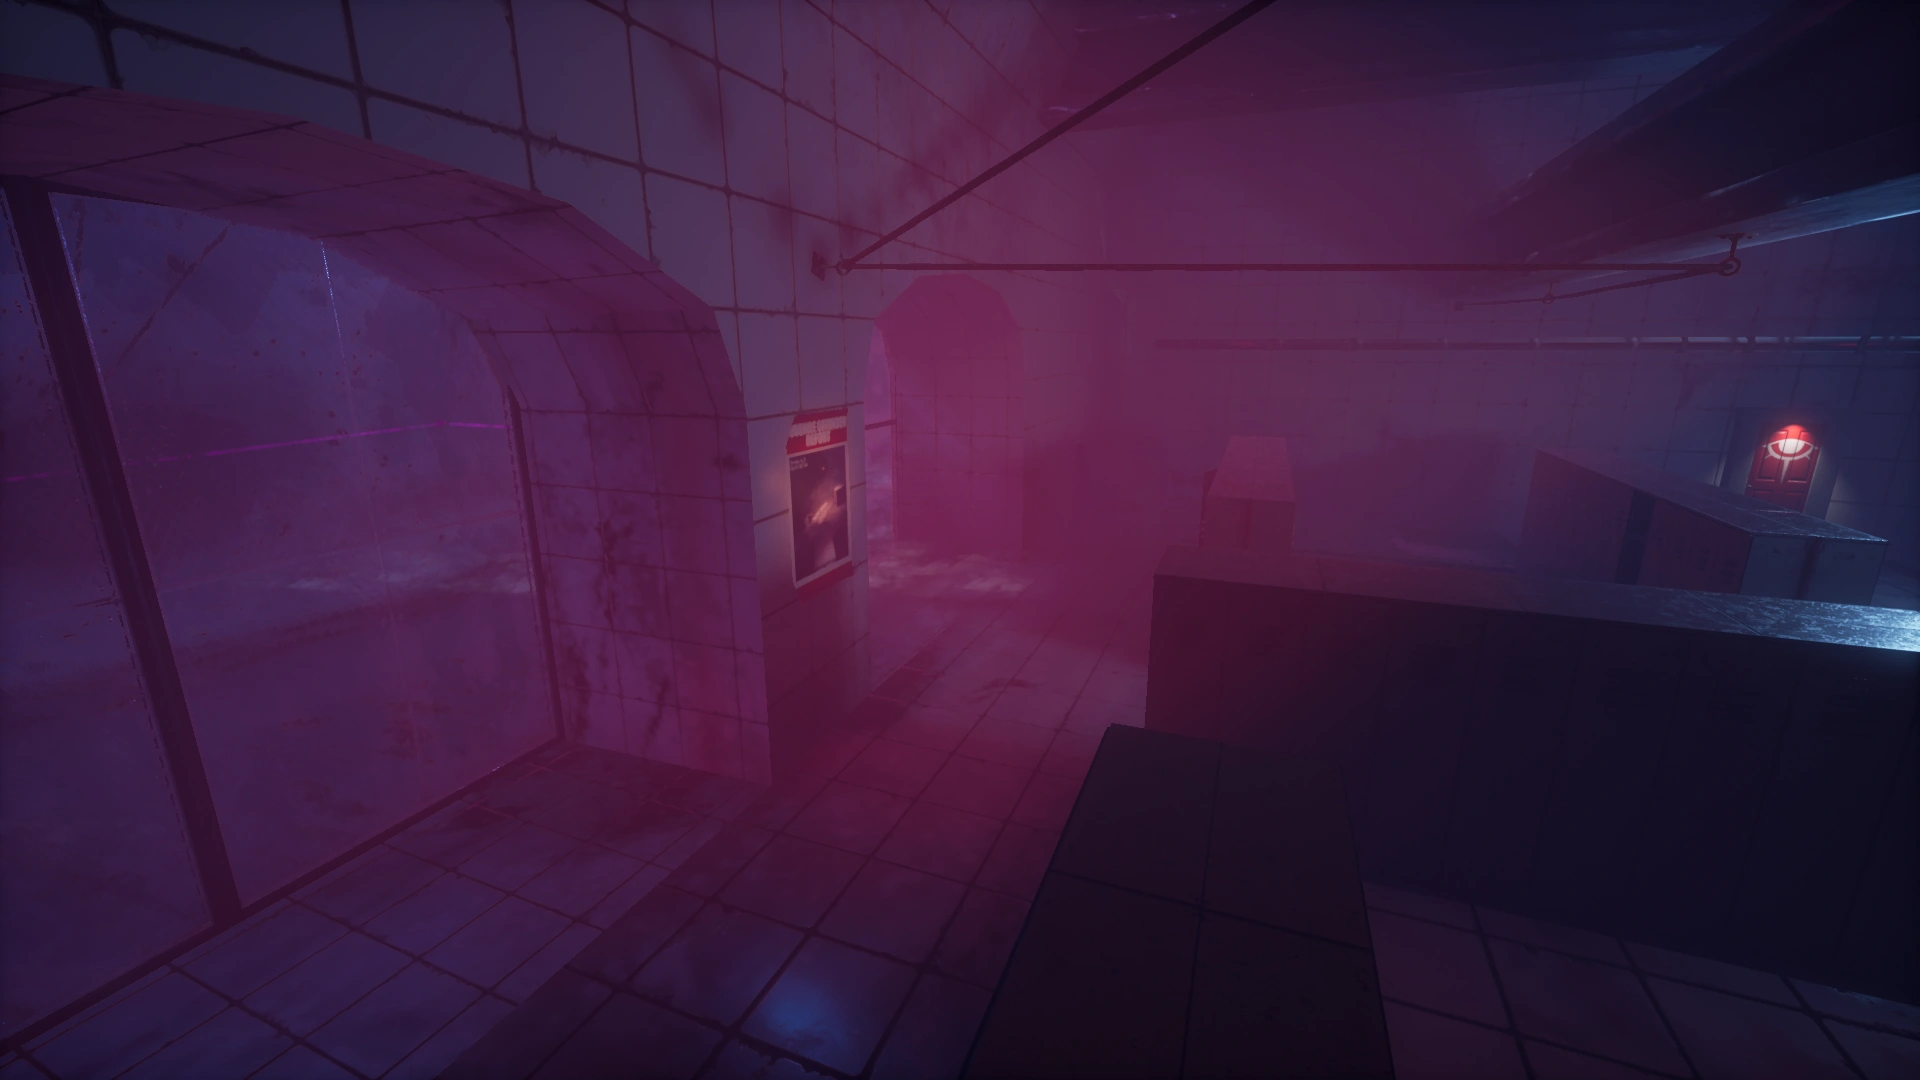
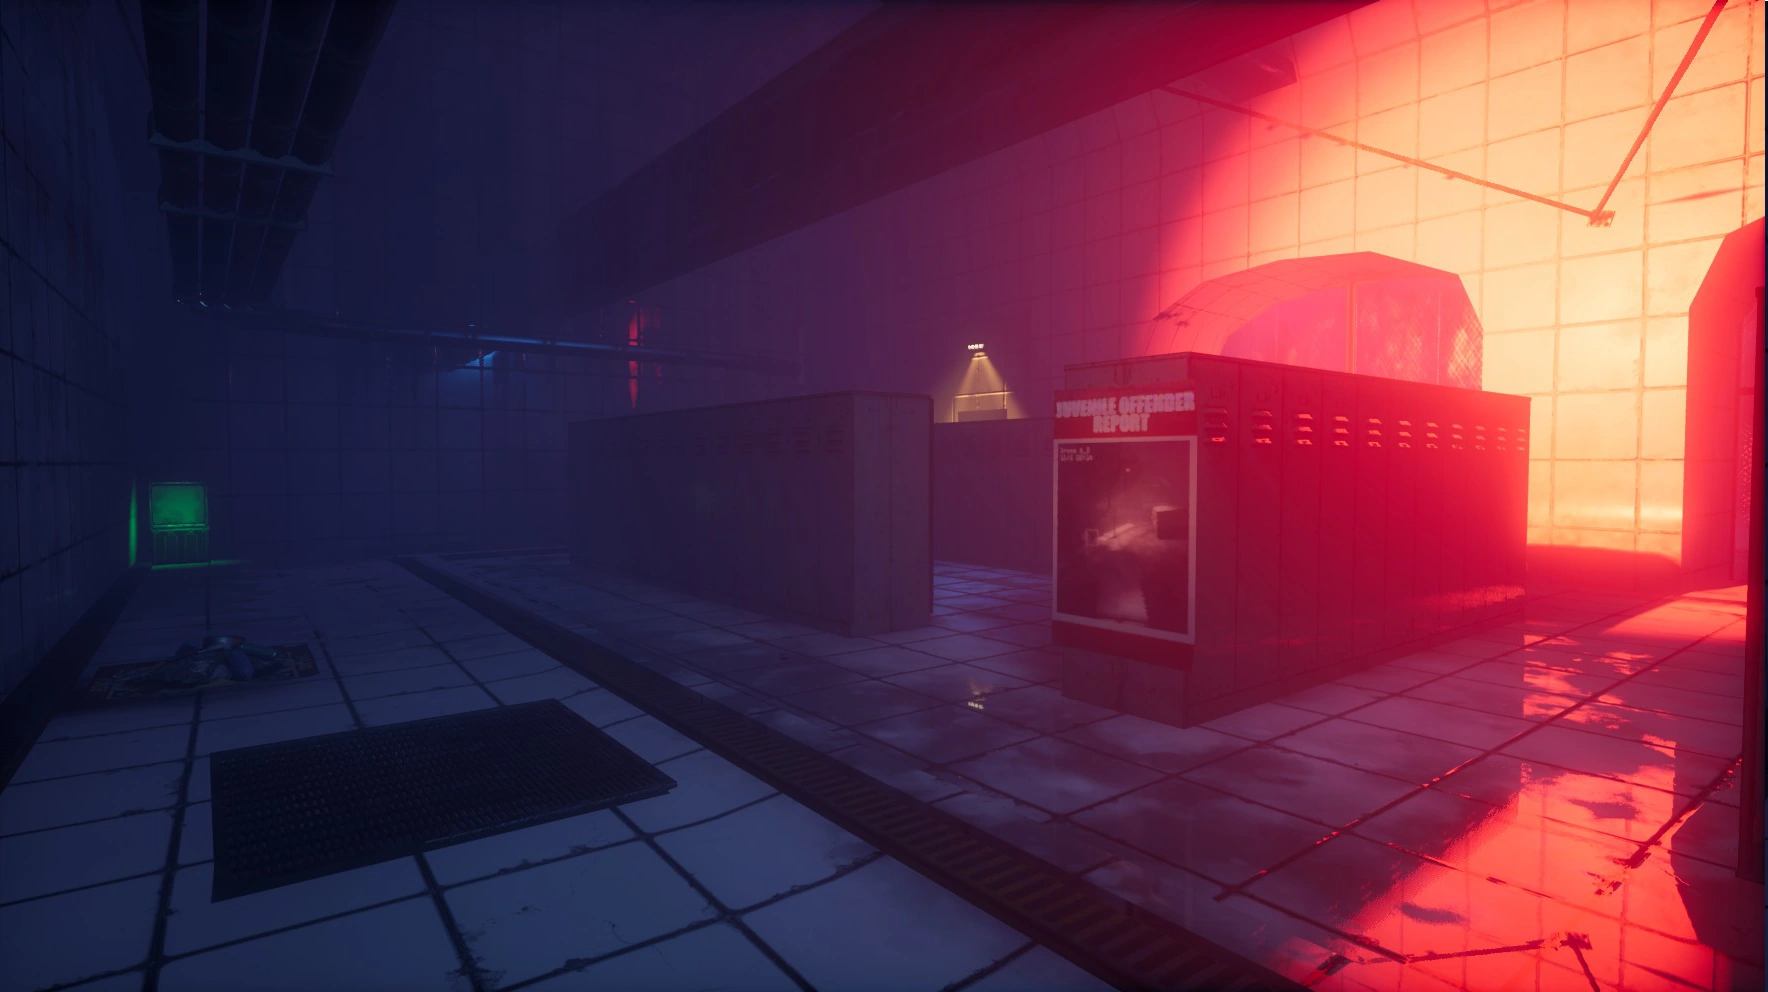
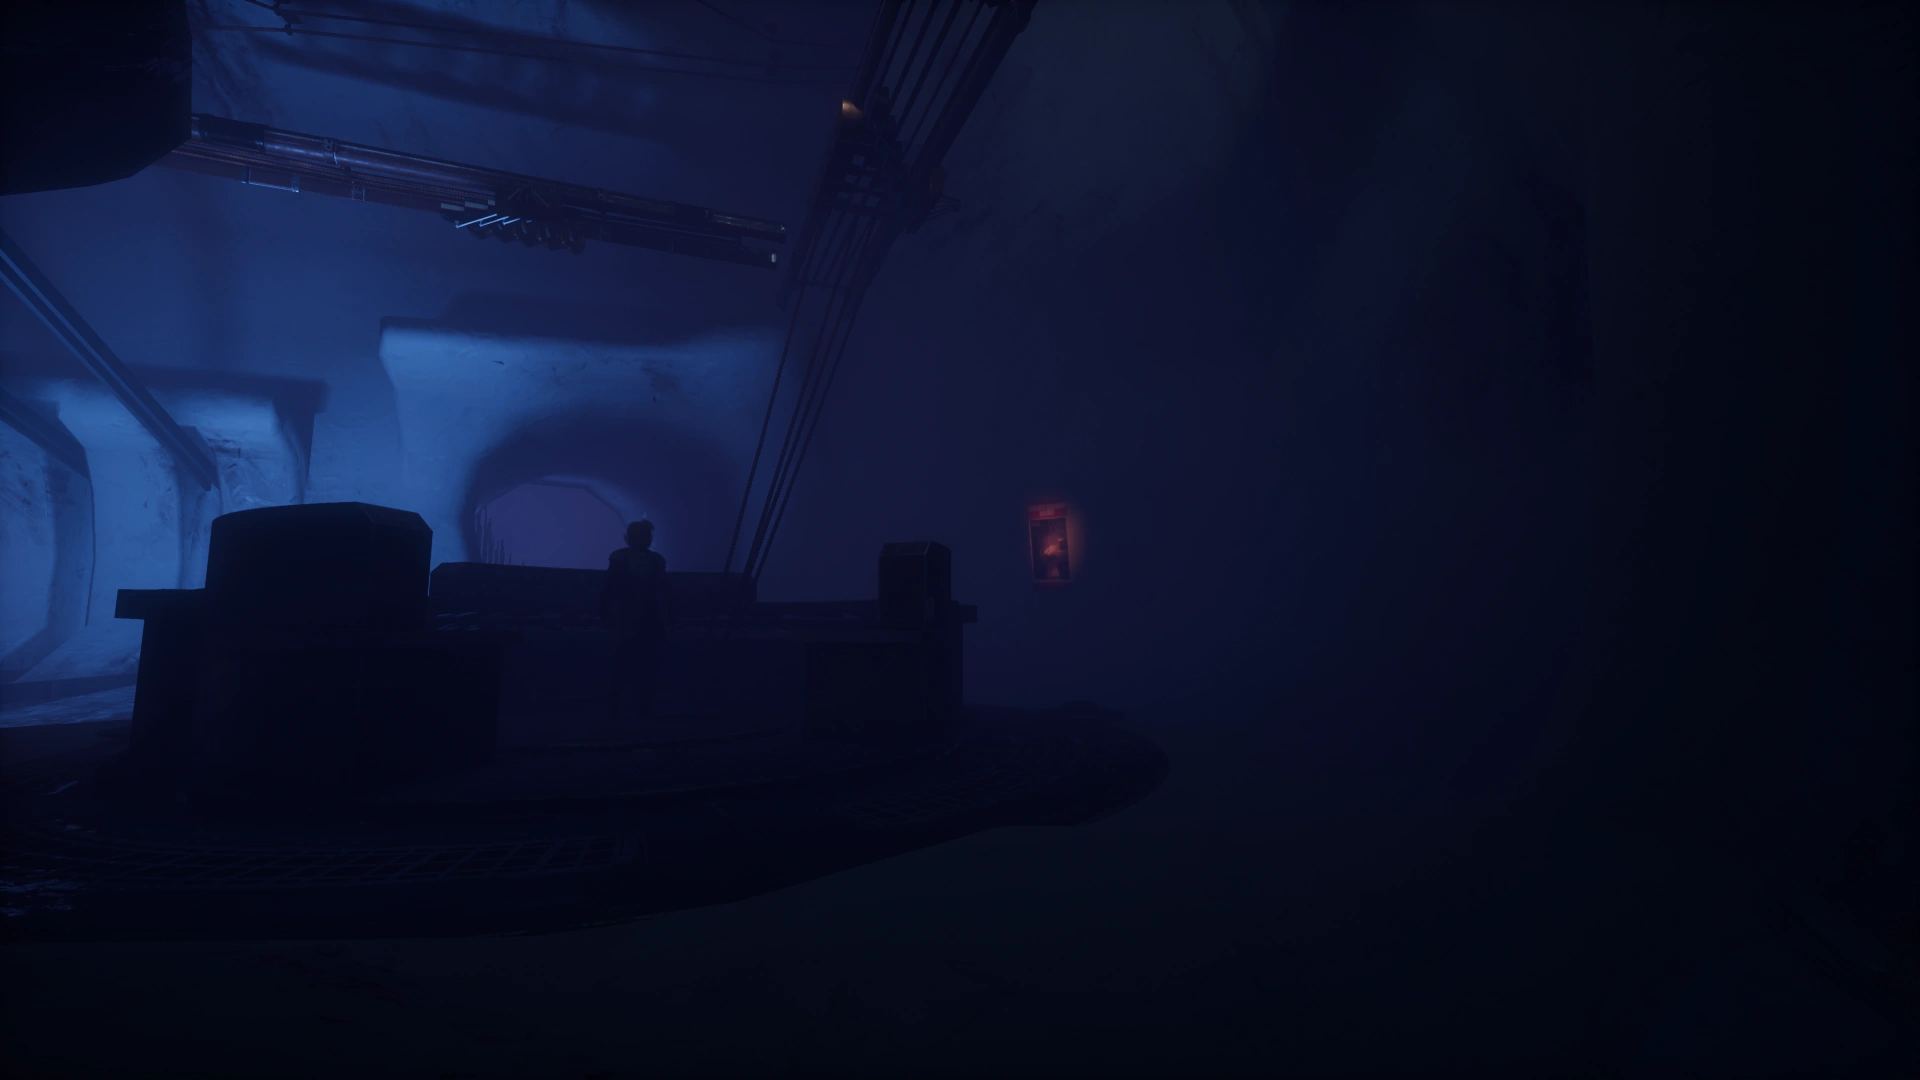
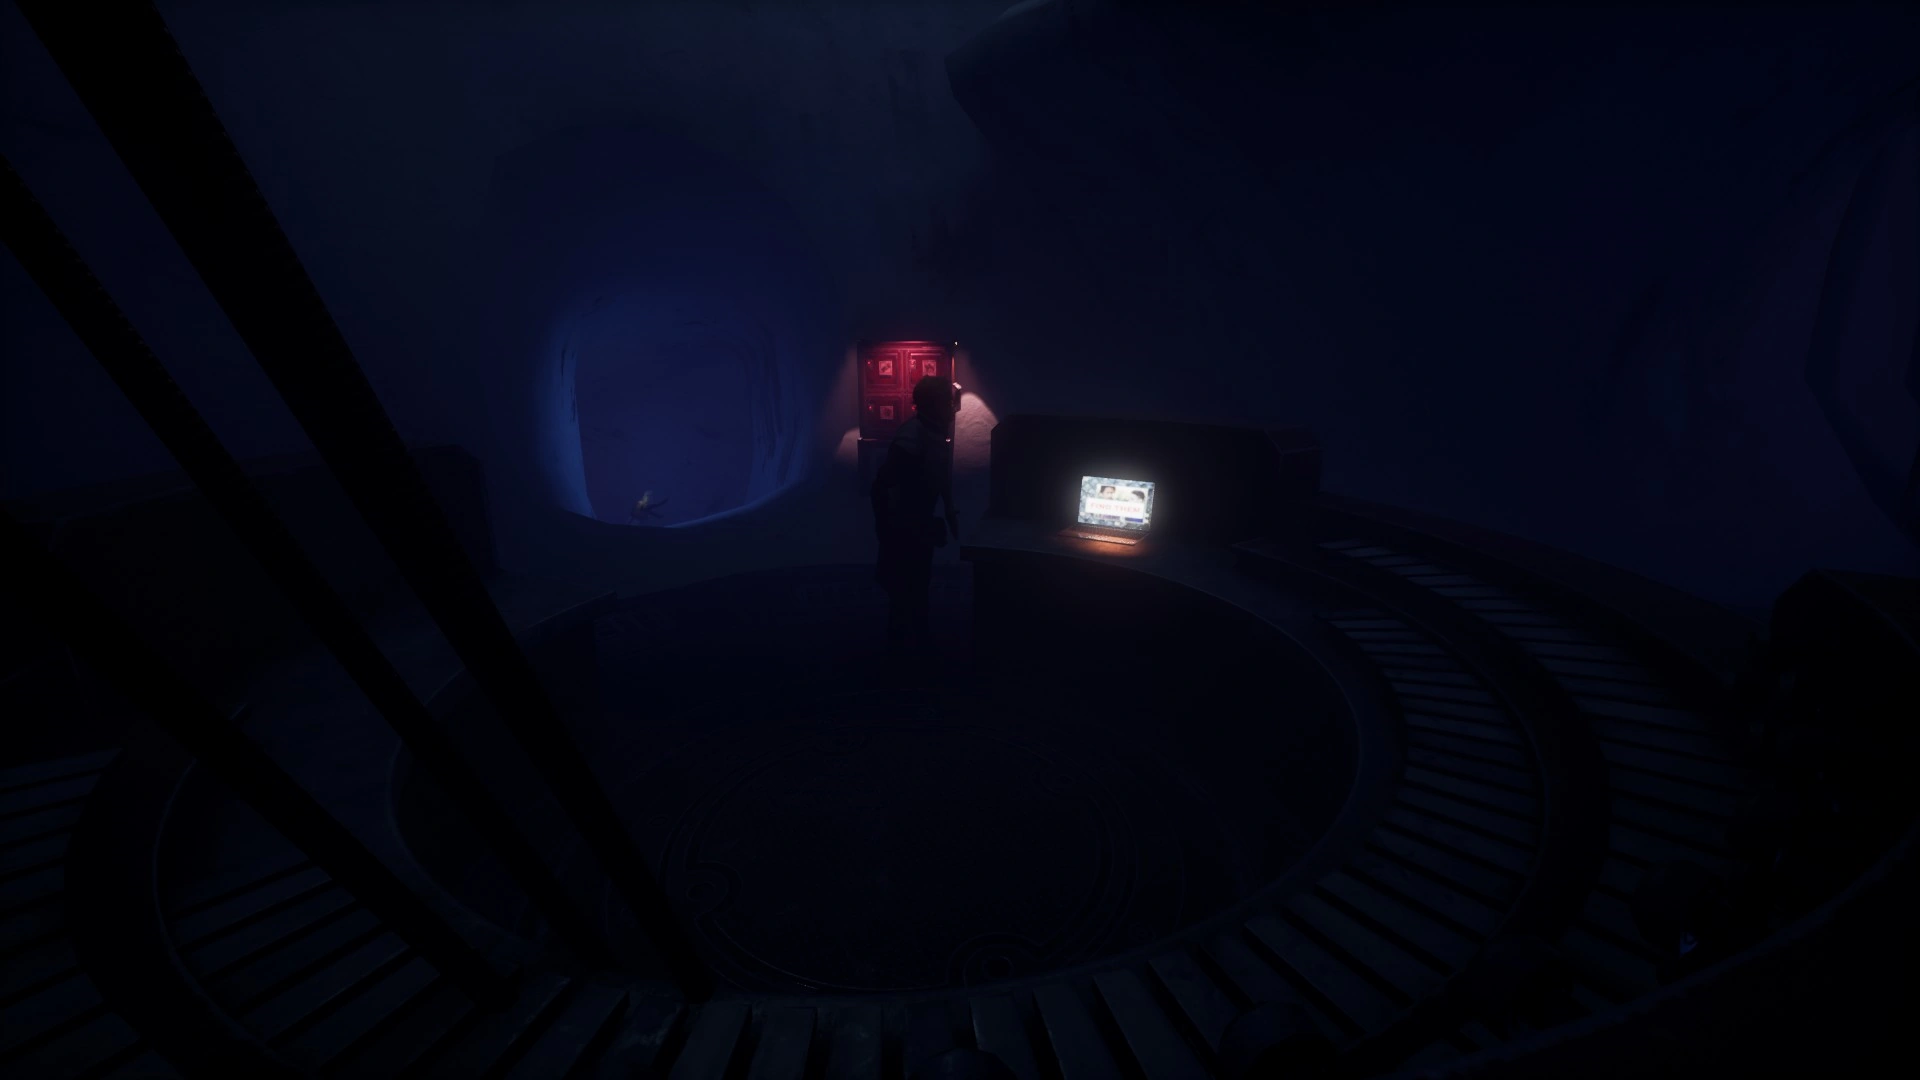
Sleeper Lockers[ | ]
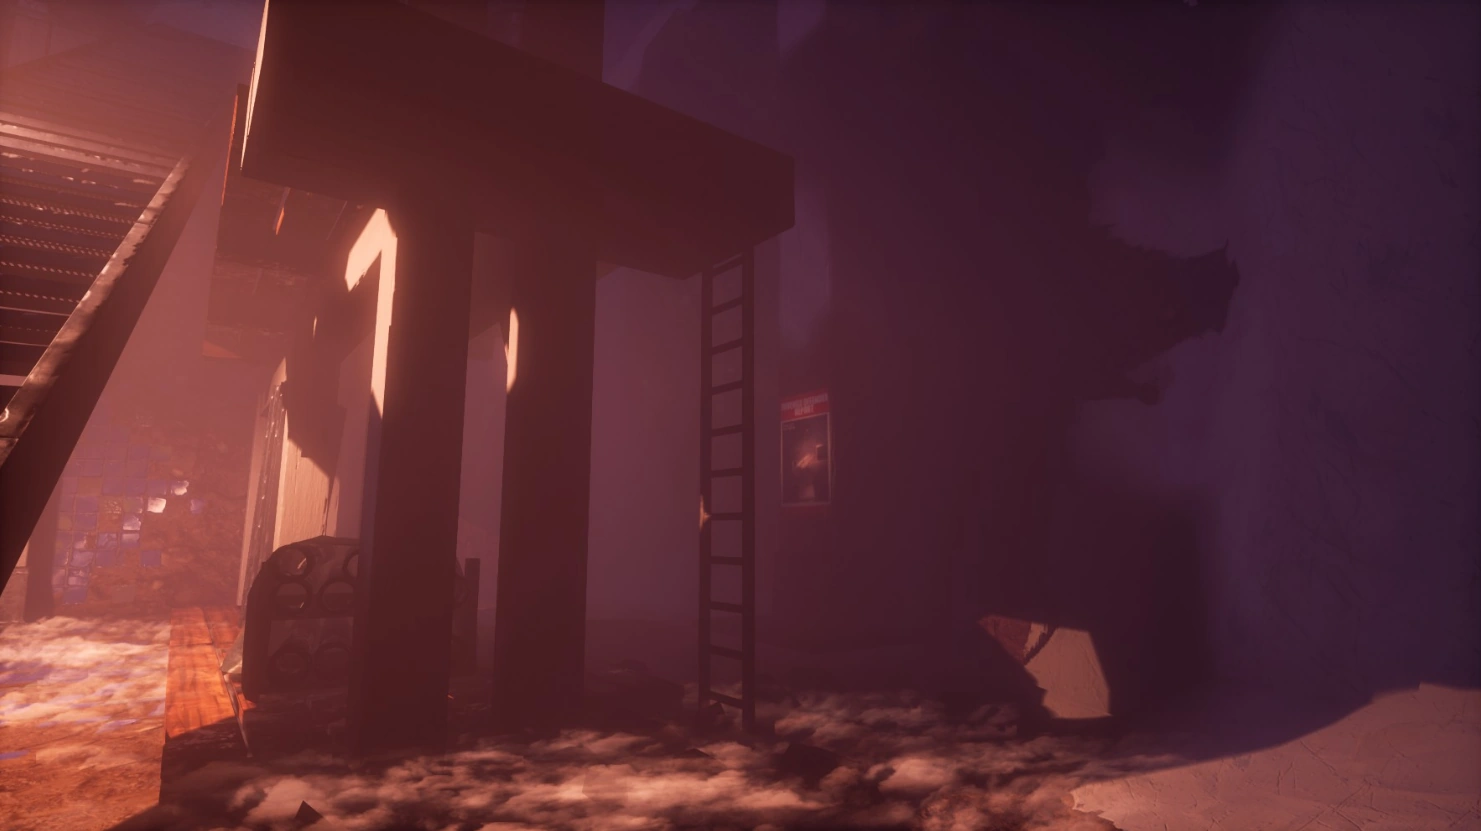
Near Red Door — Poster
(Rare)Across From Entrance — Boxes and Tubes
(Low Level: Common)
(High Level: Rare)Across From Entrance — Poster
(Occasional)Near Red Door — Briefcase
(Rare)Between Windows — Poster
(Low Level: Common)
(High Level: Rare)Middle Lockers — Poster
(Low Level: Occasional)
(High Level: Rare)On Lockers — Laptop
(Occasional)On Lockers — Laptop
(Occasional)Window — Boxes and Tubes
(Rare)Tunnels — Poster
(Low Level: Occasional)
(High Level: Rare)

Somniloquy (With Scaffolding)[ | ]
Glass Chamber Corner — Briefcase
(Rare)Foam Alcove — Briefcase
(Occasional)Foam Alcove — Briefcase
(Occasional)Lower Level — Briefcase
(Rare)


Somniloquy (Without Scaffolding)[ | ]
Corner — Briefcase
(Common)Glass Chamber Corner — Briefcase
(Rare)Foam Alcove — Briefcase
(Rare)


String Relay B[ | ]
Wall Near The Airway — Poster
(Common)Center Instrument Console — Laptop
(Rare)Center Instrument Console — Boxes and Tubes
(Rare)Ingestion Wall — Poster
(Rare)Instrument Console Near Nerve Center — Briefcase
(Rare)Instrument Console Near Nerve Center — Laptop
(Rare)Upper Level — Boxes and Tubes
(Rare)Upper Level — Poster
(Occasional)- StringRelayB UpperLevel Poster2.png
Upper Level Near Airway — Poster
(Rare) Upper Level Near Airway — Boxes And Tubes
(Rare)


Subliminal Media[ | ]
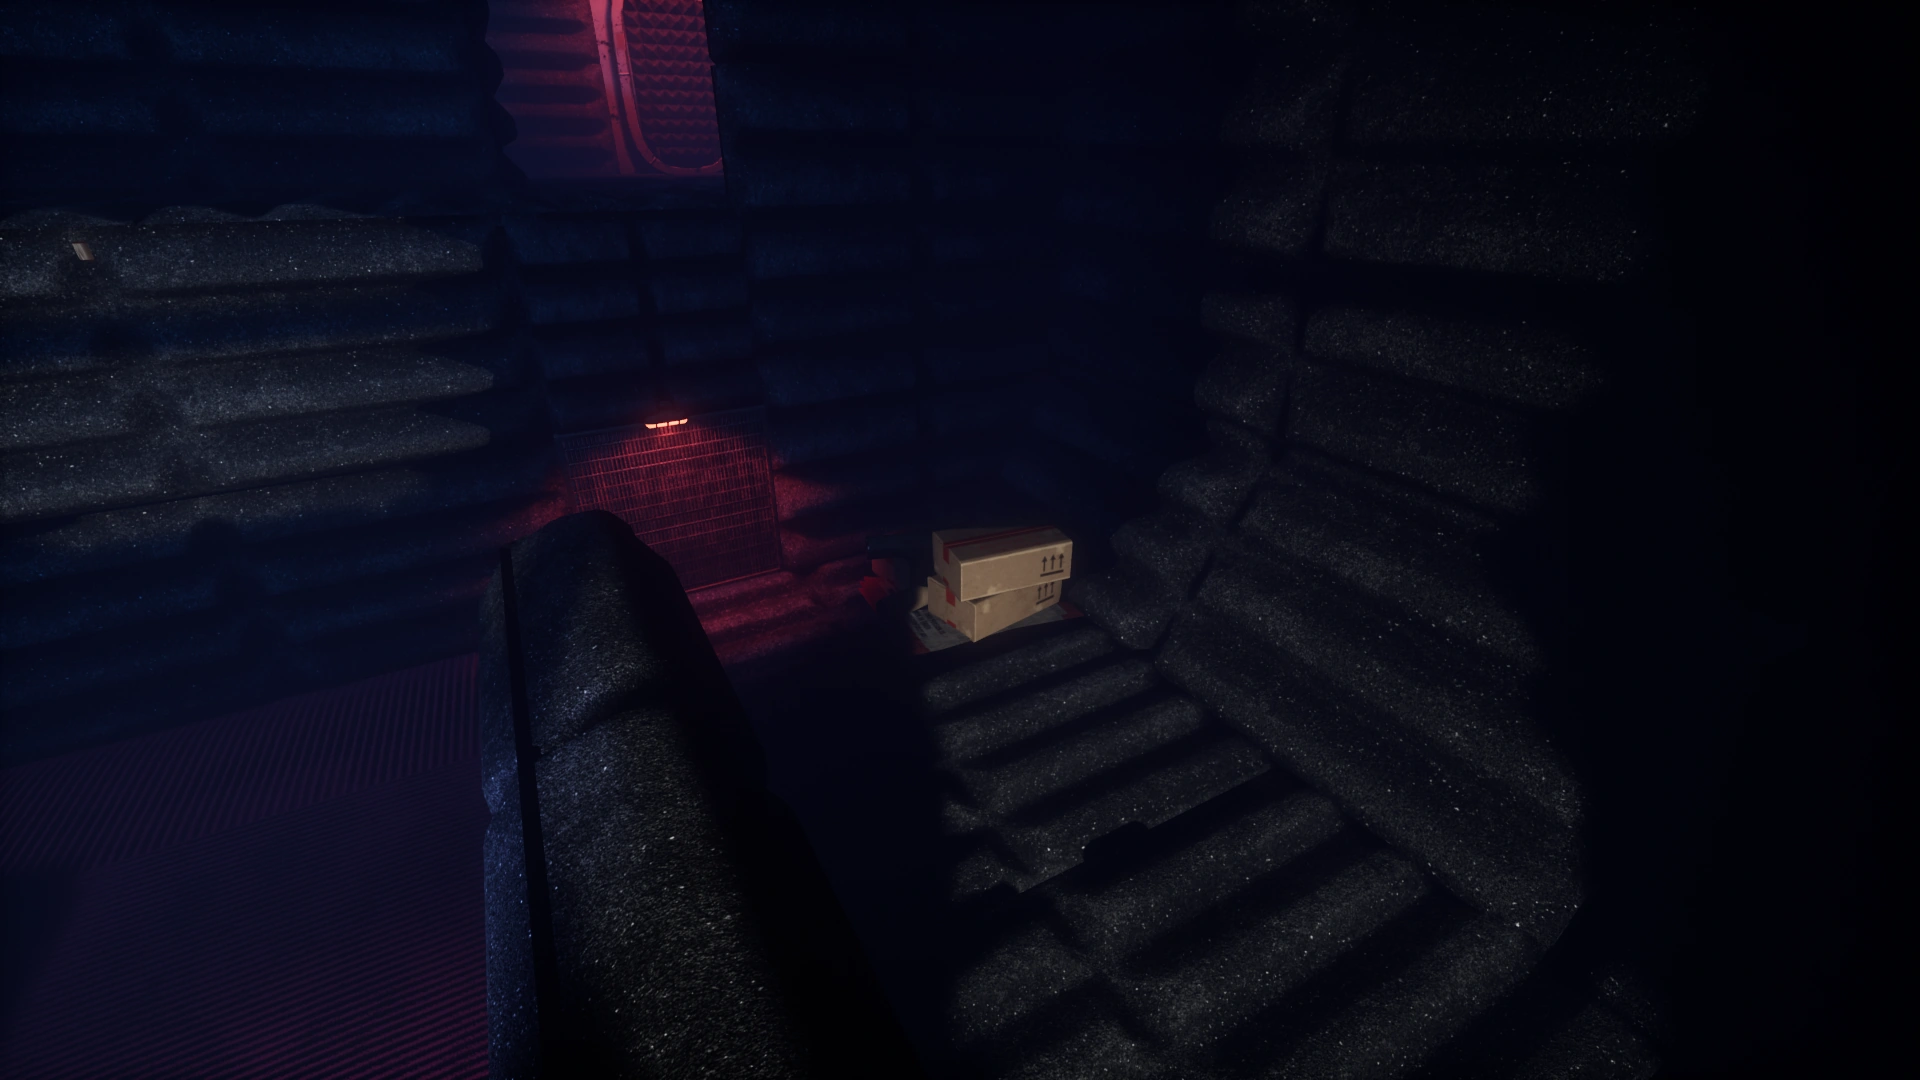
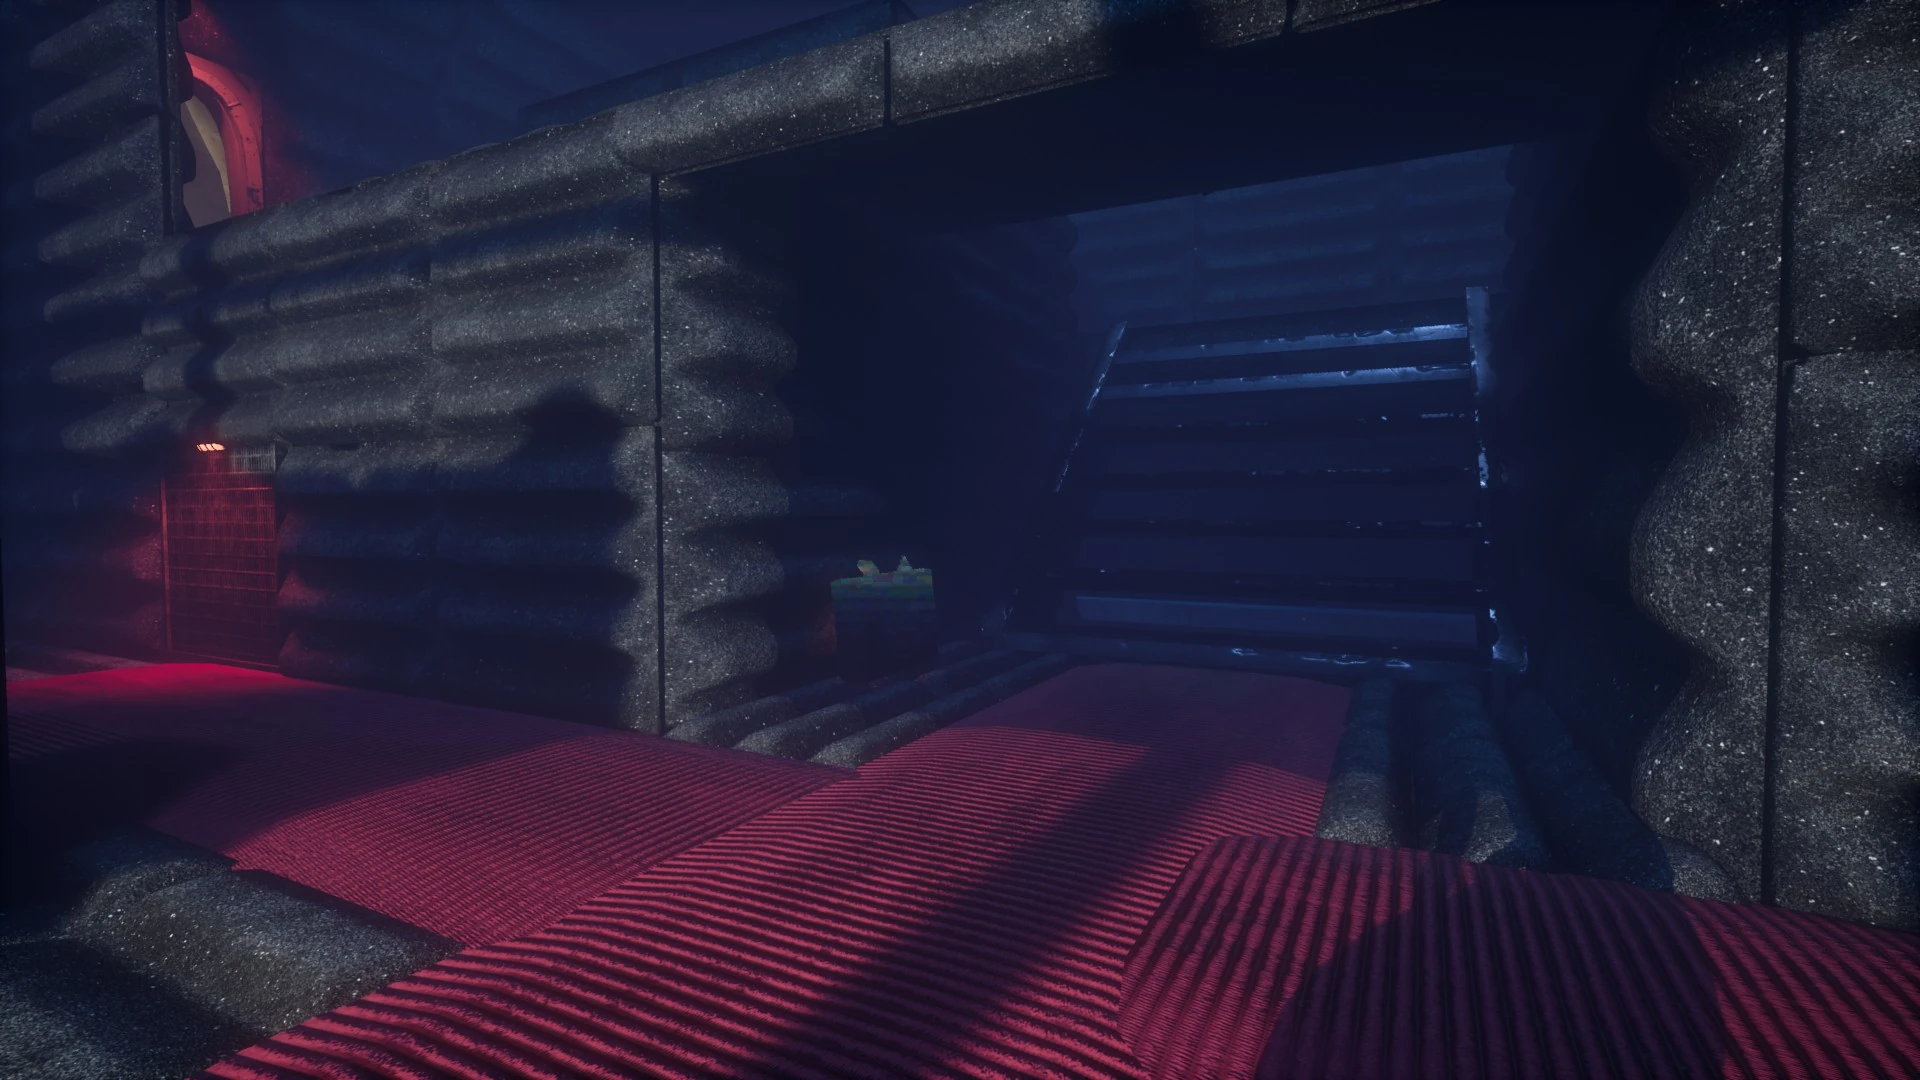
Foam Room (Alcove) — Boxes and Tubes
(Rare)Foam Room (Alcove) — Briefcase
(Rare)Foam Room — Poster
(Low Level: Common)
(High Level: Rare)Foam Room — Poster
(Low Level: Occasional)
(High Level: Rare)Foam Room — Boxes and Tubes
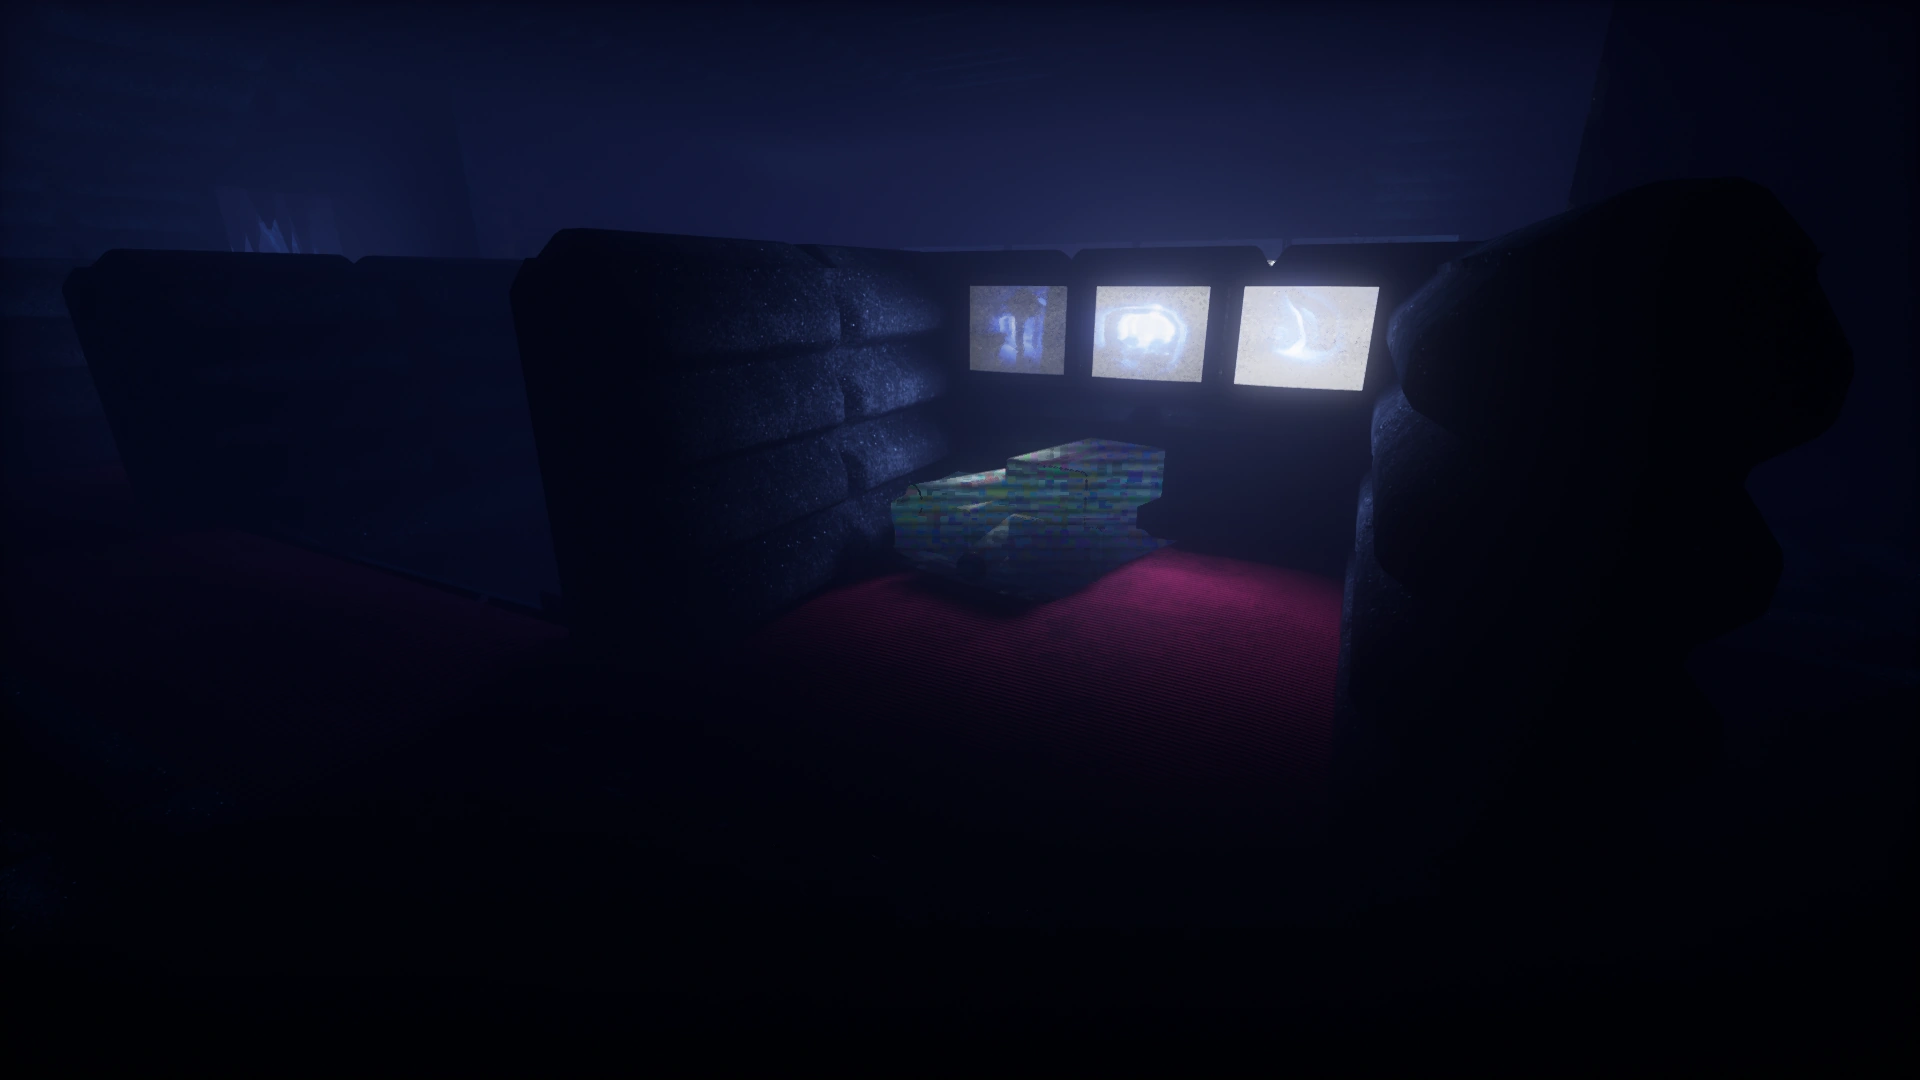
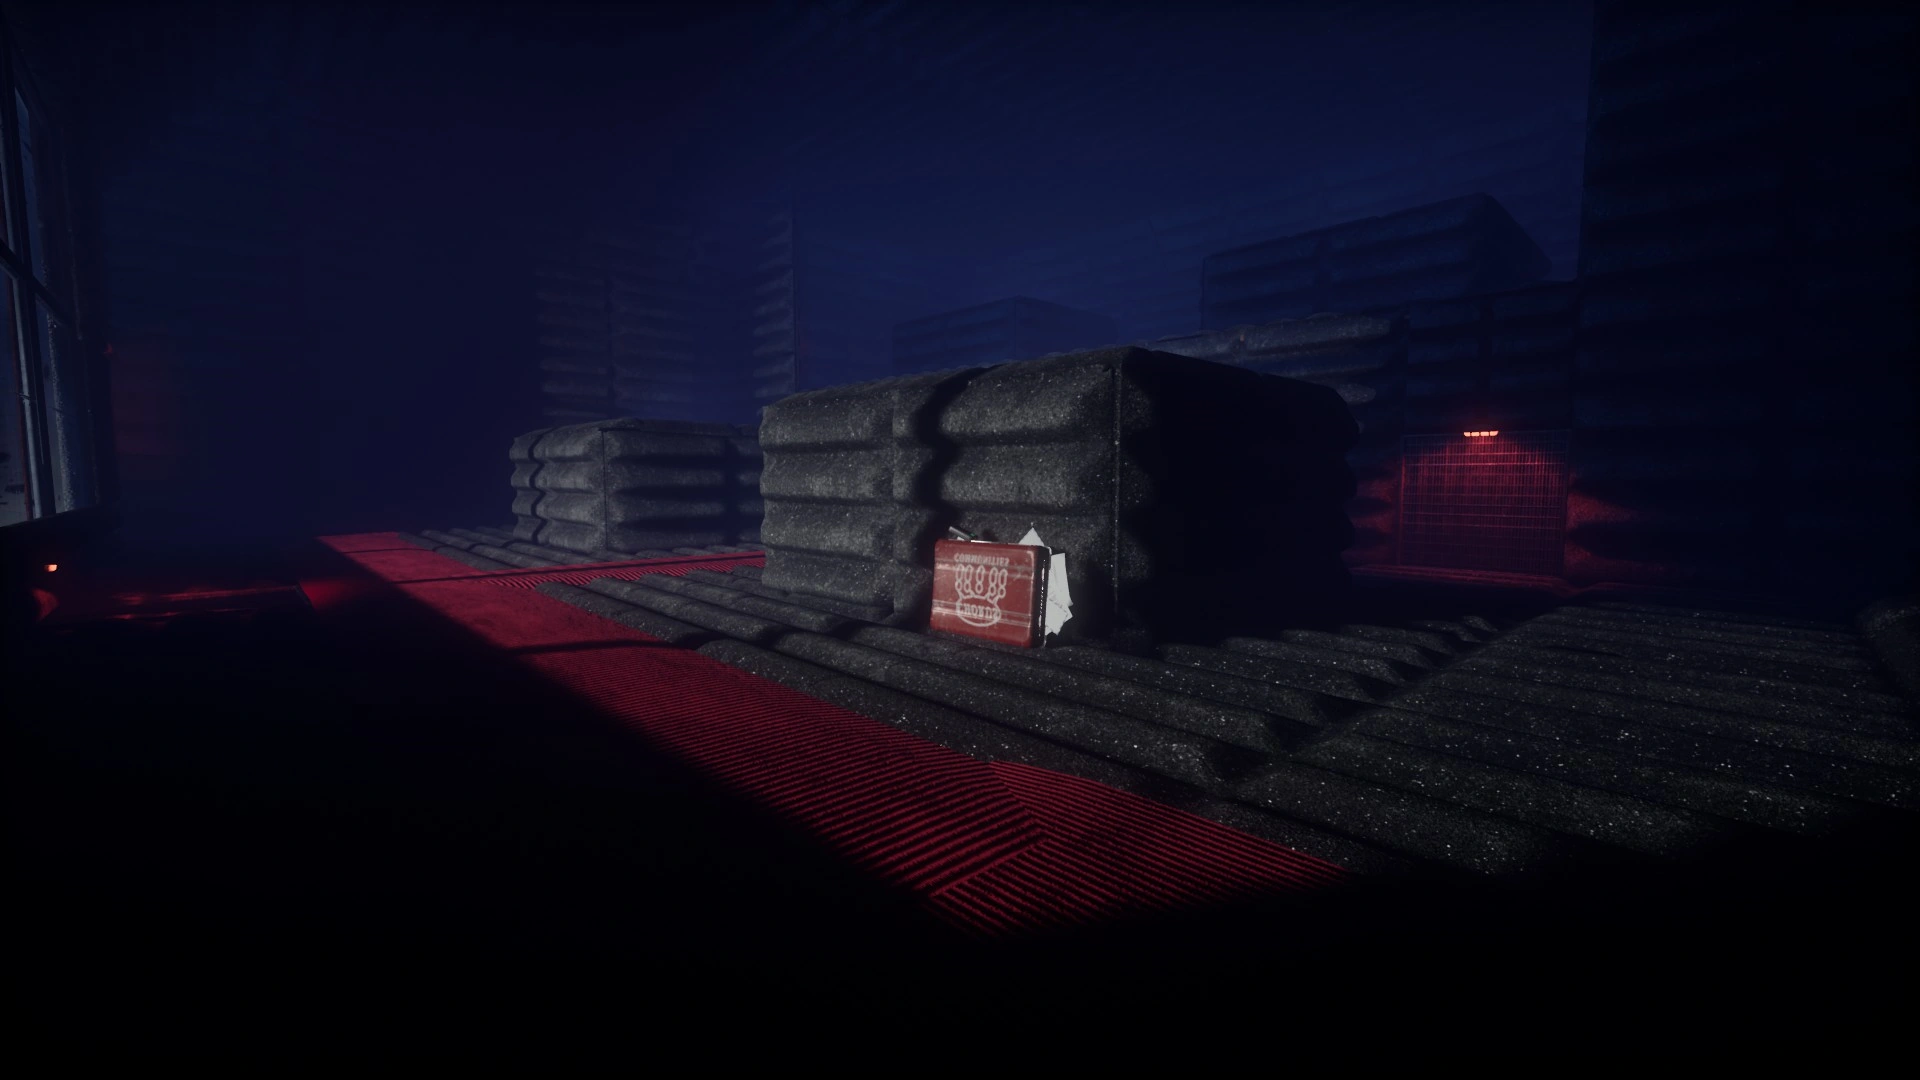
(Rare)Foam Room — Briefcase
(Rare)Foam Room — Briefcase Along Stairs
(Rare)Behind Grating (Arches Entrance) — Boxes And Tubes
(Rare)Beneath Soundproofing — Boxes And Tubes
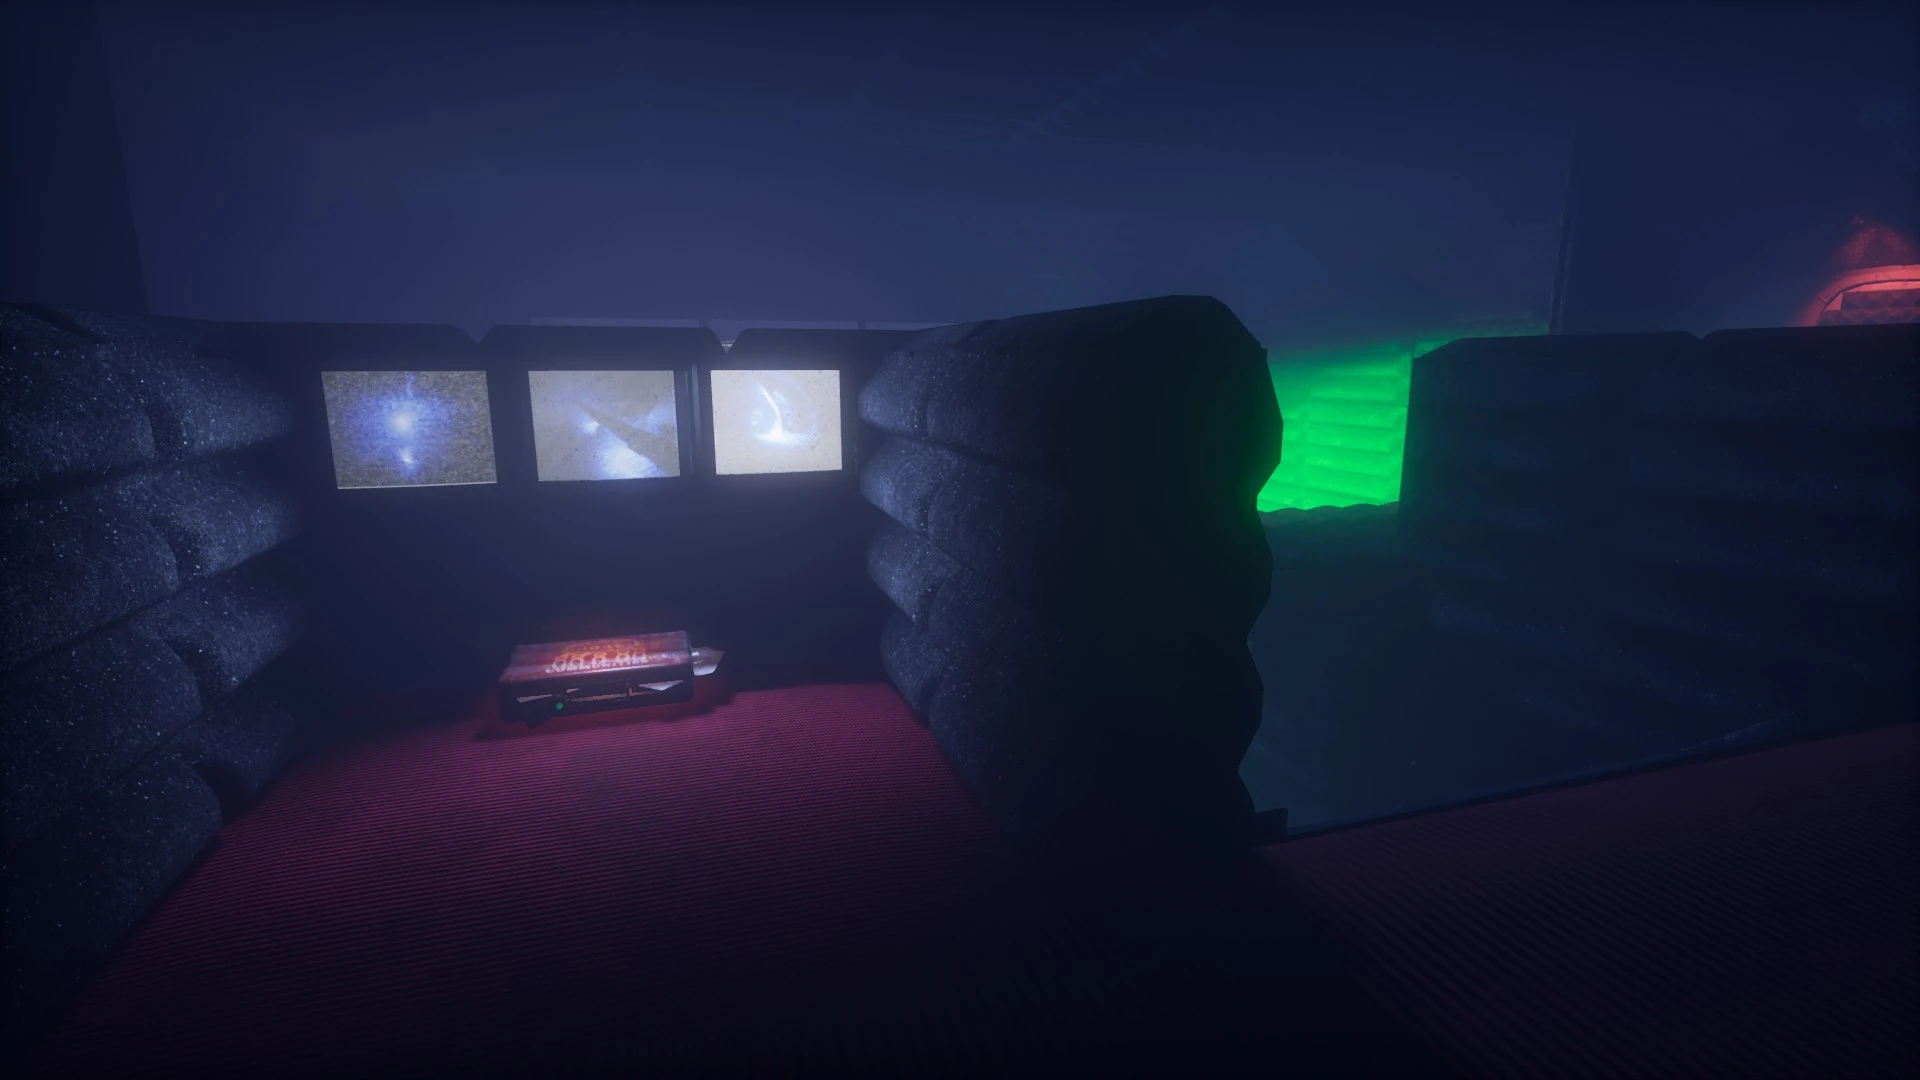
(Rare)Projector Room — Boxes and Tubes
(Low Level: Occasional)
(High Level: Rare)Projector Room — Laptop
(Rare)Projector Room — Briefcase
(Rare)Projector Room — Poster
(Low Level: Common)
(High Level: Rare)Projector Room — Poster
(Low Level: Common)
(High Level: Rare)Projector Room — Poster
(Rare)